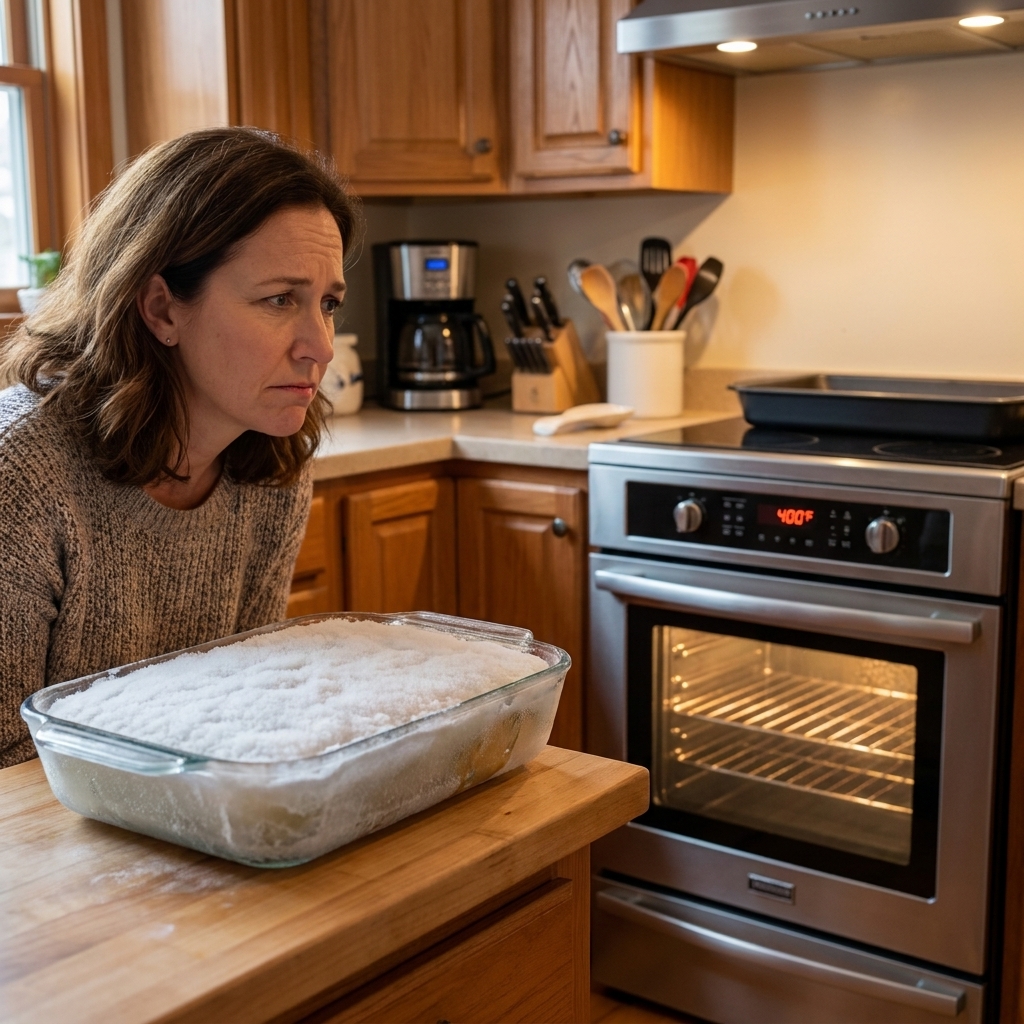

If you have ever scooped “just a little square” of leftover casserole for lunch and ended up with a sad, dried-out edge and a mushy middle, you are not alone. The good news is that casseroles are practically built for solo meal prep, as long as you portion and wrap them with a little intention.
This is exactly how I keep two emergency meals in my chest freezer at all times. I freeze individual portions so future-me can grab one on a chaotic morning, toss it in a bag, and know lunch will actually be good.
What freezes best
Most baked casseroles freeze beautifully, but they do not all behave the same. Here is the quick neighbor-to-neighbor rundown.
Usually great for single-serve freezing
- Lasagna and baked ziti
- Enchilada casseroles (especially when sauce is generous)
- Chicken and rice casseroles
- Mac and cheese bakes (creamier versions hold up best)
- Shepherd’s pie and other mashed potato topped bakes
Freeze well with a small tweak
- Crunchy toppings (chips, crackers, fried onions): freeze the casserole without the crunch, then add fresh topping before reheating.
- Watery vegetables (zucchini, mushrooms, spinach): cook off extra moisture if you can, and cool fully before wrapping.
- Eggy breakfast casseroles: they freeze fine, but reheat more gently to avoid rubbery eggs.
My moisture rule: If the casserole looks a little dry in the pan, it will taste dry after freezing. If it looks slightly saucier than perfect, it often freezes and reheats like a dream.
Cool it first
The fastest way to get freezer burn and watery reheats is packaging warm casserole. Let it cool down properly first.
- Rest after baking: Let the casserole sit 15 to 30 minutes so it sets up and slices cleanly.
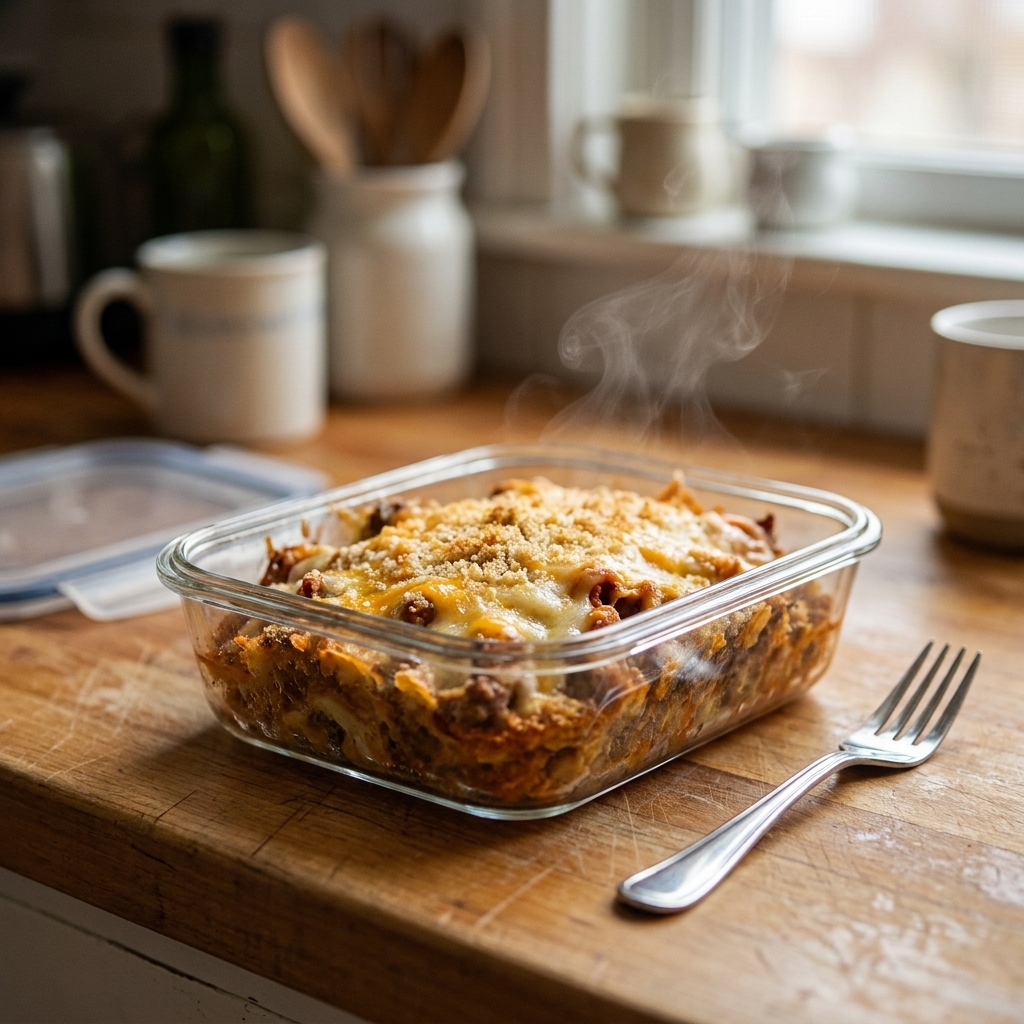
- Cool down: Leave uncovered until it stops steaming and is no longer hot to the touch, typically 30 to 60 minutes depending on the recipe and your kitchen.
- Chill before wrapping: Cover and refrigerate at least 2 hours (overnight is even better). Starting from cold helps reduce trapped steam, which helps cut down on ice crystals and soggy texture later.
Food safety note: Do not leave cooked food out at room temperature for more than 2 hours total.
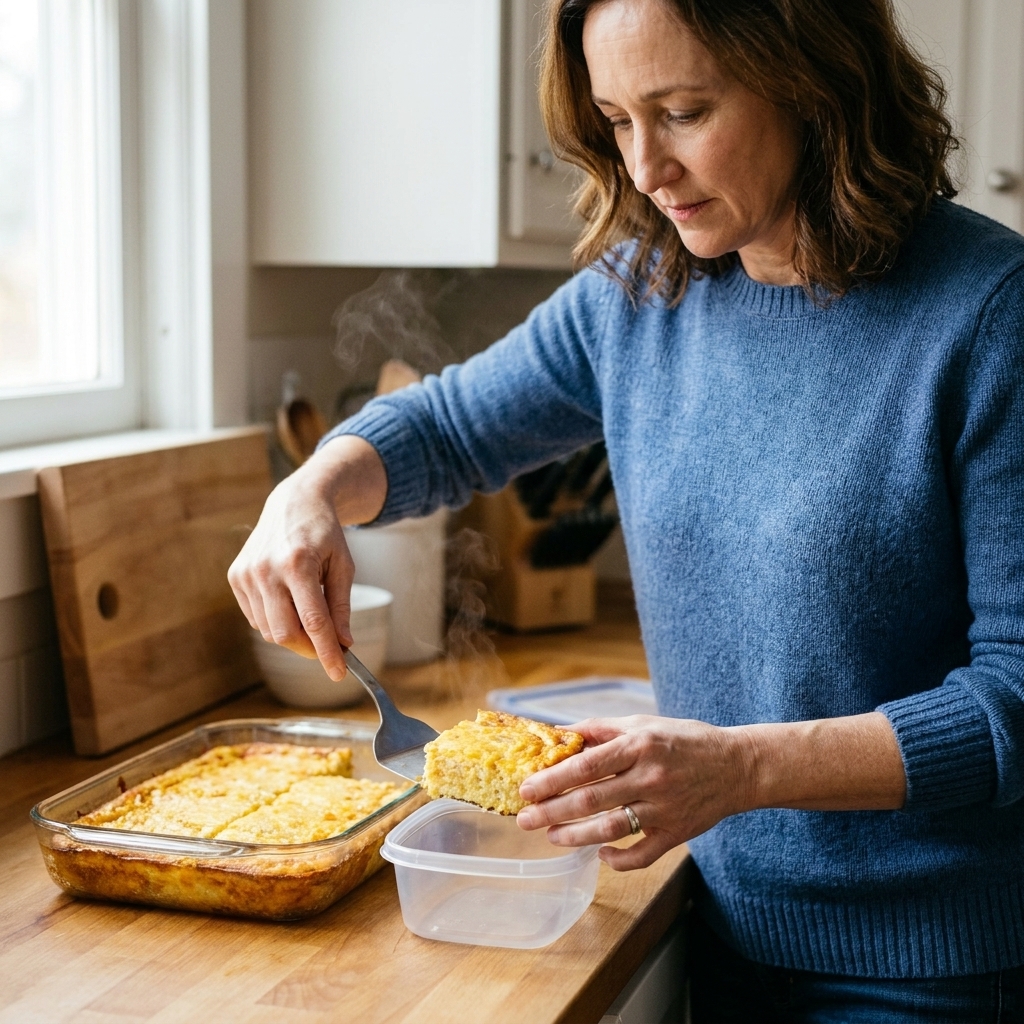
Portion a 9x13
My goal is a portion that reheats evenly and fits into real life. That usually means flatter, wider portions instead of thick blocks.
Easy portion guides
- 6 portions: Cut the pan into 2 by 3. Great for hearty dinners.
- 8 portions: Cut into 2 by 4. My favorite for lunches.
- 10 to 12 portions: Best for rich casseroles like mac and cheese or very cheesy pasta bakes.
Tools that help
- Bench scraper or large spatula for lifting neat squares
- Digital scale (optional but great if you want consistent portions)
- Small freezer-safe containers or foil mini loaf pans
Best containers
The “best” container depends on how you plan to reheat. Here are my tried-and-true options.
1) Glass containers with snap lids
- Pros: Oven-safe (many are), microwave-safe, no staining like plastic.
- Cons: Heavier for commuting, more expensive.
Tip: Leave a little headspace, meaning about 1/2 inch of empty space at the top, so food can expand as it freezes.
Glass safety heads-up: To avoid cracking from temperature shock, do not put frozen glass straight into a hot oven unless the manufacturer specifically says it is safe. When in doubt, thaw in the fridge first or transfer to another dish.
2) Foil mini loaf pans
- Pros: Perfect for oven reheating, lightweight, easy to label on the rim.
- Cons: Not microwave-friendly unless transferred to a plate.
3) Freezer bags (space saver)
- Pros: Stores flat like files, great if your freezer is packed.
- Cons: Needs a solid freeze on a tray first, and you will reheat on a plate or in a dish.
My freezer-space trick: Freeze portions flat on a baking sheet until solid, then stand them upright in a bin like little casserole books.
Wrap to prevent freezer burn
Freezer burn is mostly dehydration from moisture escaping the food’s surface, and air contact makes it worse. Steady cold temperatures help too, but good wrapping is the big win you control.
For containers with lids
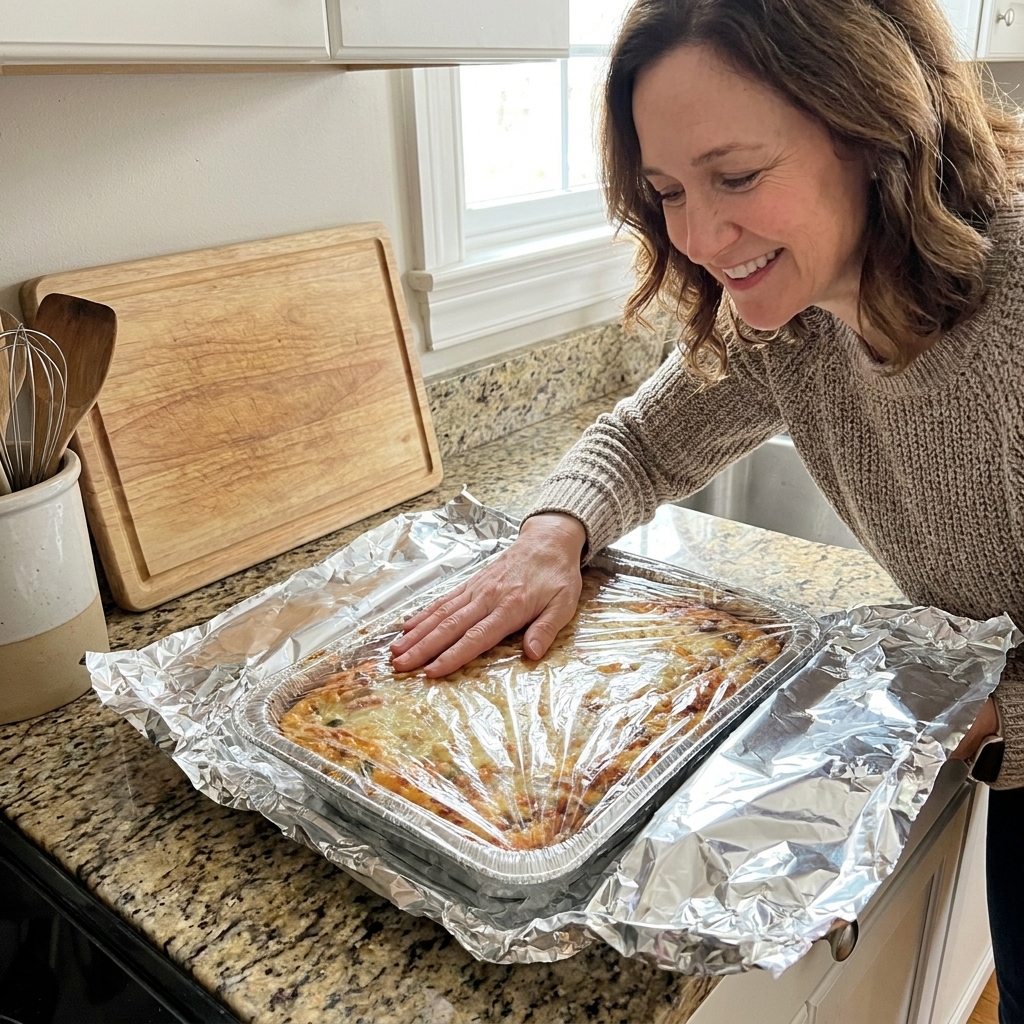
- Press a layer of parchment or plastic wrap directly onto the surface of the casserole (especially for pasta and rice bakes).
- Close the lid tightly.
- Double-protect: Wrap the whole container in foil or slide it into a freezer bag.
For foil pans
- Chill first so steam is not trapped (see the cooling section).
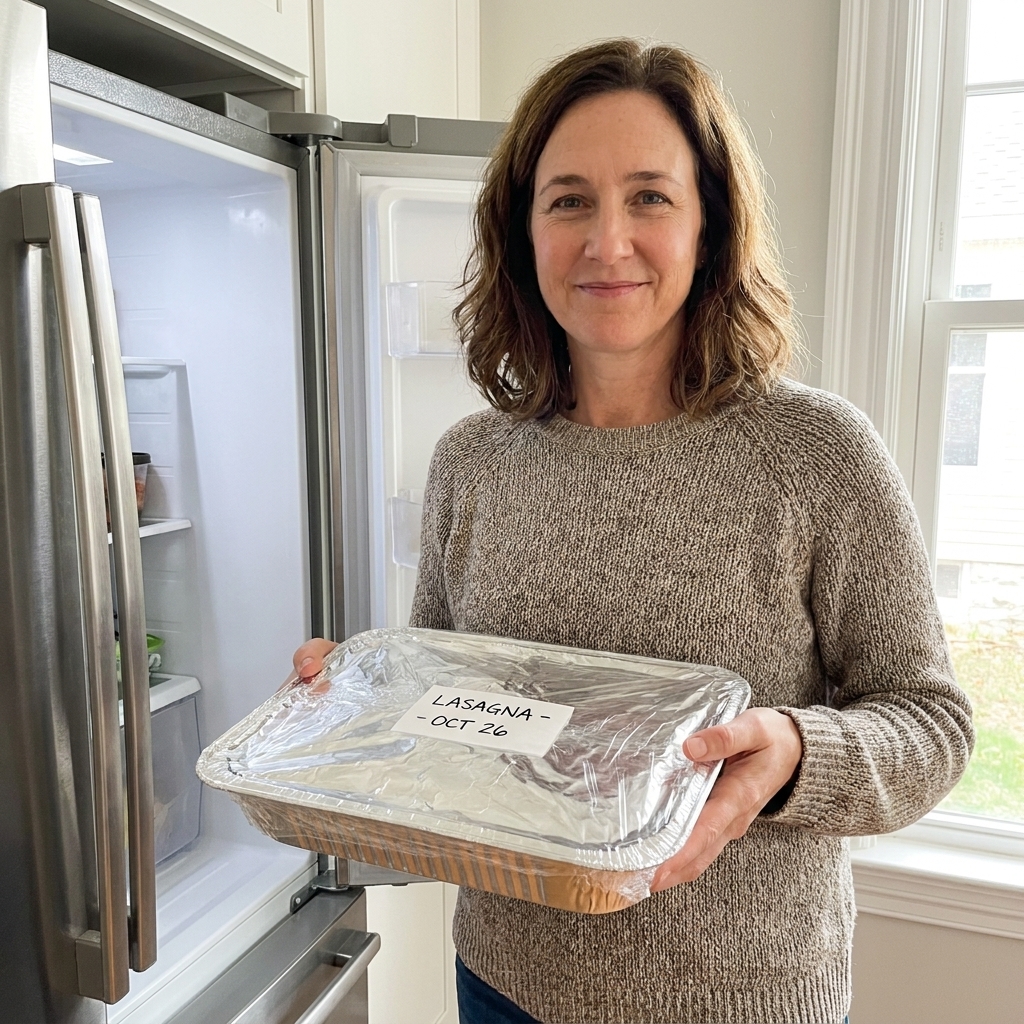
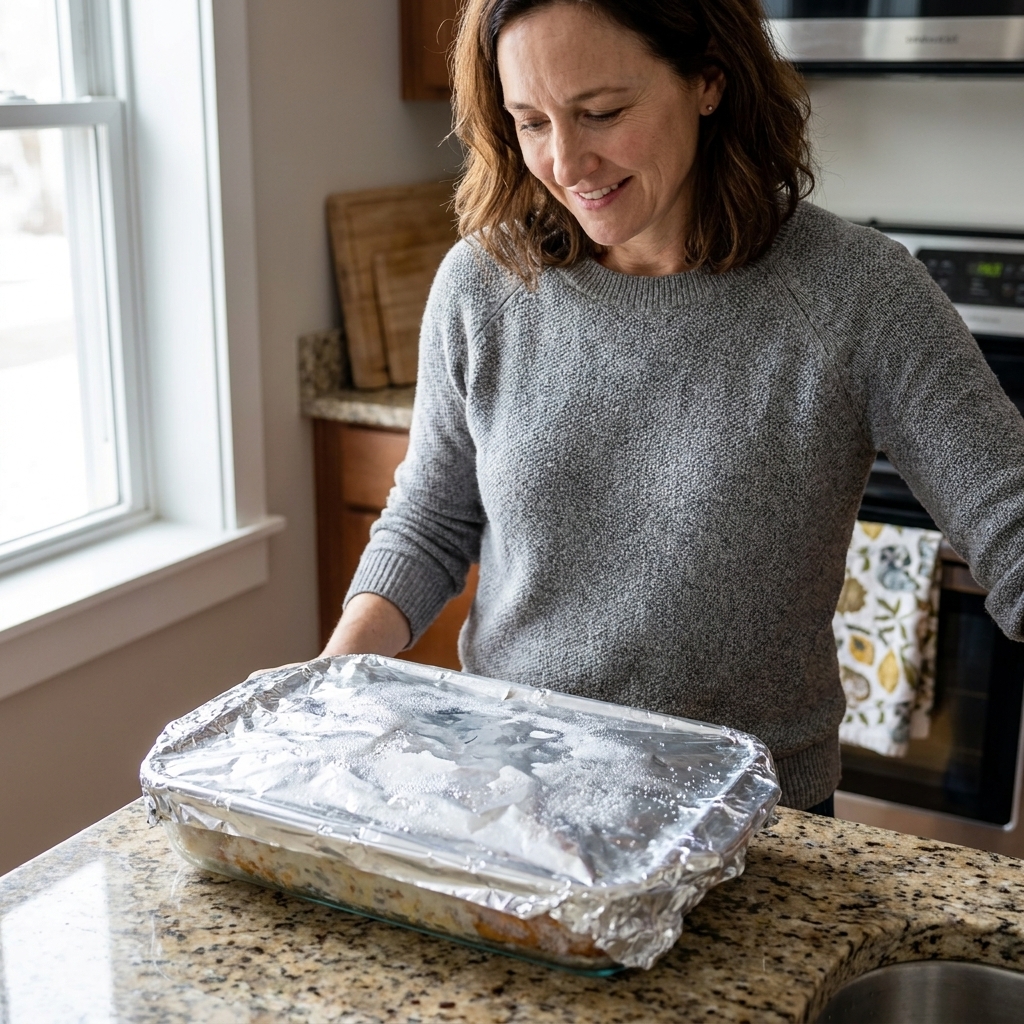
- Cover with a snug layer of foil, crimping the edges well.
- Add a second layer: another foil layer or place the pan in a freezer bag.
For freezer bags
- Line a small bowl with a freezer bag.
- Add one portion and press it into an even thickness.
- Press out as much air as possible and seal.
- Freeze flat on a sheet pan.
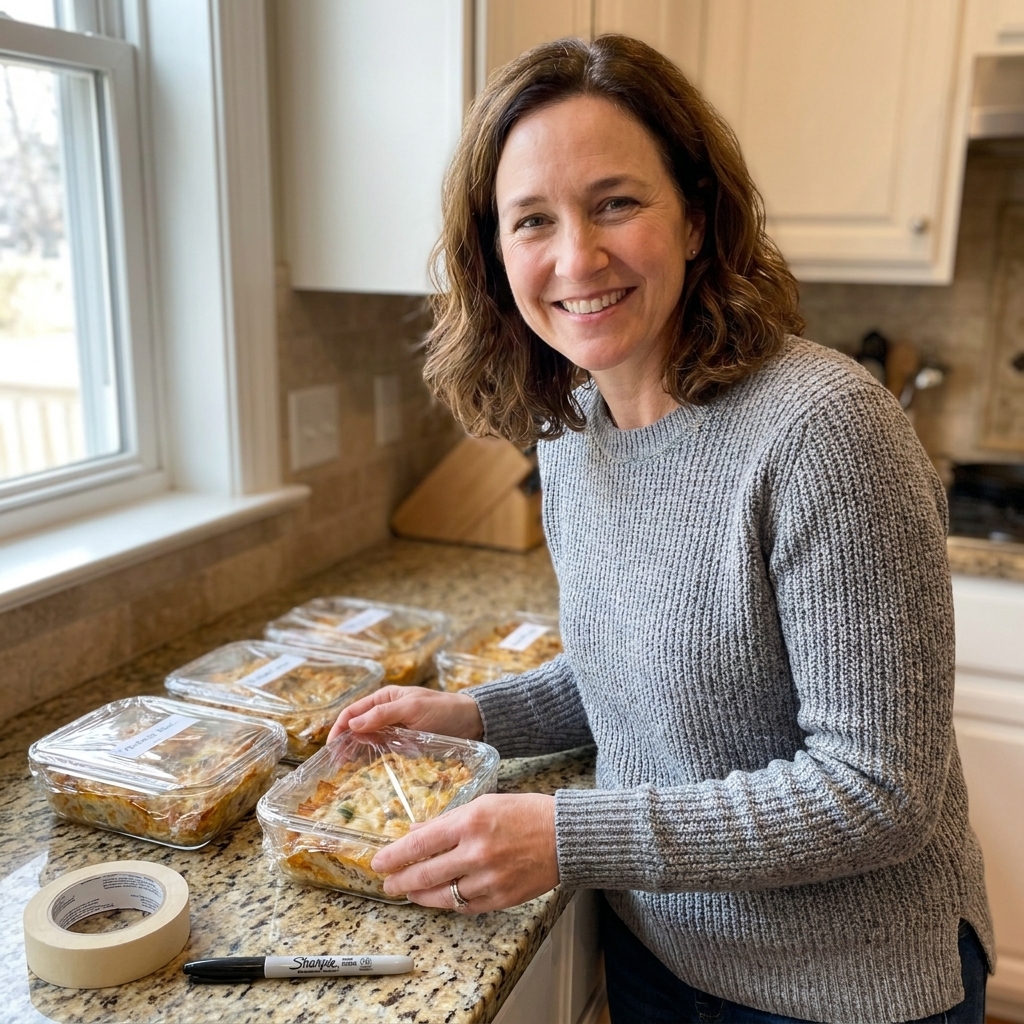
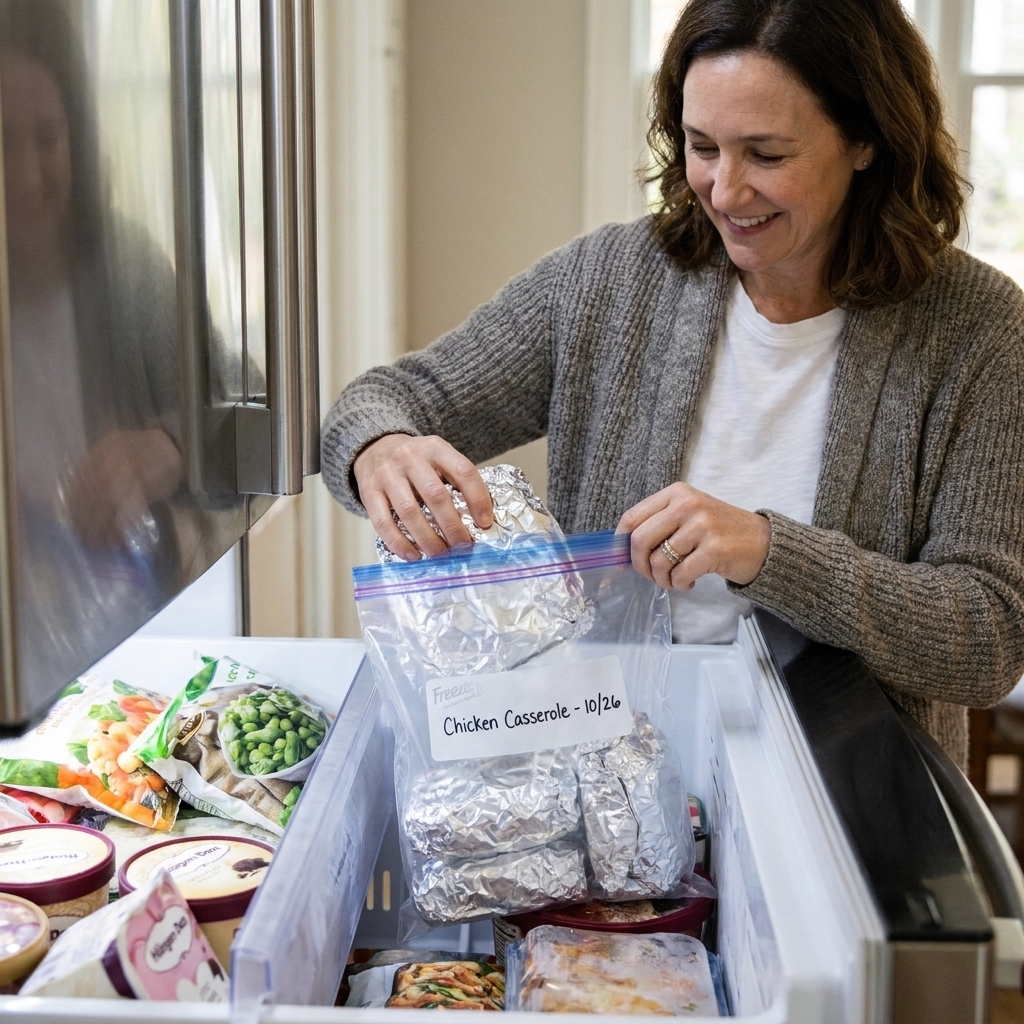
Label it like future-you is tired: recipe name, date, and a reheating note like “microwave 4 to 6 min” or “oven 350°F covered.”
How long it lasts
Frozen casseroles can stay safe much longer if your freezer holds at 0°F, but quality is what we are really protecting here.
- Best quality: 2 to 3 months
- Still tasty if well wrapped: up to 4 months
After that, flavors dull and textures start slipping, especially with pasta. If you are freezing for longer storage, go extra hard on wrapping and consider slightly undercooking pasta casseroles in the first place.
Reheating options
Your goal when reheating is simple: warm the center without drying out the edges. Times vary based on portion thickness, container material, and your appliance, so use these as a starting point and check for doneness.
Microwave (office lunches)
- Thaw if you can: Move one portion to the fridge the night before for the most even reheat.
- Cover: Use a microwave-safe lid or a damp paper towel to keep moisture in.
- Reheat in intervals: 2 minutes, stir or rotate if possible, then 1 to 3 more minutes until hot.
- Rest 1 minute: This finishes the heat-through without overcooking.
If reheating from frozen: Start with 3 minutes on 50 percent power, then 2 to 4 minutes on full power, checking as you go. Lower power first helps the middle catch up.
Doneness check: The center should be steaming hot. If you use a thermometer, aim for 165°F.
Oven or toaster oven (best texture)
- Heat oven to 350°F.
- Place portion in an oven-safe dish and cover with foil.
- Bake 20 to 35 minutes from thawed, or 35 to 55 minutes from frozen.
- Uncover for the last 5 minutes if you want a browned top.
Doneness check: It should be steaming hot in the center. If you use a thermometer, aim for 165°F.
Air fryer (small portions)
This works best for thicker, sturdier pieces like lasagna or baked pasta.
- Preheat to 325°F.
- Place portion in a small air-fryer-safe dish or on foil (if your model allows).
- Heat 8 to 12 minutes thawed, or 15 to 20 minutes from frozen, checking halfway.
Doneness check: Hot all the way through, with the center steaming. If you use a thermometer, aim for 165°F.
Tip: Add a tablespoon of sauce or a splash of broth before reheating if the casserole tends to dry out.
Avoid soggy and dry
I have battled both problems for years, and these fixes actually work.
Soggy bottom fixes
- Cool fully before sealing. Trapped steam turns into water droplets, and water is the enemy of crisp edges.
- Reheat uncovered at the end. For oven reheats, uncover for the final few minutes to drive off extra moisture.
- Use a preheated baking sheet. Set your oven-safe dish on a hot sheet pan to encourage a firmer bottom.
- Keep wet toppings separate. Salsa, fresh tomatoes, and sour cream go on after reheating.
Dry edge fixes
- Portion flatter, not thicker. Thick blocks overcook on the outside before the center warms.
- Cover tightly while reheating. Especially in the microwave.
- Add a tiny bit of moisture. A spoonful of sauce, broth, or even a splash of milk for creamy casseroles helps a lot.
Freeze before baking
Yes, you can portion and freeze some casseroles unbaked, and it is a great move if you want fresher texture later.
- Best candidates: lasagna, baked ziti, enchilada-style bakes, and saucy pasta casseroles.
- Trick: Assemble in single-serve foil pans or freezer-safe dishes, wrap very tightly, and freeze.
- How to bake: Bake from frozen covered at 350°F until hot in the center (aim for 165°F), then uncover to brown. Plan on it taking longer than the original recipe, often 20 to 40 minutes extra depending on size and dish material.
If a casserole relies on very crisp toppings, add those at the end so they stay crunchy.
My Sunday method
If you want a repeatable system, here is what I do when I am staring at a half-pan of leftovers.
- Chill the casserole overnight.
- Portion in the morning into 6 to 8 servings.
- Freeze 4 to 6 portions and keep 1 to 2 in the fridge for the next couple days.
- Write reheating notes right on the label.
- Rotate the freezer. Oldest portions go to the front so they actually get eaten.
This is how one family-sized bake becomes a whole week of solo wins.
Quick FAQ
Can I freeze a portion with cheese on top?
Yes. Cheese freezes well. For the nicest texture, reheat covered first, then uncover at the end so the top can bubble without drying out the inside.
Do I need to thaw before reheating?
You do not have to, but thawing overnight in the fridge gives you the most even, least rubbery reheat. If you are reheating from frozen, use lower power first in the microwave or cover longer in the oven.
What is the best way to pack a portion for work?
A sturdy, leak-resistant container with a tight lid, plus a spoonful of extra sauce if the casserole is on the thick side. I also like to tuck a folded paper towel in the lunch bag to catch condensation.
Can I freeze in the same container I microwave in?
If the container is labeled freezer-safe and microwave-safe, yes. When possible, let it thaw in the fridge before microwaving. That reduces temperature shock and helps the center heat evenly.
One last nudge
The whole point of solo meal prep is making your future self feel taken care of. So do the extra 60 seconds of wrapping, label it clearly, and freeze portions in shapes that reheat nicely. You will taste the difference on a busy Tuesday when lunch is hot, comforting, and not even a little bit sad.