
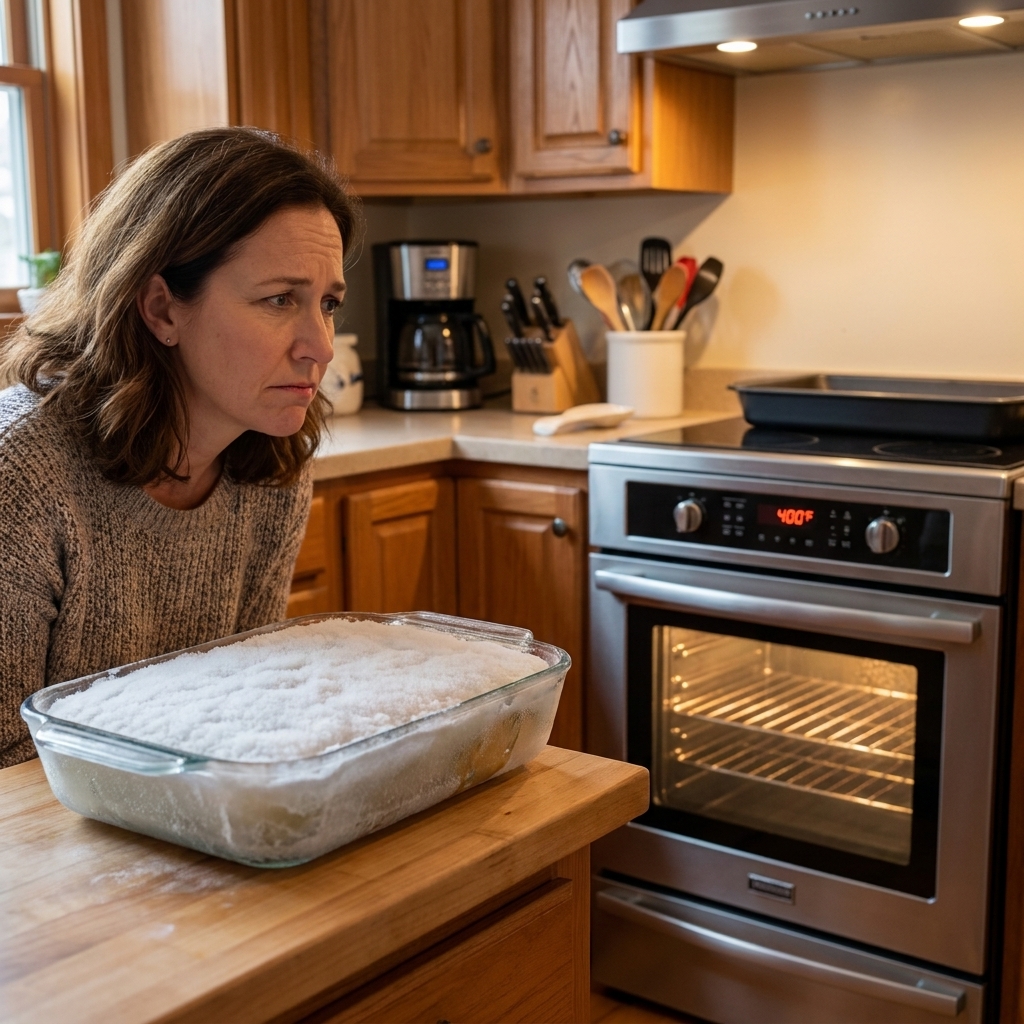
I love a freezer casserole as much as anyone with three kids and a calendar that laughs at “leisurely cooking.” But there is one make-ahead mistake I do not mess around with: sliding an ice-cold glass or ceramic dish straight into a blazing hot oven. That is the fast track to thermal shock, and yes, it can mean a cracked pan or a full-on shatter with dinner, glass, and heartbreak all over the oven rack.
This is the simple, no-drama routine I use to keep freezer meals safe and predictable, while still getting that bubbly, golden top we all want.
Why dishes shatter: thermal shock
Thermal shock happens when one part of your pan heats (or cools) much faster than another part. Glass and many ceramics do not flex much. So instead of gently expanding as they warm, they can crack under stress.
Freezer-to-oven is the perfect storm because:
- The dish is very cold (often around 0°F, and sometimes lower depending on freezer settings and how long it has been stored).
- The oven air is very hot (350°F to 450°F is common for casseroles).
- Heat hits unevenly, especially if the pan touches a hot rack, a hot sheet pan, or sits near a heating element.
Add a tiny chip or scratch you barely notice, and that stress has an easy place to start a crack.
Best bakeware for freezer meals
Best options
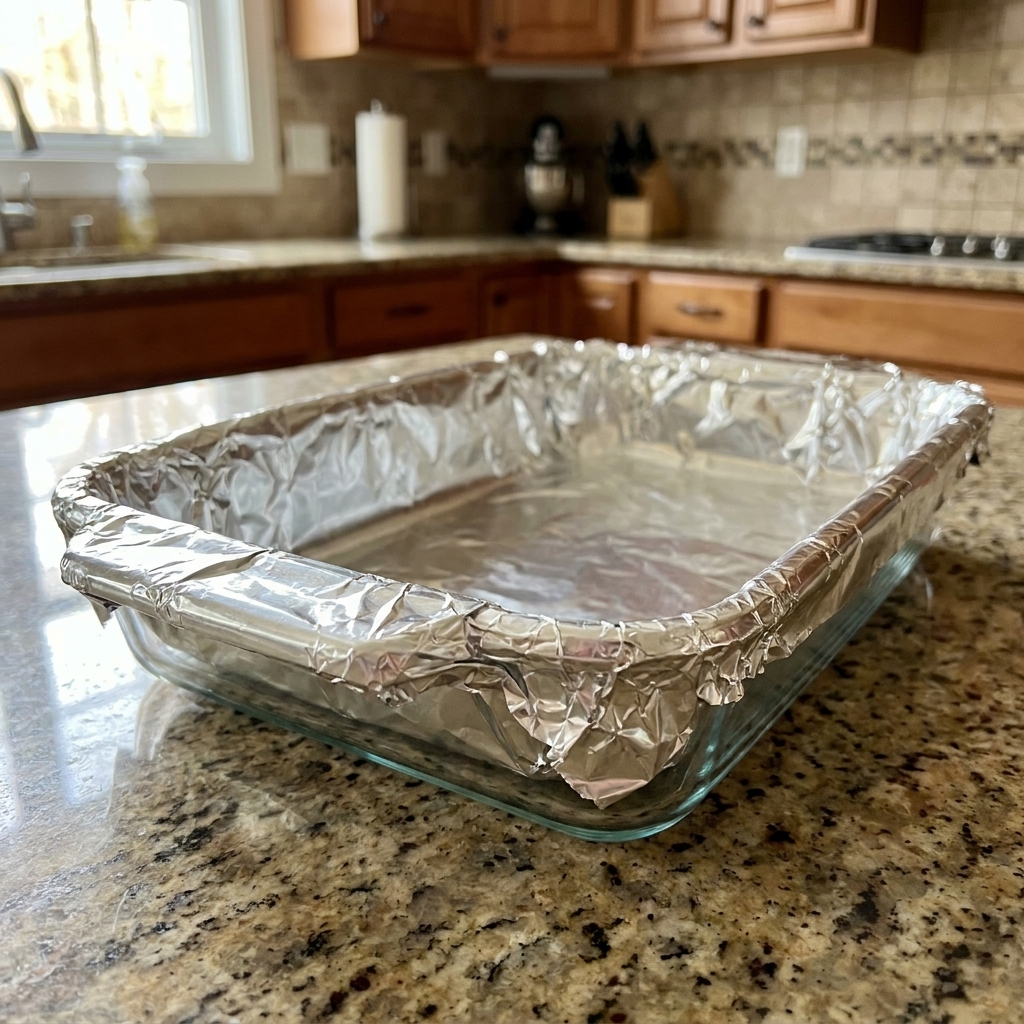
- Metal pans (aluminum or stainless): These handle temperature swings the best. For freezer casseroles, a disposable or reusable metal 9x13 is my low-stress champion.
- Glass that is explicitly labeled freezer-to-oven safe: Some borosilicate lines tend to handle temperature changes better than typical soda-lime glass, but material alone is not a guarantee. I only treat a dish as freezer-to-oven friendly if the manufacturer says it is, for that exact piece.
- Enamel-coated metal: Often sturdier than ceramic for temperature swings, but still read the brand guidance.
Use extra caution with these
- Most everyday glass bakeware: Many common glass casserole dishes are often tempered soda-lime glass. They may be oven safe and freezer safe, but that does not automatically mean they are safe for the extreme jump from frozen to a fully preheated oven.
- Ceramic and stoneware: Some are “freezer safe” and “oven safe” separately, but that does not always mean “freezer-to-oven safe.” Rapid change is the issue.
My house rule: If it is going straight from frozen toward the oven with minimal thaw time, I choose metal. If I want to use my pretty ceramic, I plan a thaw.
My freezer-to-oven safety rules
Rule 1: Skip frozen glass in a hot oven
If you remember one thing, remember this. The bigger the temperature jump, the bigger the risk.
Rule 2: Never set a cold dish on a hot surface
This is the sneaky one. A cold pan placed on a hot stovetop, hot sheet pan, or warm burner area can crack just as easily as the oven move. Always use a room-temperature trivet, towel, or wooden board.
Rule 3: Warm gradually
Gradual warming can look like:
- Thawing in the fridge first
- Resting on the counter before baking
- Starting in a cold oven and letting the oven and dish heat together (only if your bakeware brand allows it)
Rule 4: Buffer the bottom heat
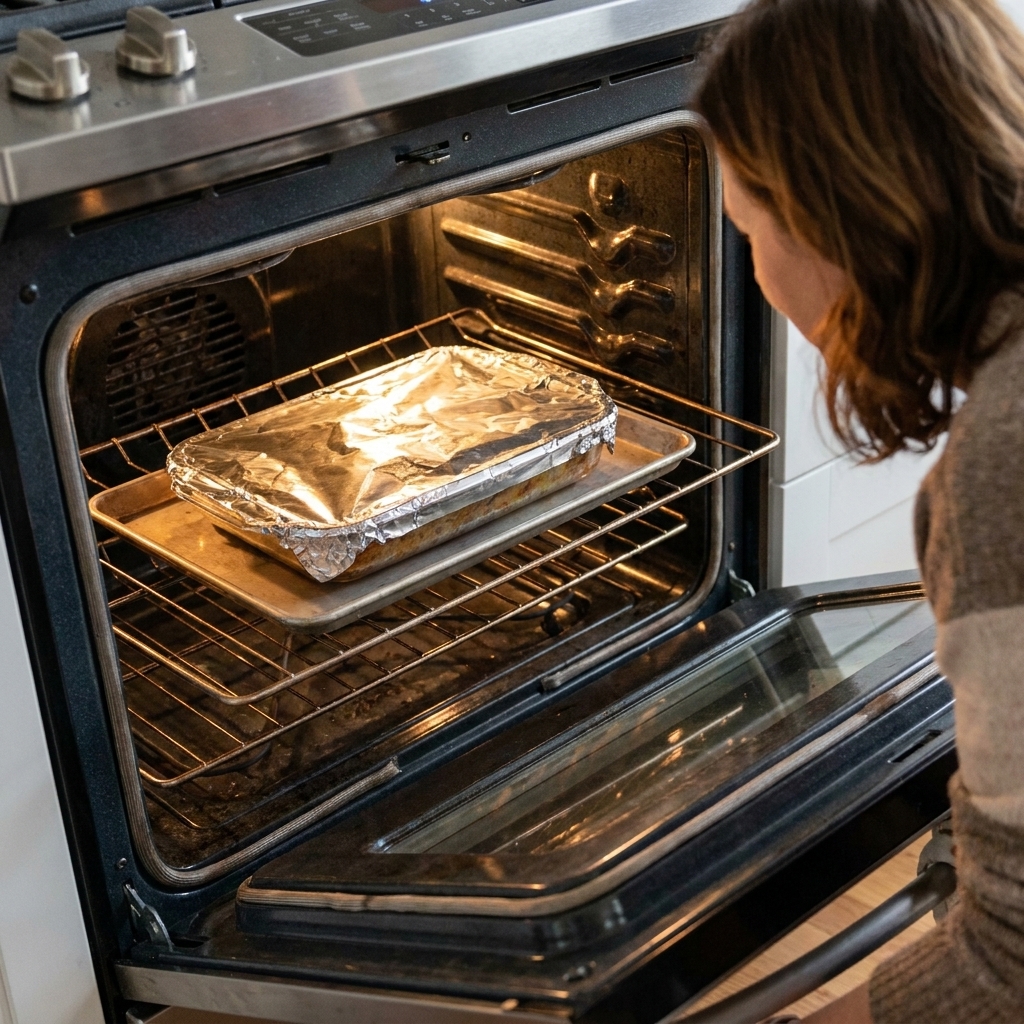
If you are baking a casserole that started cold, I like to place the dish on a room-temperature rimmed baking sheet. It makes carrying easier and can help buffer the bottom from intense rack heat. The key is that the sheet pan must not be preheated.
Safest ways from freezer to dinner
Option A: Fridge thaw, then bake
This is my gold standard for glass and ceramic.
- Move the frozen casserole to the fridge for 24 to 48 hours, depending on thickness.
- Unwrap and scrape off any frost or ice crystals on top (those can make the top watery). If there is condensation, pat it dry with a paper towel.
- Let it sit on the counter 20 to 30 minutes while the oven preheats.
- Bake as directed, often adding 10 to 20 minutes if it is still very cold in the center. When in doubt, use a thermometer instead of guessing.
Option B: Partial thaw, then bake
If you forgot to move it to the fridge, do this instead of forcing a frozen glass pan into a hot oven.
- Set the wrapped casserole on the counter for 30 to 60 minutes to take the edge off. If your kitchen is warm or the casserole contains meat or dairy, keep this on the shorter side and move it to the fridge as soon as you can.
- Switch to the fridge for another hour or two if you have it.
- Bake in a moderate oven (350°F is friendlier than 425°F for temperature shock). Tent with foil if the top browns before the middle warms.
Option C: Freeze in metal and bake from frozen
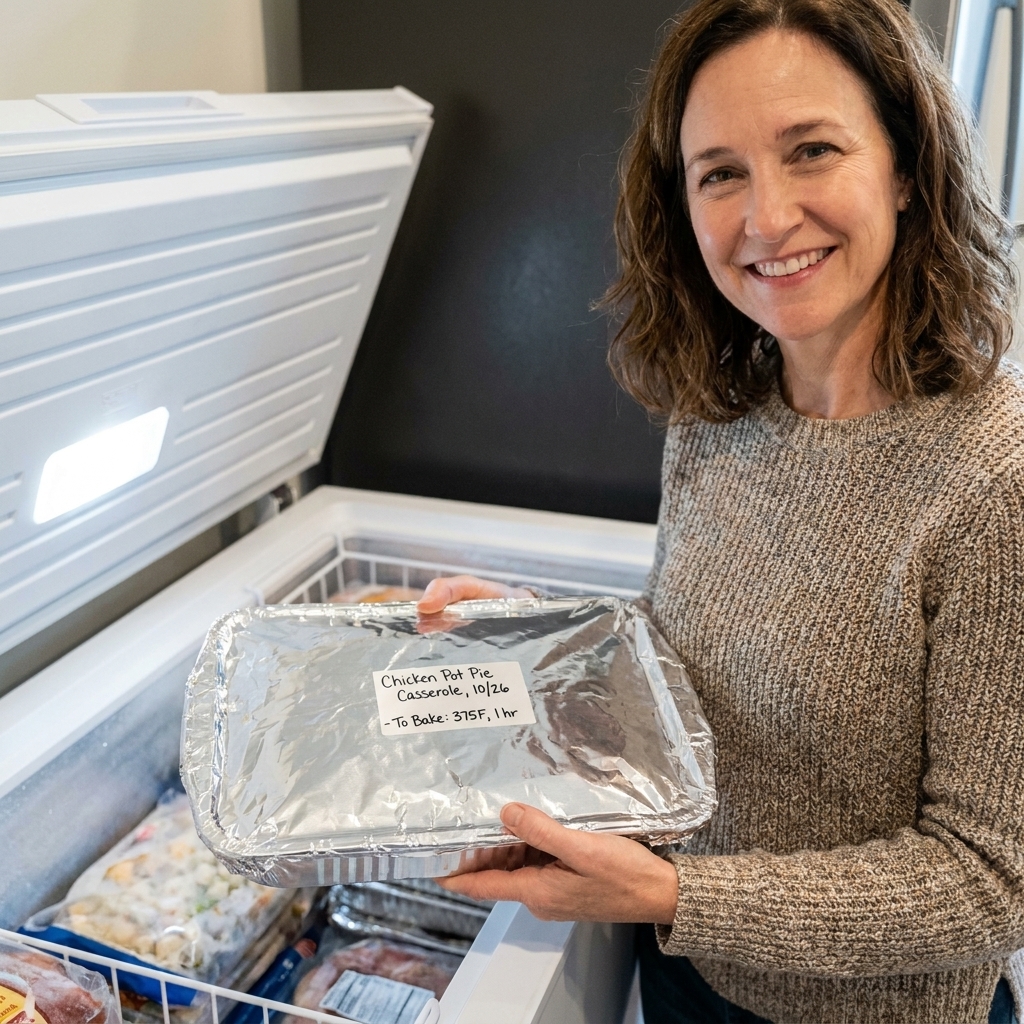
This is how I stock my “emergency meals.” Assemble in a metal 9x13, freeze flat, then bake from frozen.
Basic steps:
- Freeze solid (ideally overnight).
- Bake covered at 350°F to 375°F until the center is hot, then uncover to brown.
- Use a thermometer for peace of mind. I aim for 165°F in the center for casseroles with meat, poultry, or leftovers.
If you want to use glass
Do
- Read the bottom of the dish and the manufacturer care instructions if you can find them. Labels and guidance can vary by brand, country, and even the era your dish was made.
- Thaw first (fridge thaw is best).
- Let the dish come toward room temp before it meets high heat.
- Place it on a room-temperature sheet pan for support and easier handling.
Do not
- Put a frozen glass dish into a preheated oven.
- Try to “unstick” frozen glass with hot water. Running hot water over a frozen glass dish is another recipe for thermal shock.
- Put a hot glass dish on a wet counter or into a cold sink. That fast cool-down can crack it too.
- Use chipped or scratched glass bakeware for freezer meals. Those weak points matter.
Moisture control
When casseroles freeze, water expands and can form ice crystals. If you bake from frozen without a plan, you often get extra liquid pooling at the bottom, plus uneven heating that keeps the center cold longer.
My quick fixes:
- Cool fillings before freezing so steam does not turn into freezer frost.
- Under-sauce slightly for pasta casseroles you plan to freeze, or use a thicker sauce.
- Add crunchy toppings later (cracker crumbs, fried onions, cereal toppings). Freeze the casserole without them, then add right before baking.
My thaw and bake routine
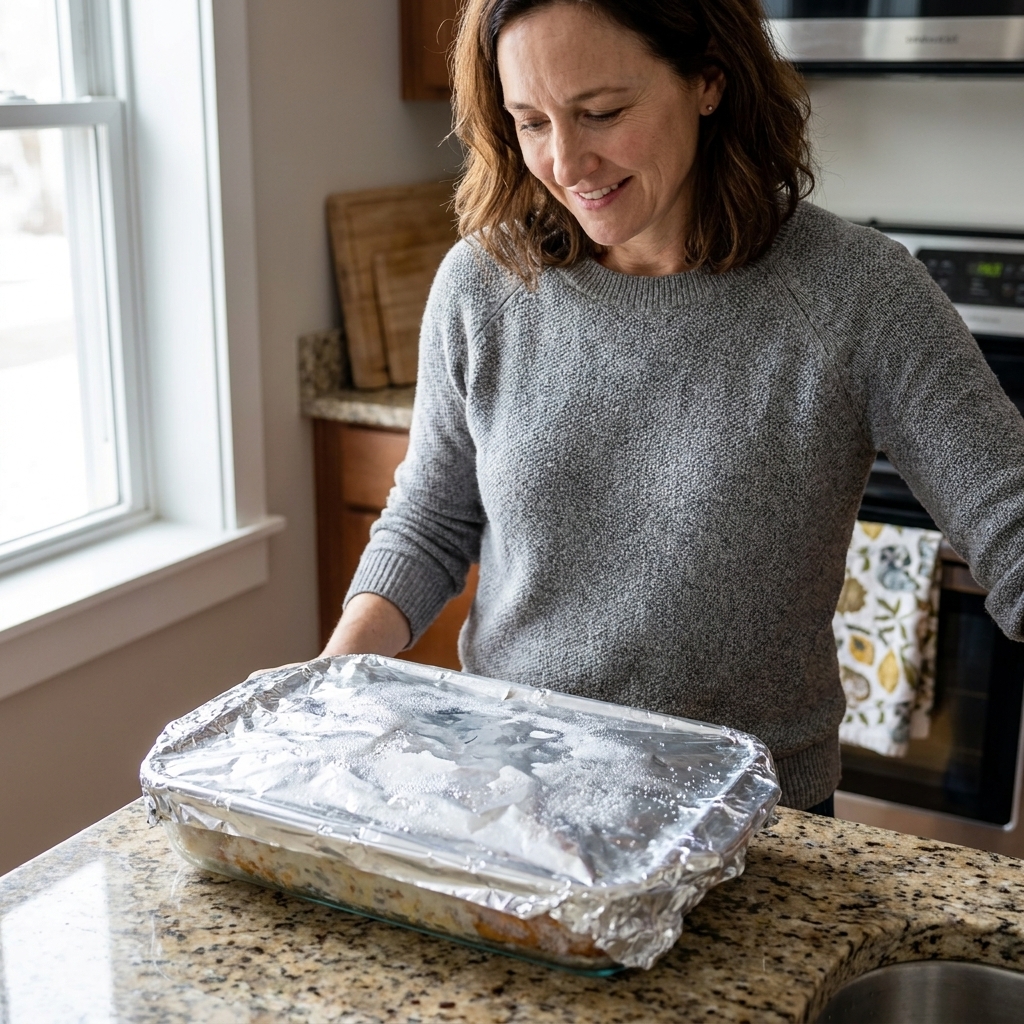
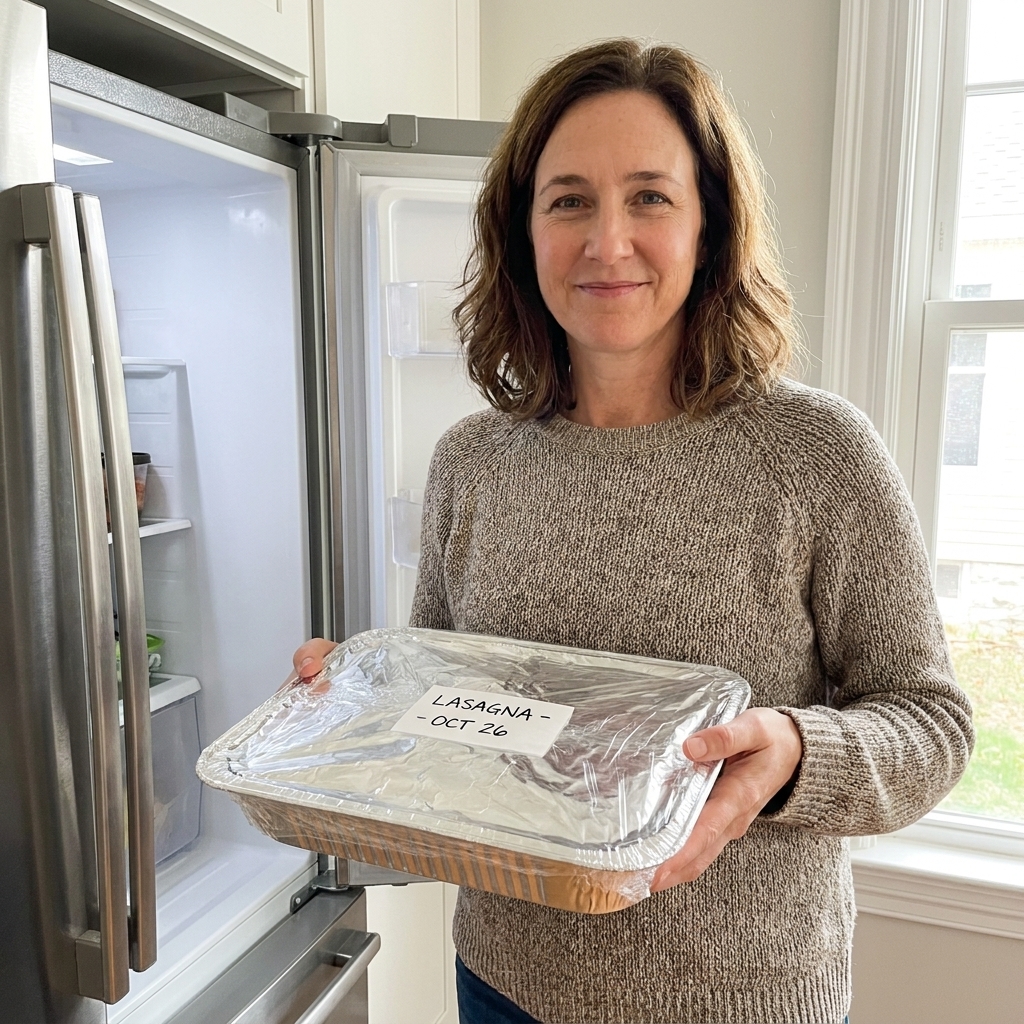
- Freeze correctly: Cool completely, wrap tight (plastic wrap plus foil), label, and freeze flat.
- Thaw in fridge: 24 to 48 hours.
- Rest on counter: 20 to 30 minutes while the oven preheats.
- Buffer the bottom: Set the dish on a room-temperature rimmed sheet pan.
- Bake covered first: Keeps the top from drying out while the center heats.
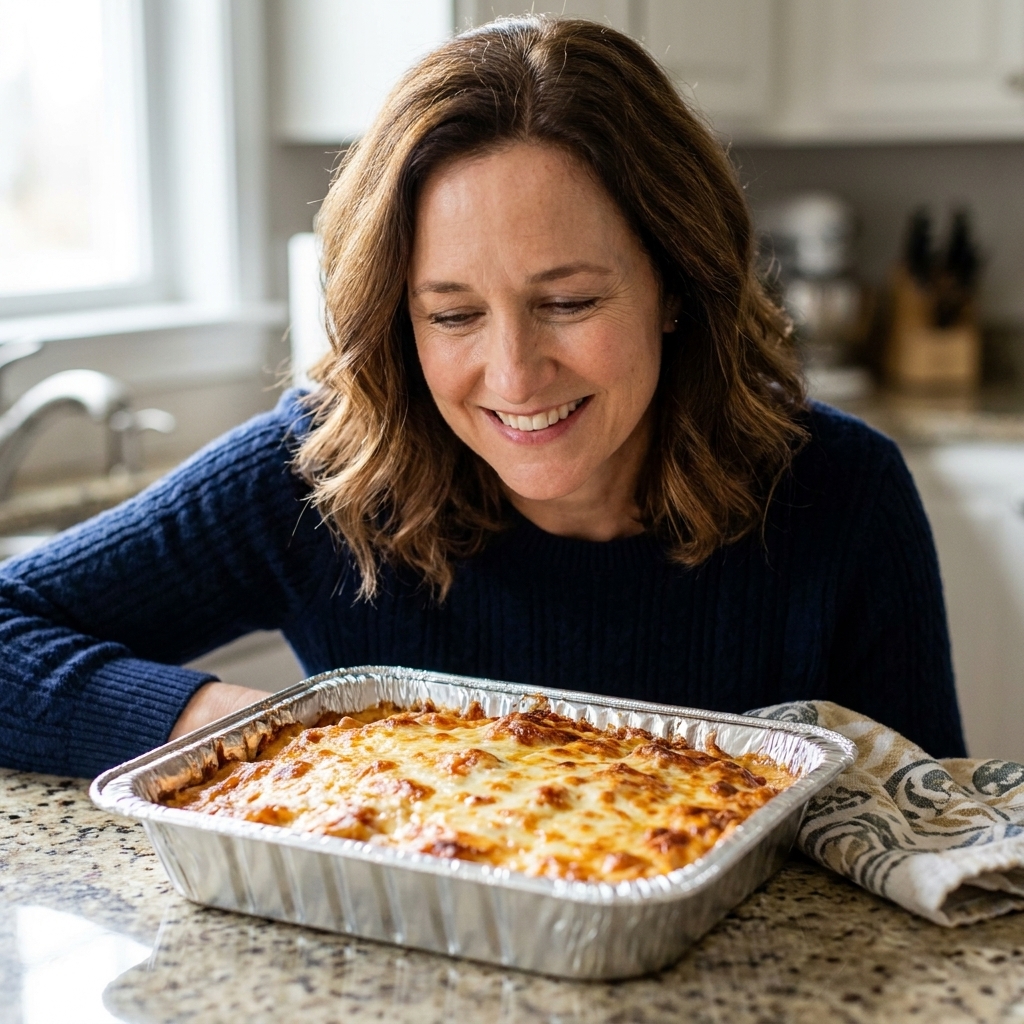
- Uncover to finish: Brown the top in the last 10 to 15 minutes.
- Check the center: Aim for 165°F for meat-based casseroles and leftovers.
- Cool safely: Set the hot dish on a dry towel or wooden board, not a cold wet surface.
FAQ
Can I bake it if I start with a cold oven?
Starting in a cold oven can reduce temperature shock because the dish and oven warm together. But it is not a universal guarantee, and some manufacturers still recommend preheating for more even results. The bigger issue is that cold-oven starts can stretch the time it takes to heat through, so do not rely on the clock alone. Use a thermometer and make sure the center gets fully hot, especially for thick casseroles.
What if my casserole is frozen in glass and I need dinner tonight?
Move it to the fridge immediately, even if it is only for a few hours, then let it rest on the counter 30 to 60 minutes. Bake at 350°F, covered, and expect extra time. If the pan is stuck, do not pry with force and do not run it under hot water. Let it sit until it releases naturally.
Is it safer to bake at a lower temperature?
Usually, yes. A moderate oven (around 350°F) warms the dish and the food more gently than a high-heat blast. You can always bump the heat briefly at the end to brown the top.
What are the warning signs a dish might crack?
Any sharp “ping,” visible hairline cracks, or sudden sizzling liquid under the pan are red flags. Turn off the oven, keep the door closed if you suspect shattering, and let everything cool before you try to remove it.
Does Pyrex always mean freezer-to-oven safe?
Not automatically. “Oven safe” and “freezer safe” do not always equal “freezer-to-oven safe in a preheated oven.” Pyrex lines also vary by country and production era. The safest move is to check the care instructions for your specific piece or thaw first.
My bottom line
If your meal is frozen solid and you want to bake it without thinking too hard, choose metal. If you want to use glass or ceramic, plan for a thaw and give your pan a gentle warm-up before it meets big heat. That one habit dramatically lowers the risk of cracked dishes, ruined dinners, and the kind of oven cleanup nobody has time for on a Tuesday.
And yes, I still keep two emergency meals in my chest freezer. They are both in metal pans for a reason.