
Freezer burn is not a moral failing. It is just cold, dry air stealing moisture and flavor from your hard work. After two decades of living out of a 9x13 pan and keeping “emergency dinners” stocked, I can tell you this with confidence: most freezer burn comes down to one thing, too much air touching your food.
My fix is simple and boring, which is exactly what you want from freezer storage: the double-wrap method. One layer hugs the casserole and blocks air. The second layer protects it from tears, odors, and the wild west that is a busy family freezer.
What freezer burn is
Freezer burn happens when the surface of food dries out because moisture escapes and sublimates in the freezer (ice turns directly into water vapor). You will see pale, icy patches and sometimes a grayish, leathery look on exposed corners. It is safe to eat, but it tastes flat and can reheat dry, especially around the edges.
Casseroles are extra vulnerable because they have:
- Big surface area (hello, 9x13).
- Lots of edges and corners where air sneaks in.
- Sauces and starches (rice, pasta, potatoes) that show dryness fast.
The double-wrap method
Think of this as “seal it, then armor it.” Here is the method I use for both unbaked and baked casseroles.
Step 1: Cool it safely
If the casserole is baked, cool it at room temperature 15 to 30 minutes, just until it stops steaming. Then refrigerate until fully cold before wrapping.
Two reasons: wrapping warm food causes condensation (hello, ice crystals and watery sauces later), and food safety matters. Do not leave perishable casseroles out longer than 2 hours total (or 1 hour if your kitchen is very warm).
Rule of thumb: cold casserole, then wrap.
Step 2: First wrap (airtight)
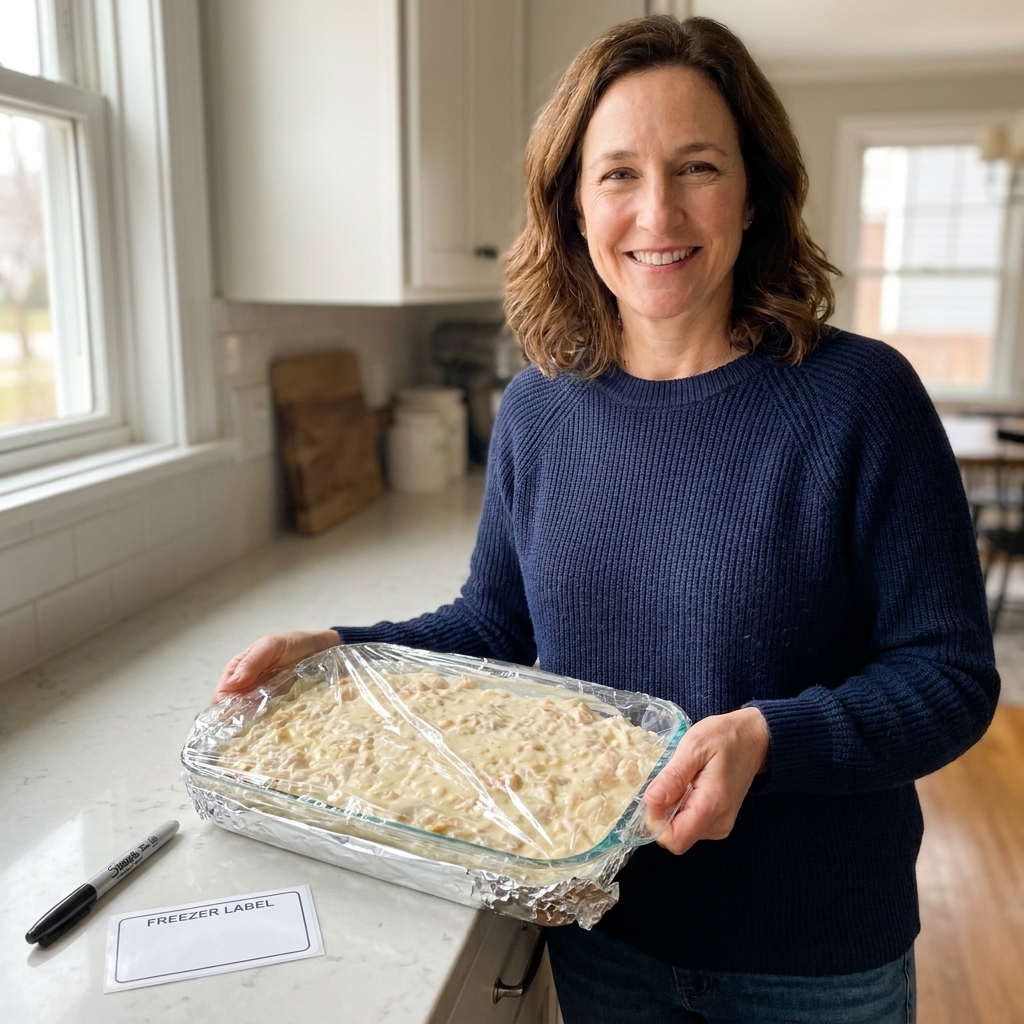
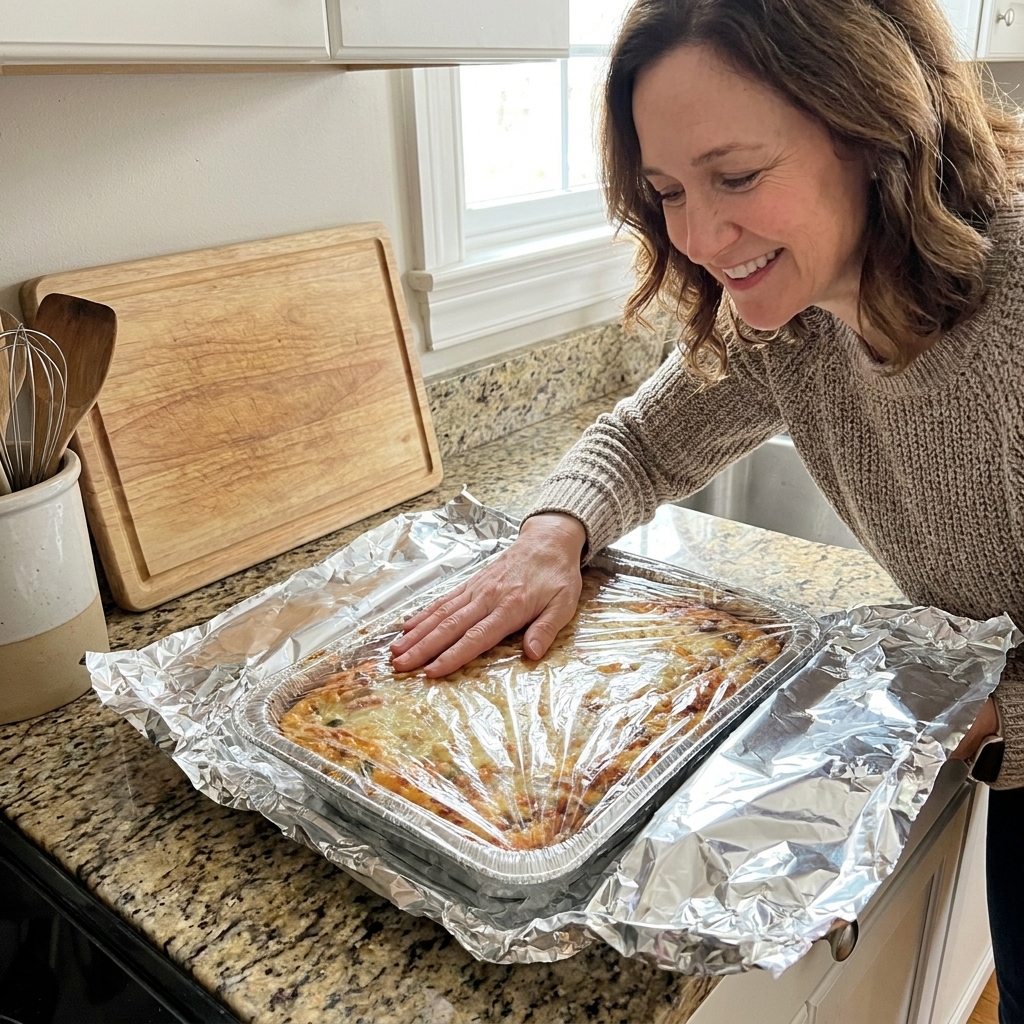
Press plastic wrap directly onto the surface and down onto the rim, pushing out as much air as possible. This first layer is your main freezer-burn shield because it is in direct contact with the food and blocks dry air.
If you hate plastic wrap, parchment alone will not do the same job because it is not airtight. You can use a very tight-fitting lid plus a second wrap, but plastic wrap still performs best for the true “air barrier” layer.
Step 3: Second wrap (protection)
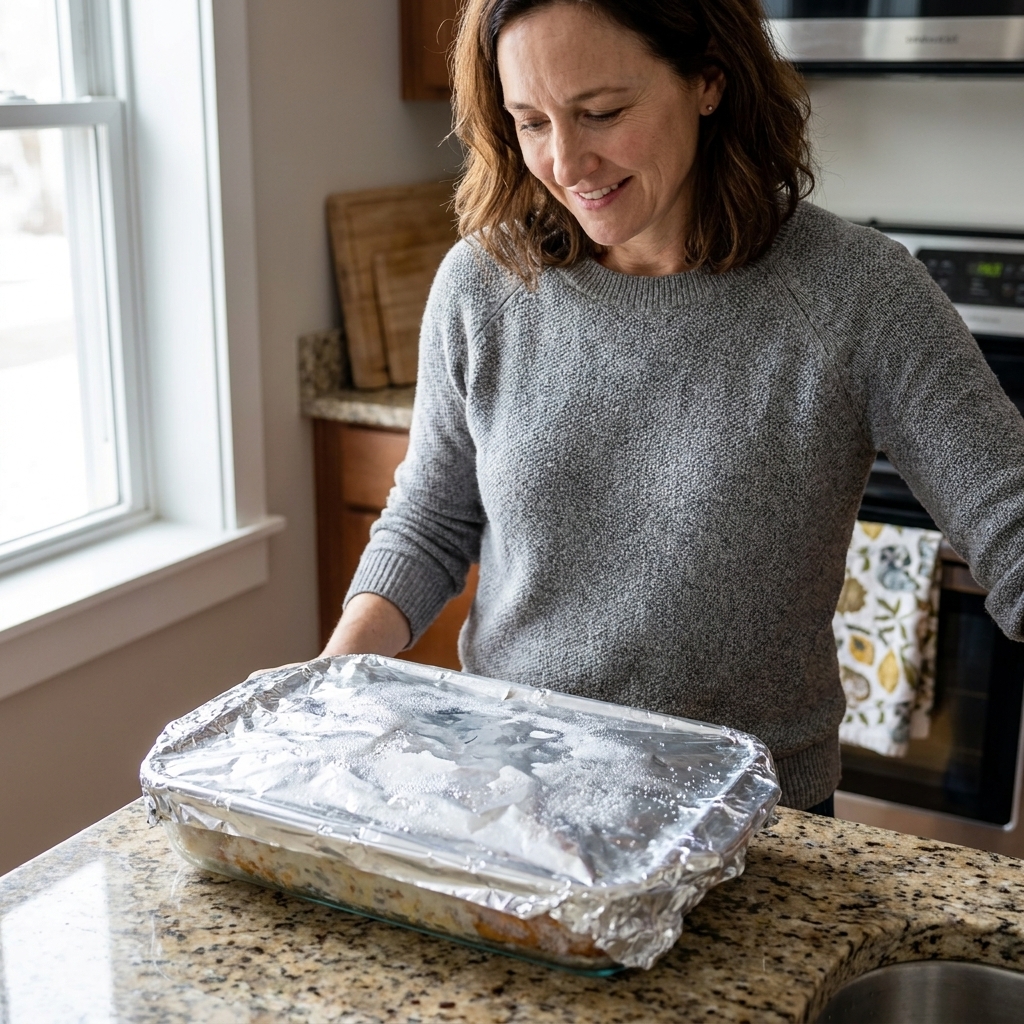
Wrap the whole pan in heavy-duty aluminum foil (or slide it into a large freezer bag if the shape allows). This layer prevents rips, protects against freezer odors, and keeps the first wrap from getting nicked by frozen pizza boxes.
Step 4: Label and freeze flat
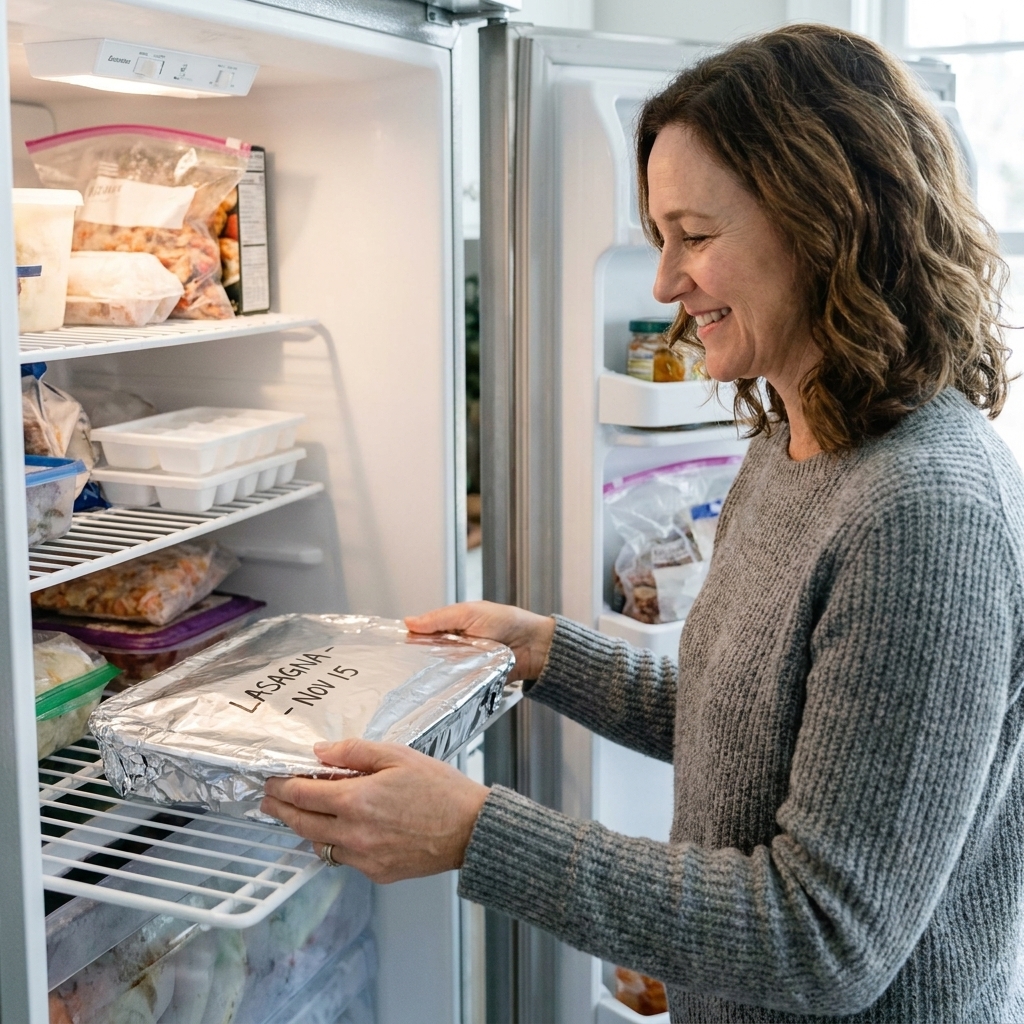
Label on the foil with a permanent marker: the dish name, date, and baking instructions if needed. Freeze the casserole on a flat surface until solid, then you can stack it.
Best wrapping materials
You do not need fancy gear, but you do need the right combo. Here is what works best in a typical home freezer.
Plastic wrap + heavy-duty foil
- Best for: glass or ceramic baking dishes, foil pans, and anything you are gifting.
- Why it works: plastic wrap blocks air, foil protects.
- Tip: use heavy-duty foil, not the thin stuff that tears when you look at it.
Plastic wrap + freezer bag
- Best for: 8x8s, loaf pans, and casseroles you portion into smaller containers.
- Why it works: the bag adds a second air barrier and helps prevent punctures.
- Tip: press out air before sealing. A straw trick can help, but even firm hand-pressing makes a difference.
Vacuum sealing (great, with a caveat)
- Best for: fully cooled portions, like slabs of lasagna or individual servings.
- Caveat: vacuum sealing a whole 9x13 is awkward unless you freeze portions first.
- Tip: pre-freeze portions on a tray so the sauce does not get sucked into the machine.
Pan-specific tips
Glass or ceramic baking dishes
If you plan to freeze in your pretty dish, double-wrap it and be mindful of temperature shock. Cold glass going into a hot oven can crack.
- Wrap tightly and freeze.
- To bake: thaw in the fridge overnight when possible.
- If baking from frozen, start at a lower temp and set the dish on a sheet pan, but know this carries some risk with glass.
Disposable foil pans
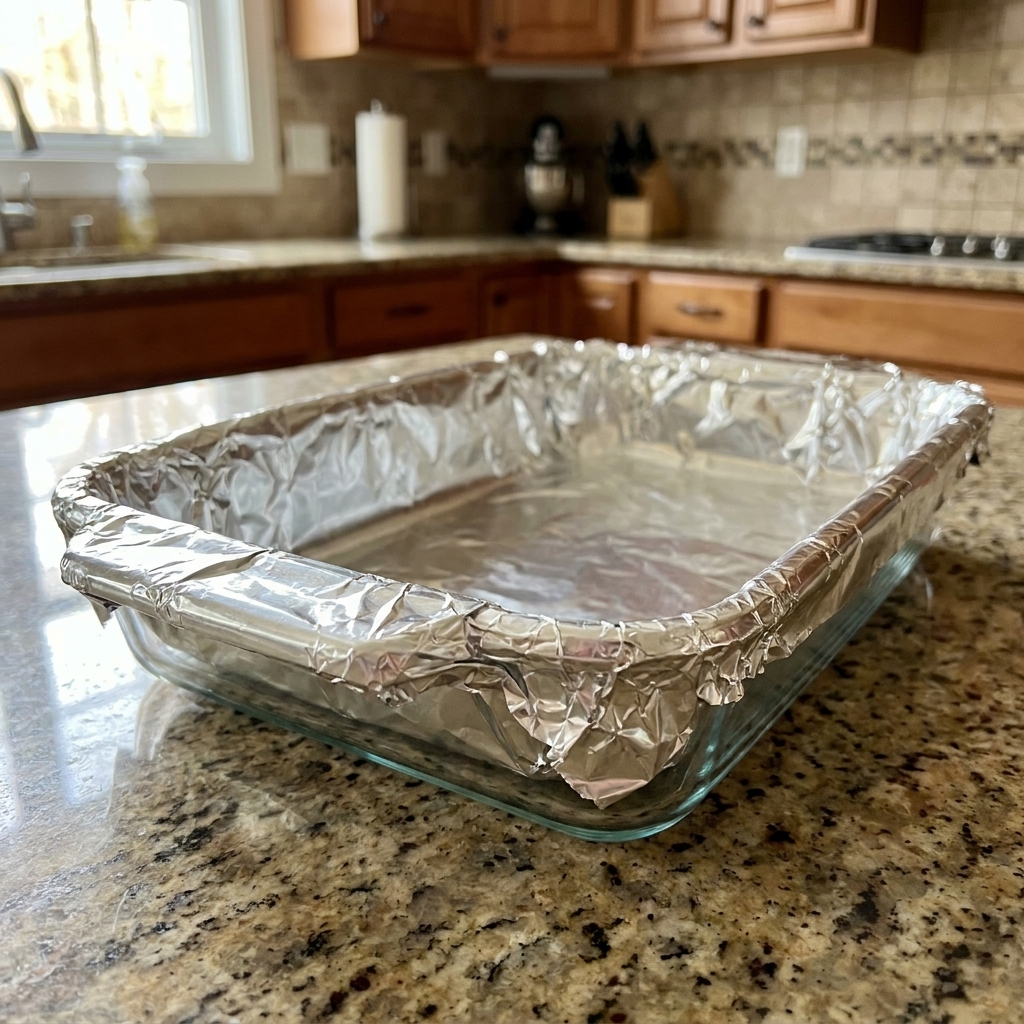
Foil pans are convenient and stackable, but they dent easily. Double-wrap is non-negotiable here.
- First wrap: plastic wrap tight to the surface.
- Second wrap: heavy-duty foil. Use two layers if your freezer is crowded or you stack things.
Metal baking pans
These freeze and thaw well and are sturdy. Still double-wrap, especially around corners.
Small details that matter
Press the wrap onto the surface
This is the part most people skip. Air pockets are where freezer burn starts. I smooth the plastic wrap right down onto the sauce or cheese layer like I am tucking in a blanket.
Build a flat top
Domed casseroles (extra cheese, mounded filling) leave air gaps under the wrap. If you can, level the top before wrapping. For shepherd’s pie, smooth the potatoes flat. For enchiladas, spoon sauce evenly into corners.
Freeze fast, then store smart
The quicker a casserole freezes, the smaller the ice crystals. Put it on a colder spot in the freezer, not in the door. After it is solid, store it where it will not get crushed or repeatedly warmed by the door opening.
Portion if you want better results
If you have the time, portion a casserole into smaller pans or individual servings before freezing. It freezes faster, thaws faster, and you open less surface area to air every time you reheat leftovers.
Leave a little headspace
If you are freezing in rigid containers (instead of a casserole dish), leave a bit of room at the top for expansion, especially for very saucy bakes. Then press plastic wrap directly onto the surface before you put the lid on.
Keep freezer smell out
That weird freezer taste is real. The foil layer helps, and so does a clean freezer. If your freezer has strong odors, add a freezer box of baking soda and rotate it regularly.
How long casseroles keep
Food safety and peak quality are not the same thing. A properly frozen casserole can stay safe longer, but for best taste and texture, this is the timeline I follow.
- Best quality: about 2 to 3 months
- Still usually fine: around 4 months if wrapped well
- Delicate casseroles (cream sauces, lots of dairy): aim for 2 months
If you are labeling, write a “use by” month. Future you will be grateful.
Thawing and reheating
Best method: thaw overnight
Slow thawing in the fridge protects texture, especially for pasta bakes and rice casseroles.
If you need to bake from frozen
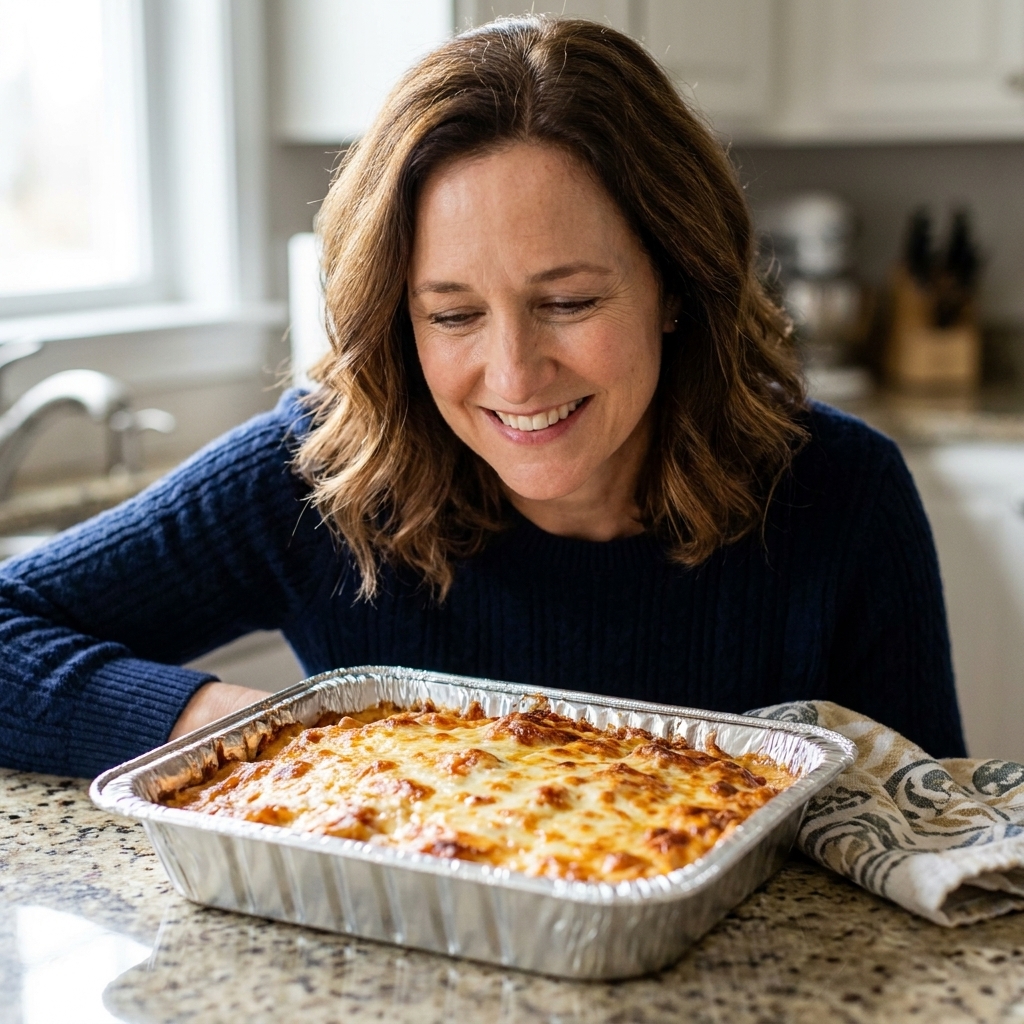
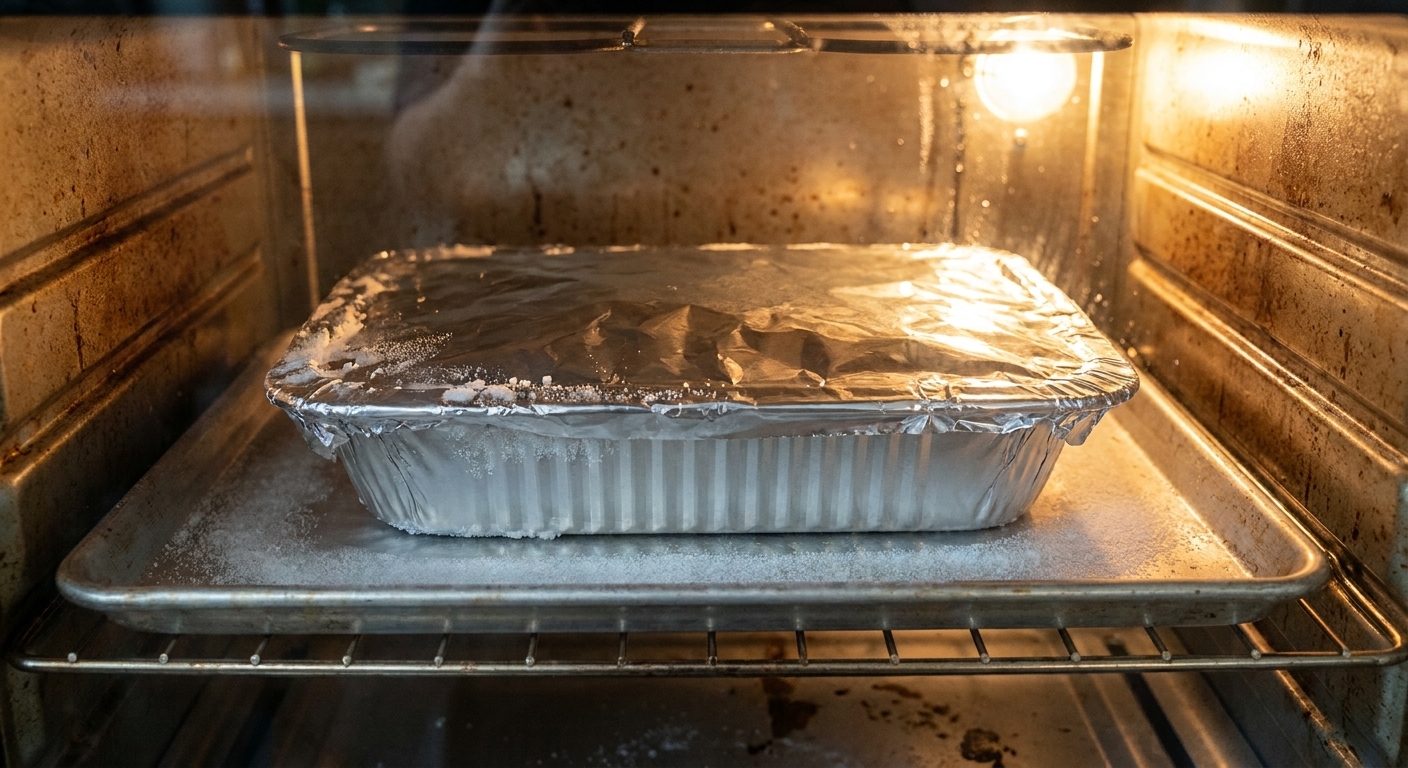
- Remove plastic wrap. Keep foil on for the first part of baking.
- Bake covered until the center is hot, then uncover to brown.
- If the top starts to over-brown before the middle is hot, cover again loosely.
Add back a little moisture
If a casserole looks a bit dry before baking, I drizzle on a few tablespoons of broth, milk, marinara, or enchilada sauce, depending on the recipe. A small splash can save the edges.
Common problems
“The corners always get icy and dry.”
Corners are the first to burn. Press plastic wrap firmly into corners and around the rim. If your pan has high edges, add a second piece of plastic wrap crosswise before the foil layer.
“My foil tears in the freezer.”
Use heavy-duty foil and wrap with the shiny side in either direction, it does not matter for standard foil. The only time it matters is nonstick foil, where one side is coated. What matters most is thickness and coverage. If you stack casseroles, consider two foil layers.
“It tastes like the freezer.”
That usually means the second protective layer was loose or punctured. Double-wrap tightly, store away from uncovered ice trays or strong-smelling foods, and clean the freezer when odors build up.
“The top is watery after thawing.”
That is often trapped condensation from wrapping while warm. Cool, refrigerate until cold, then wrap and freeze.
“It already has freezer burn.”
You can still salvage it. Trim off badly dried corners if you can, or plan to sauce it up. I have turned slightly freezer-burned pasta bakes into a respectable dinner by adding a little marinara, covering tightly with foil, and baking until bubbly.
My quick checklist
- Cool 15 to 30 minutes, then chill in the fridge until cold (do not exceed 2 hours at room temp).
- Plastic wrap pressed directly onto the surface and sealed to the rim.
- Heavy-duty foil wrapped tightly around the entire pan.
- Label with name and date.
- Freeze flat until solid.
If you do those five things, your make-ahead casseroles will come out tasting like you made them on purpose, not like you rescued them from the back of a frosty cave.