
If you have ever tried to be “so on top of it” by assembling a casserole early, only to pull it from the fridge and discover a watery, sad situation, you are not alone. I love a make-ahead moment as much as anyone, but the fridge has rules.
Here is the simplest guideline I use in my own kitchen, including for holidays, potlucks, and chaotic weeknights.
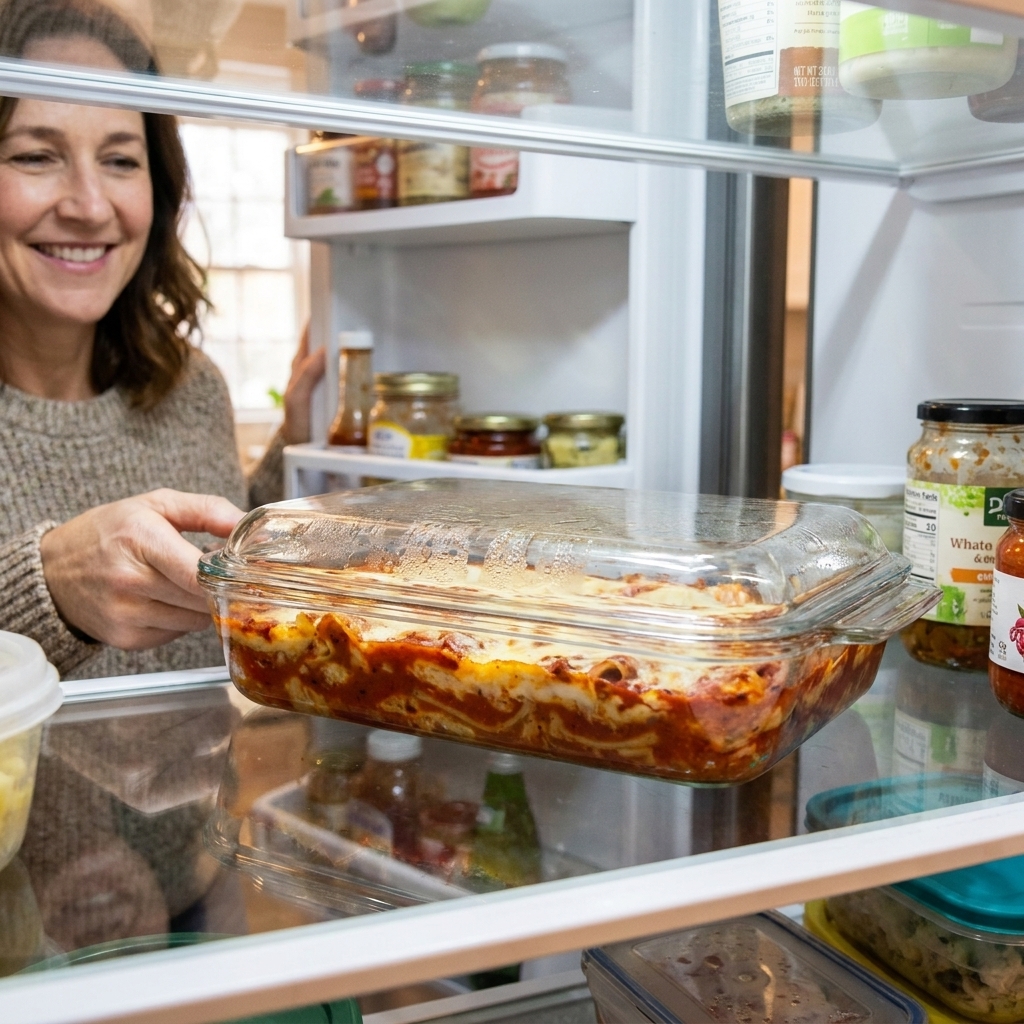
The 48-hour rule
For best texture, I aim to assemble and refrigerate most casseroles for 24 to 48 hours before baking.
That is a quality call, not a hard-and-fast food safety law. Many cooked foods keep longer than that in the fridge, but casseroles are fussy: pasta keeps soaking, vegetables keep weeping, and creamy sauces can get weird.
Use 24 to 48 hours as your default if you want “creamy and bubbling” instead of “split and soggy.” It helps you dodge the usual problems like:
- pasta drinking up sauce and turning thick and dry
- breadcrumbs or crackers dissolving into paste
- vegetables shedding water and flooding the bottom
- dairy sauces separating
- raw proteins leaking liquid into the base
What this looks like
Here is the practical way I plan it:
- Friday night for Sunday dinner: Perfect. Assemble Friday, bake Sunday.
- Sunday afternoon for Tuesday night: Great. Assemble Sunday, bake Tuesday.
- Tuesday night for Saturday brunch: Usually not my favorite. That is freezer territory, or you prep components and assemble later.
If you need more than 48 hours, you can still be make-ahead. You just shift tactics. I will walk you through that below.
Food safety basics
I am a cozy casserole person, but I am also a “let’s not gamble with poultry” person. A few fridge rules keep you in the safe zone.
Keep your fridge cold
40°F / 4°C or below is the goal. If your fridge runs warm, both quality and safety windows shrink.
Cool fast, then refrigerate
If your sauce, rice, or cooked meat is still steaming, do not seal it up in a deep dish and park it in the fridge. Warm, tightly covered food cools slowly.
- Spread hot components in shallow containers so they cool faster.
- Refrigerate within 2 hours of cooking (within 1 hour if it is very hot in your kitchen).
- Once components are cooled, assemble, cover, and refrigerate.
Cover well, but do it smart
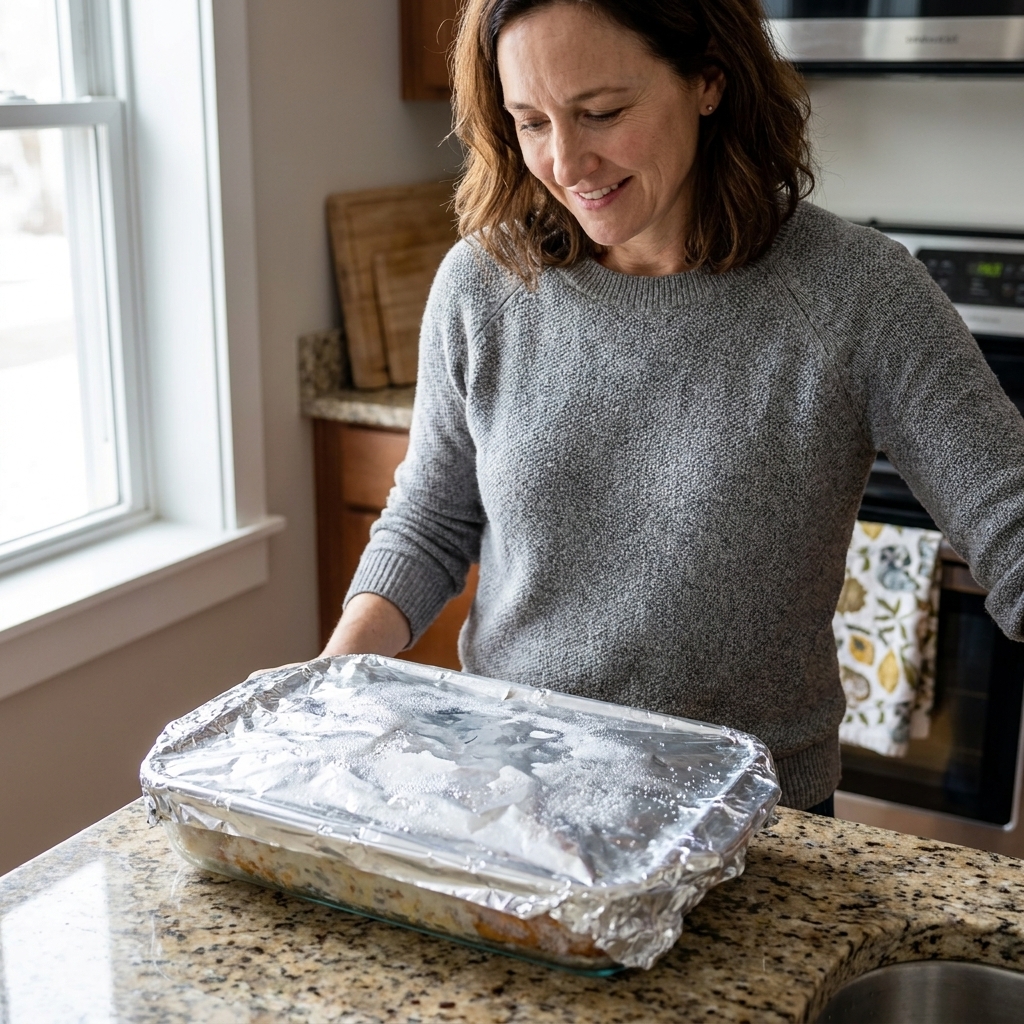
Use a tight lid or a snug layer of plastic wrap plus foil. The goal is to prevent:
- drying out from circulating fridge air
- odor transfer from that onion you forgot about
- condensation drip landing on toppings
If your casserole has a crunchy topping, hold that topping back and add it right before baking.
If it has raw meat, store it low
If you refrigerate an assembled casserole containing raw meat or poultry, place it on the bottom shelf on a rimmed tray to prevent drips and cross-contamination. And keep the hold short. Quality aside, I do not like to push this beyond a day or two.
What holds up best
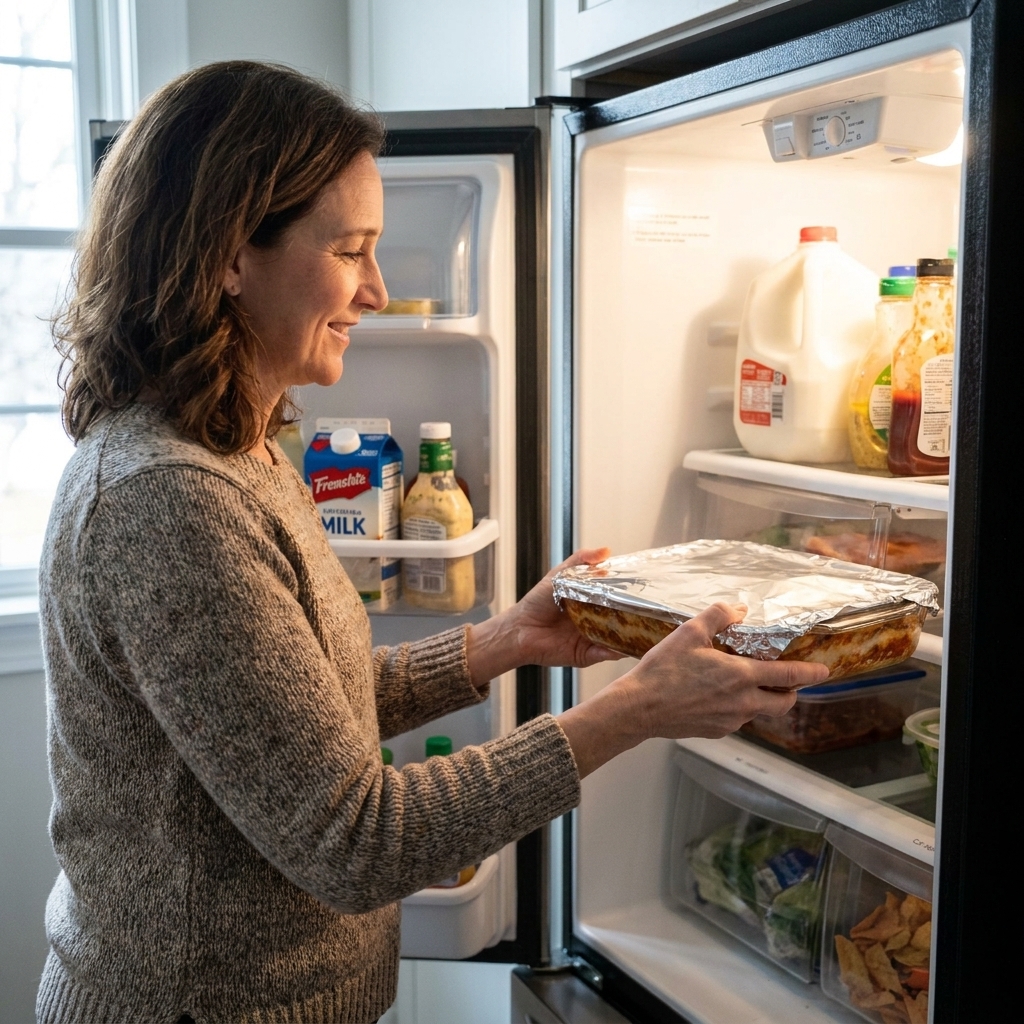
Some casseroles are born to be made ahead. These are the ones I confidently prep 1 to 2 days early.
Best candidates
- Lasagna and baked ziti (especially with sturdy noodles and a thick sauce)
- Enchilada casseroles (tortillas hold up better than you think when layered with intention)
- Breakfast strata (this is the point of strata, really)
- Rice-based casseroles with a creamy binder (rice drinks liquid, so give it enough sauce)
- Stuffing-based bakes that are meant to absorb custard or broth (absorption is the plan)
What gets tricky
If you remember one thing from me, let it be this: soggy bottoms are usually a design problem, not bad luck.
Watery vegetables
Zucchini, mushrooms, spinach, tomatoes, and frozen vegetables love to leak water while they sit.
Fix it:
- cook off moisture first (roast or sauté until steam slows down)
- drain well and cool
- for spinach, squeeze it dry like you mean it
- for frozen veg, thaw and blot dry before using
Pasta that turns mushy
Pasta continues to soften as it sits in sauce.
Fix it:
- undercook pasta by 2 to 3 minutes
- use a thicker sauce than you think you need
- or store sauce and pasta separately, then combine right before baking for best texture
Crunchy toppings that go limp
Crackers, chips, fried onions, panko, and buttered breadcrumbs absorb fridge moisture. They will not bounce back the way you want.
Fix it: Store the topping separately in a bag or container. Add it just before baking.
Dairy sauces that separate
Some cream sauces and cheese-heavy mixtures can break after a long chill, especially if they were overheated during prep.
Fix it:
- avoid boiling your cheese sauce
- cool the sauce before assembling
- when in doubt, add a little extra binder (like a spoonful of cream cheese or a bit more béchamel)
Unbaked vs baked
This surprises people: sometimes baking first is the better make-ahead move.
When unbaked is great
- lasagna, ziti, enchilada bakes
- egg-based breakfast casseroles (strata)
- anything you want to taste freshly baked for serving
When baking first is smarter
- casseroles with lots of watery vegetables
- dishes with delicate sauces that might split
- seafood casseroles (quality drops quickly when seafood sits raw in a mixed dish)
My go-to compromise: bake until just set, cool quickly, refrigerate, then reheat covered until hot and finish uncovered to re-crisp the top.
How to build it
Here is my organized-cook blueprint.
1) Start with a protected base
- lightly grease the dish
- if using bread or tortillas on the bottom, add a thin layer of sauce first so it absorbs evenly
- avoid placing super-wet veg directly on the bottom layer
2) Keep sauces thicker
Sitting time thins sauces as salt pulls out moisture from meat and vegetables. A thicker sauce up front often lands perfectly after 24 to 48 hours.
3) Hold back crunch
Cheese is fine to add ahead. Crunch is not. If it needs to stay crisp, it waits.
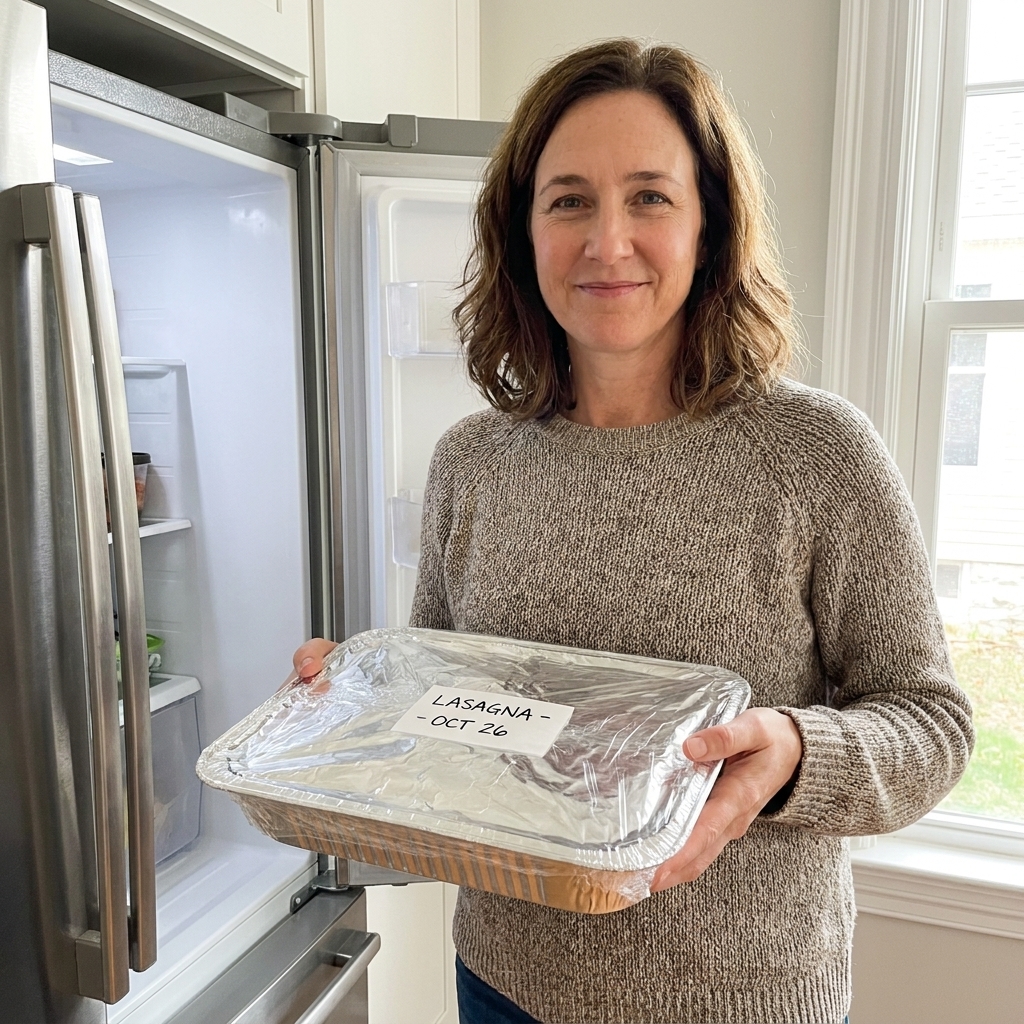
4) Cover, date, and label
I label with:
- what it is
- date assembled
- oven temp
- estimated bake time from cold
Future-me deserves nice things.
Baking from the fridge
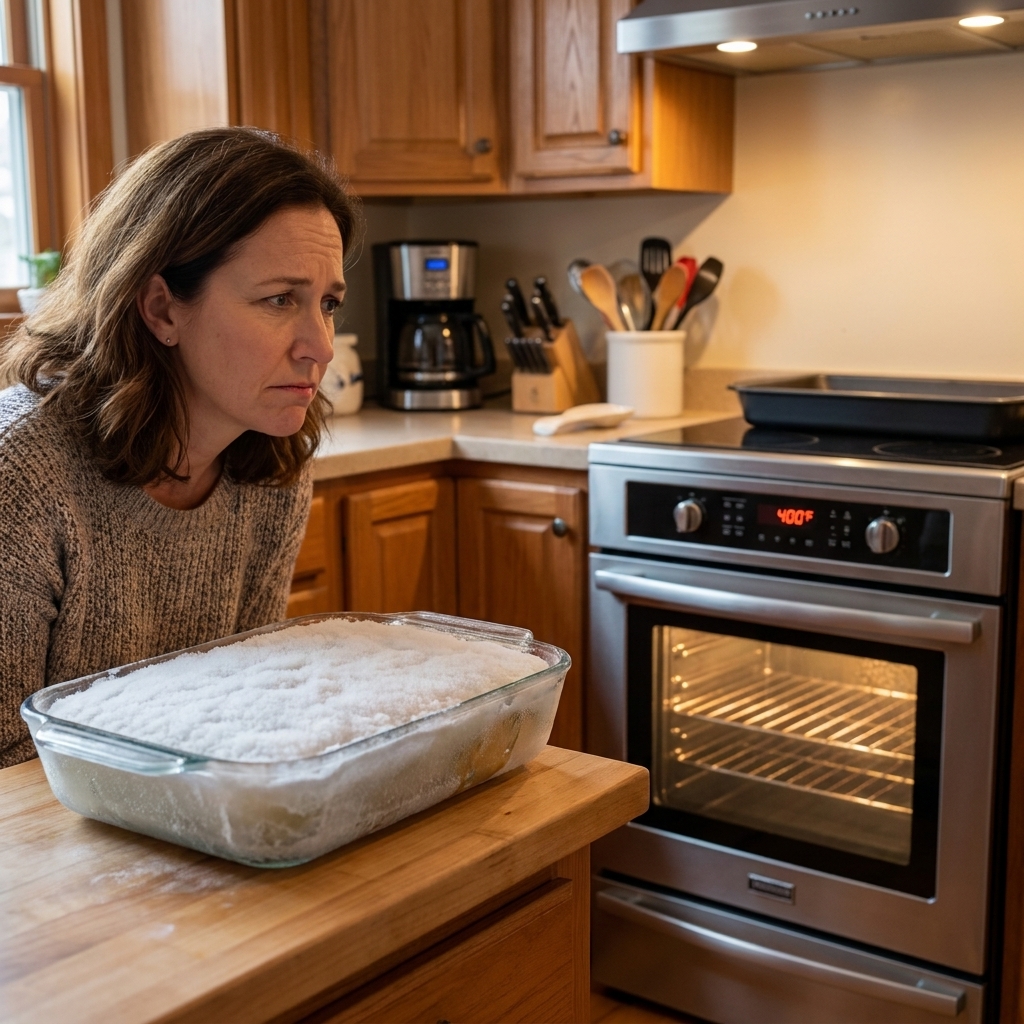
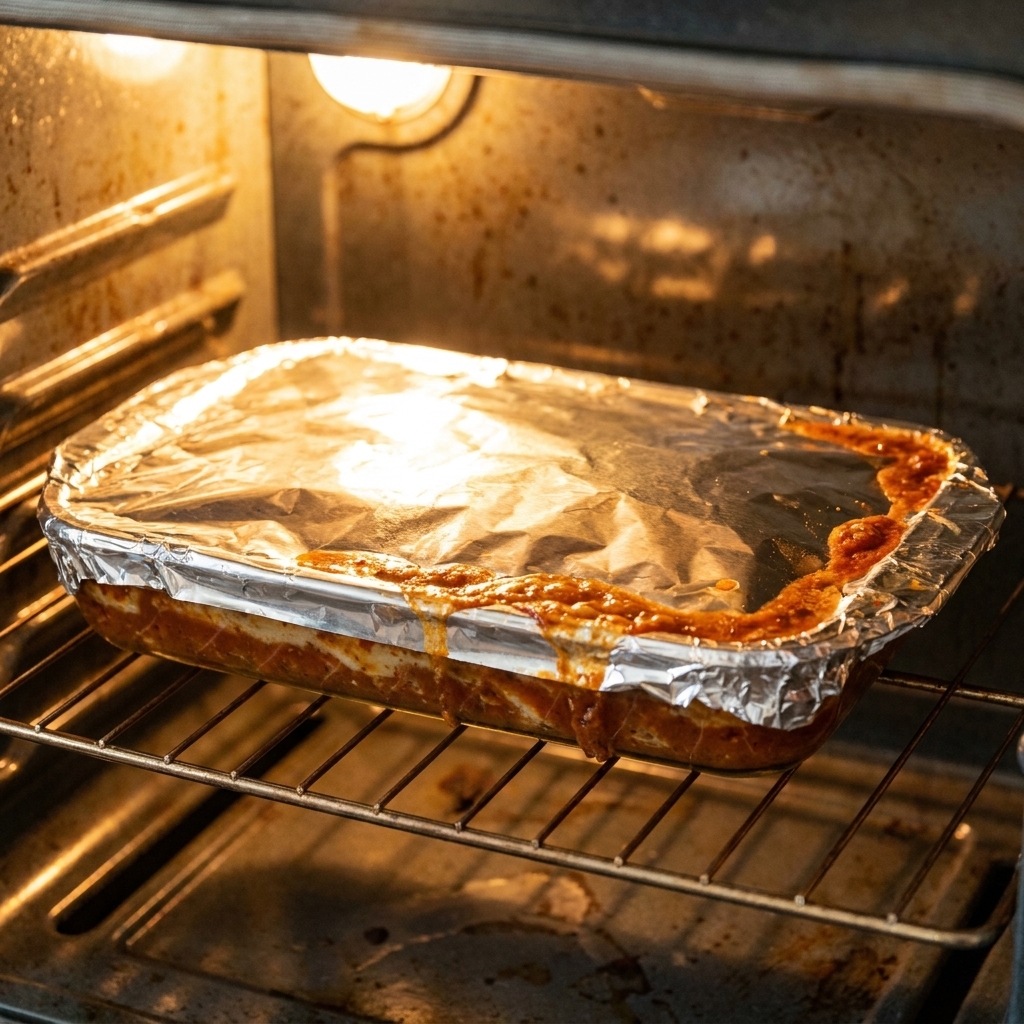
A refrigerated casserole is basically a big, delicious ice pack. If you bake it like it is room temp, you often get a browned top and a cool center.
My default approach
- Preheat the oven fully.
- Keep the casserole covered with foil for the first stretch.
- Uncover near the end to brown.
Depending on the size of the dish, how full it is, and what it is made of, a cold casserole can need an extra 10 to 20 minutes or more. Use that as a starting point, then rely on doneness cues.
Should it sit out first?
If you have 20 to 30 minutes on the counter while the oven heats, that can help with even baking. But do not leave it out for hours.
Thermal shock is real
If you are using glass or ceramic, avoid sudden temperature swings. Many dishes are fine going from fridge to oven, but it depends on the brand and the dish. When in doubt, check the manufacturer guidance, and consider letting it sit on the counter briefly while the oven preheats.
Know when it is done
The center should be hot, not just the edges. If you use a thermometer:
- 165°F in the center is a solid target for casseroles with meat or poultry and for reheating leftovers.
- For egg-based casseroles, many cooks aim for at least 160°F in the center. If you want to keep it simple, 165°F works there too.
If you need more time
When you need real runway, your best friend is the freezer, or you prep components and assemble later.
Option 1: Freeze assembled
This is my “two emergency meals in the chest freezer” lifestyle talking. Freezing can protect quality better than a long fridge hold, but a quick caveat: some things freeze better than others. Cream sauces can separate a bit, and potatoes and pasta can change texture. It is still usually a win for convenience, especially if the alternative is a 3 or 4 day fridge sit.
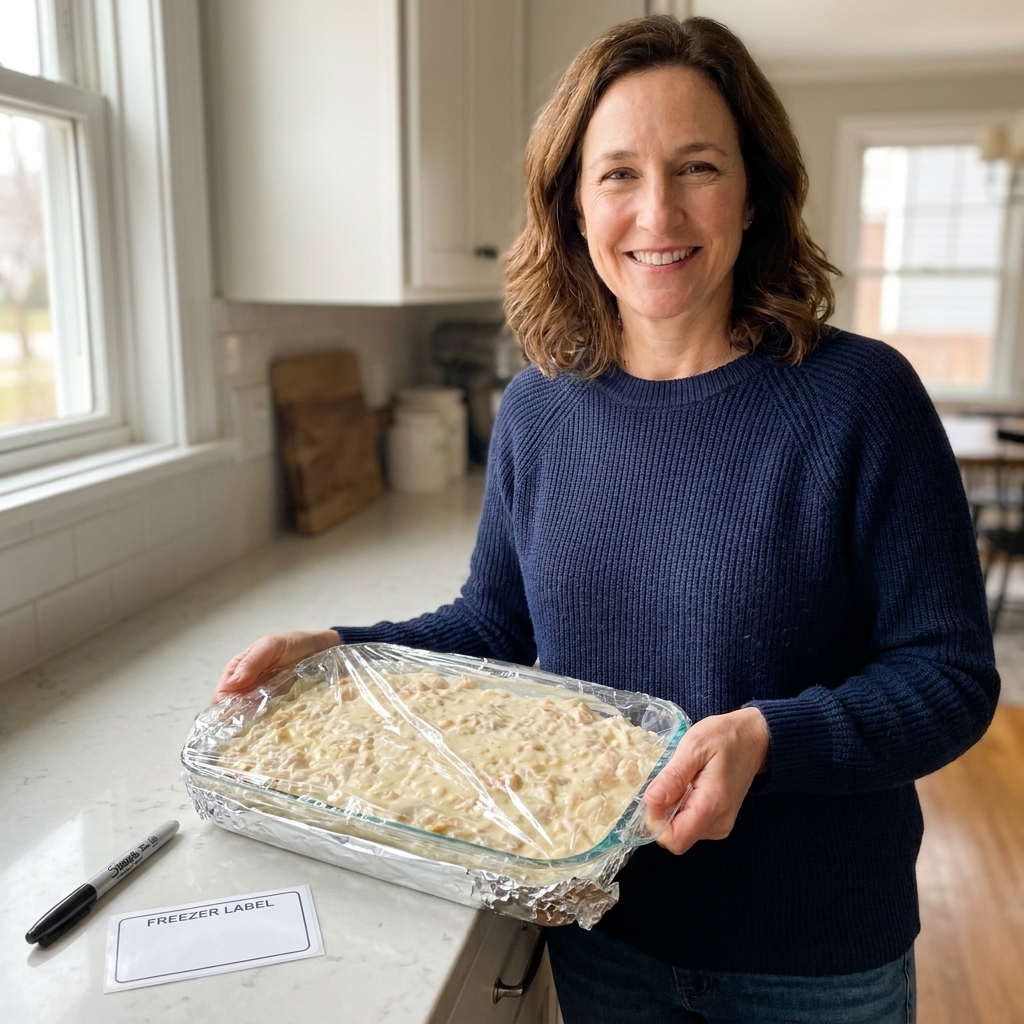
- Assemble in a freezer-safe dish.
- Cool components first.
- Wrap tightly: plastic wrap against the surface, then foil.
- Freeze flat.
For baking, thaw in the fridge overnight when possible, then bake covered until hot.
Option 2: Prep parts, assemble later
This is perfect for fussy casseroles:
- cook and cool the filling
- mix the sauce
- shred cheese
- store separately
- assemble in 10 minutes the next day
Quick guide
| Casserole type | Best fridge prep window | Notes |
|---|---|---|
| Lasagna, baked ziti | 24 to 48 hours | Hold topping cheese if you like it extra crisp |
| Enchilada casserole | 24 to 48 hours | Use thicker sauce, avoid overloading with watery veg |
| Breakfast strata | 8 to 24 hours | Designed to soak, but longer can get overly soft |
| Vegetable-heavy bakes | Up to 24 hours | Roast or sauté vegetables first to reduce moisture |
| Seafood casseroles | Same day to 24 hours | Quality drops quickly, consider baking sooner |
| Crunch-topped casseroles | Up to 48 hours (topping separate) | Add crunchy topping right before baking |
Troubleshooting
“There is liquid pooling in the bottom.”
- Watery vegetables were not cooked down or drained.
- Frozen ingredients went in without thawing and blotting.
- Salt pulled out moisture during the hold.
Fix: Next time, cook off moisture, drain well, and consider a thicker binder (béchamel, roux-thickened sauce, or a touch more cheese in creamy casseroles).
“The top is brown but the center is cold.”
Fix: Cover with foil longer, lower the rack to the middle, and add time. If you have a thermometer, use it. A cold casserole needs patience.
“The pasta is too soft.”
Fix: Undercook pasta more, or assemble closer to bake time. For long holds, sturdier shapes (ziti, rigatoni) behave better than thin noodles.
“It tastes bland after sitting.”
Chilling dulls flavor. That is normal.
Fix: Taste and adjust seasoning in sauces before assembling, and consider adding a bright finisher after baking (fresh herbs, lemon zest, a squeeze of lime for Tex-Mex dishes).
FAQ
Can I assemble a casserole 3 days ahead?
Sometimes, but it is rarely my first choice. By day three, texture issues show up fast. If you truly need that much lead time, I recommend freezing the assembled dish or prepping components separately and assembling within 48 hours of baking.
Is it safe to put an unbaked casserole in the fridge?
Yes, as long as your fridge is 40°F / 4°C or below, you cool cooked components promptly (within 2 hours), you cover well, and you bake it thoroughly. If it contains meat or poultry, make sure the center reaches 165°F.
Should I cover with foil or a lid?
Either works if it is tight. For very saucy casseroles, I like a lid. For anything that might leak, I use foil and set the dish on a rimmed baking sheet in the fridge as insurance.
Can I refrigerate a casserole with raw meat in it?
You can, but I keep that window short and I am extra careful about cold fridge temps and cross-contamination. Store it on the bottom shelf on a tray, and bake thoroughly. If the recipe allows, I prefer using cooked meat in make-ahead casseroles, or I freeze instead of holding raw meat in an assembled dish for long.
What is the best way to prevent a soggy bottom?
Control moisture before it ever goes into the pan. Cook down vegetables, drain well, use a thicker sauce, and keep crunchy toppings separate until baking.
My bottom line
If you want make-ahead ease without sacrificing that cozy, bubbling casserole payoff, stick to 24 to 48 hours in the fridge for assembled casseroles, and treat anything beyond that as a freezer job or a component-prep job.
That little bit of planning is how you get the best of both worlds: dinner that feels homemade, and a kitchen that does not swallow your entire weekend.