
If you have ever pulled a once-creamy casserole out of the freezer, reheated it, and found little curd bits with a shiny puddle of butterfat around the edges, you are not alone. Dairy-heavy casseroles can be fussy, but they are absolutely freezer-friendly once you treat them gently.
I have been freezing 9x13 dinners for years, and the secret is not “never freeze dairy.” The secret is managing temperature swings, choosing the right kind of dairy, and reheating slowly so the sauce warms evenly instead of breaking.
Why creamy casseroles separate
Separation happens when the proteins and fat in dairy get stressed. In casseroles, that stress usually comes from one of these:
- High heat or fast reheating (the edges boil while the middle is still icy)
- Repeated temperature changes (cooling too slowly, counter thawing, reheating twice)
- Lower-fat dairy (a higher protein-to-fat ratio tends to go grainy more easily, especially when heated hard)
- Watery add-ins (mushrooms, zucchini, spinach, salsa, frozen veggies) releasing liquid
- Acid plus heat (tomatoes, citrus, wine, hot sauce) can push dairy toward curdling if the sauce is thin
The good news: you can prevent most of it with a few small habits that become second nature.
Best dairy for freezing
If your goal is a casserole that reheats smooth, choose dairy that is naturally stable or already built to behave well.
Most freezer-stable
- Cream cheese (full-fat): Very stable. Great backbone for creamy sauces.
- Commercial sour cream (full-fat): Often reheats smoothly, and many brands include stabilizers that help.
- Heavy cream: Higher fat means less chance of curdling.
- Evaporated milk: A classic in casseroles because it generally handles baking better than regular milk. It can still split if a sauce is very acidic or boiled hard, so keep the heat gentle.
- Processed melting cheeses (Velveeta-style or American): Not “fancy,” but extremely reliable in freezer meals.
Works, with care
- Greek yogurt: Use full-fat if you can. Stir in off-heat when making sauces, and reheat gently.
- Shredded cheese: Fine, but can turn grainy if overheated. Low and slow is your friend.
Most likely to split
- Fat-free or low-fat sour cream and cream cheese
- Half-and-half or whole milk in thin sauces
- Delicate cheeses (goat cheese, fresh mozzarella) if overheated
Tip: If a recipe gives you a choice between low-fat and full-fat for a freezer casserole, go full-fat. This is not the night for dieting. It is the night for a smooth sauce.
How to freeze creamy casseroles
Step 1: Freeze baked or unbaked
- Best texture: Freeze unbaked when possible. Dairy sauces tend to stay smoother if they only go through one full bake.
- Best convenience: Freeze baked if you are using leftovers or doing a full meal-prep day. It still works, just reheat gently.
Step 2: Give the sauce some structure
Thin creamy sauces are the ones that break first. Before assembling, make sure your sauce has some body:
- Use a simple roux (butter + flour) for sauces that include milk.
- Stir in cream cheese to add structure.
- Let fillings cool and drain well so they are not carrying extra water into the dish.
Pasta and rice note: These can drink up sauce and feel dry after freezing. If your casserole includes pasta or rice, slightly undercook it and err on the side of a little extra sauce.
Step 3: Cool quickly and safely
Do not assemble a hot casserole, wrap it, and shove it straight into the freezer. Trapped heat creates condensation, which later turns into icy crystals and watery casseroles.
- Let cooked components cool at room temperature briefly, then get them chilling. Do not leave perishable foods out longer than 2 hours total (or 1 hour if your kitchen is very warm, around 90°F/32°C). Personally, I aim for about an hour or less.
- To speed it up, spread hot filling on a sheet pan for 10 to 15 minutes, then assemble.
- Refrigerate the assembled casserole until fully cold, ideally 4 hours or overnight.
Step 4: Wrap tight (once it is cold)
Freezer burn and drying make dairy sauces grainy. Tight wrapping protects the surface. Make sure the casserole is fully cooled and chilled before you bring plastic wrap into the party.
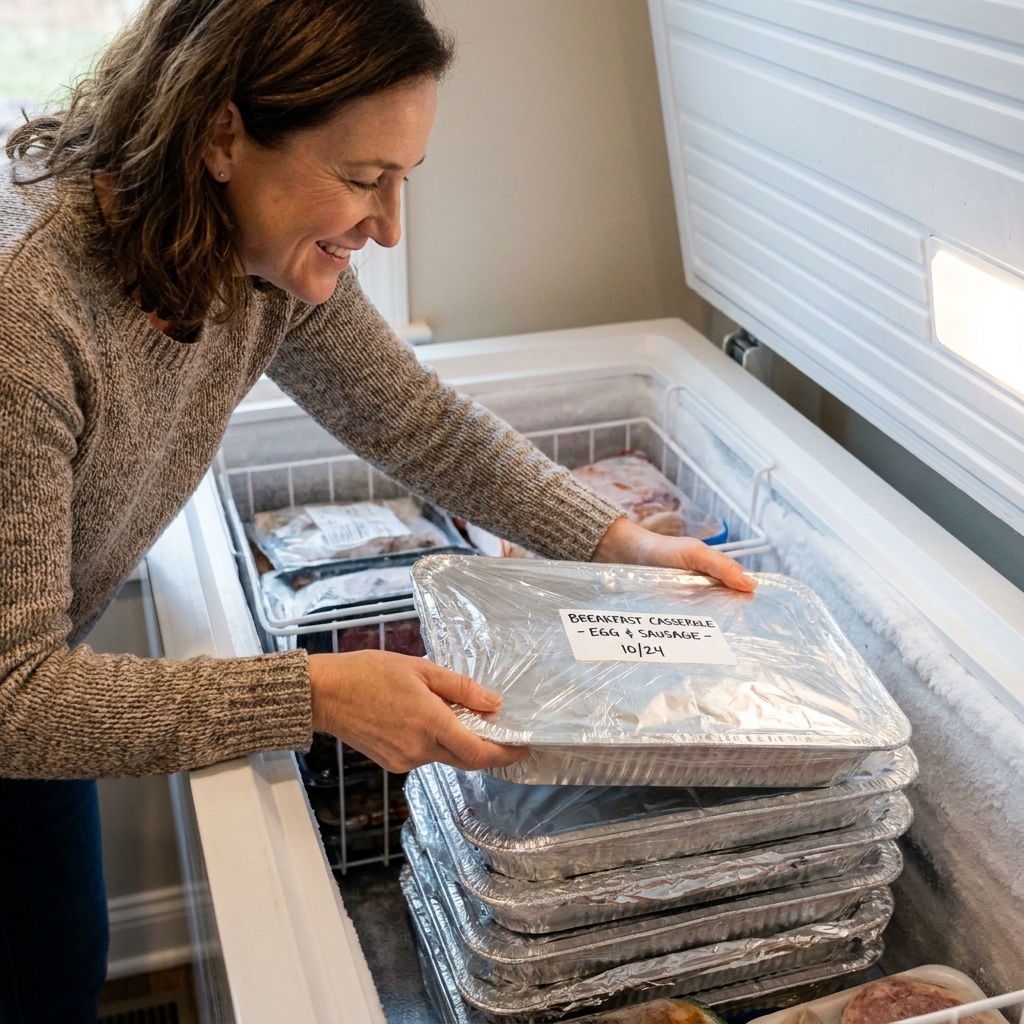
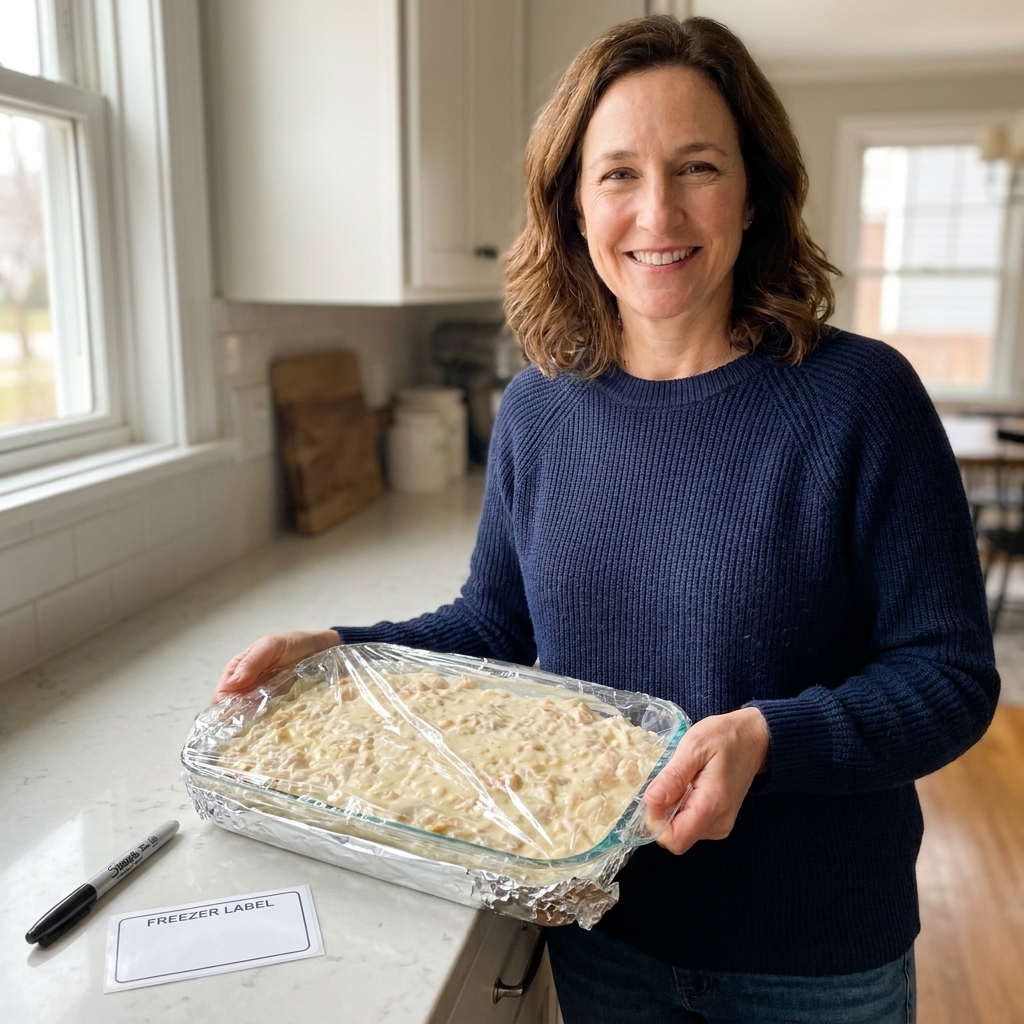
- Press a layer of plastic wrap directly onto the casserole surface (especially helpful for saucy dishes).
- Cover the whole pan tightly with another layer of plastic wrap.
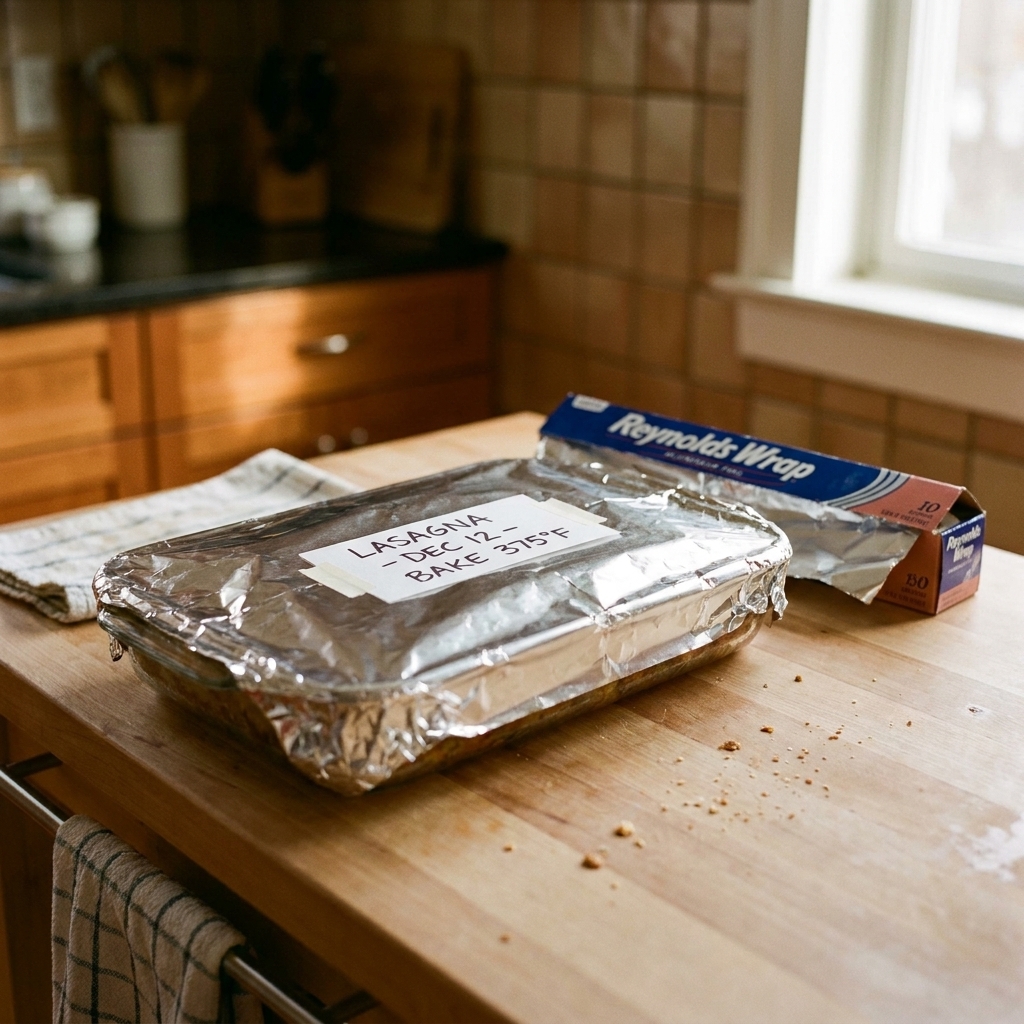
- Finish with a snug layer of heavy-duty foil.
- Label with the dish name, date, and baking instructions.
Thawing that keeps sauce smooth
If you only change one habit, make it this: thaw in the refrigerator. The slow, even thaw is what keeps dairy from going grainy.
Best method: overnight fridge thaw
- Move the casserole from freezer to refrigerator 24 to 48 hours before baking, depending on how dense it is.
- Keep it wrapped for most of the thaw to prevent drying and odor pickup.
- If you see heavy condensation collecting inside the wrap, set the pan on a tray and loosen the top layer near the end of thaw so moisture does not drip back into the dish.
If you forgot to thaw
You can bake from frozen, but do it gently.
- Keep the casserole covered for most of the bake so the edges do not boil.
- Add extra time, often 30 to 60 minutes depending on thickness, pan material, and how full the dish is.
- For best results, use a lower oven temperature (see next section).
- Set the pan on a rimmed sheet pan to catch any drips and make it easier to move.
Do not thaw on the counter
Besides the food safety issue, counter thawing creates a warm outer ring and a frozen middle. That uneven thaw almost guarantees a sauce that breaks during reheating.
Reheating without curdling
Your goal is to warm the casserole through before it gets hot enough to bubble aggressively. Boiling is the enemy of creamy sauces.
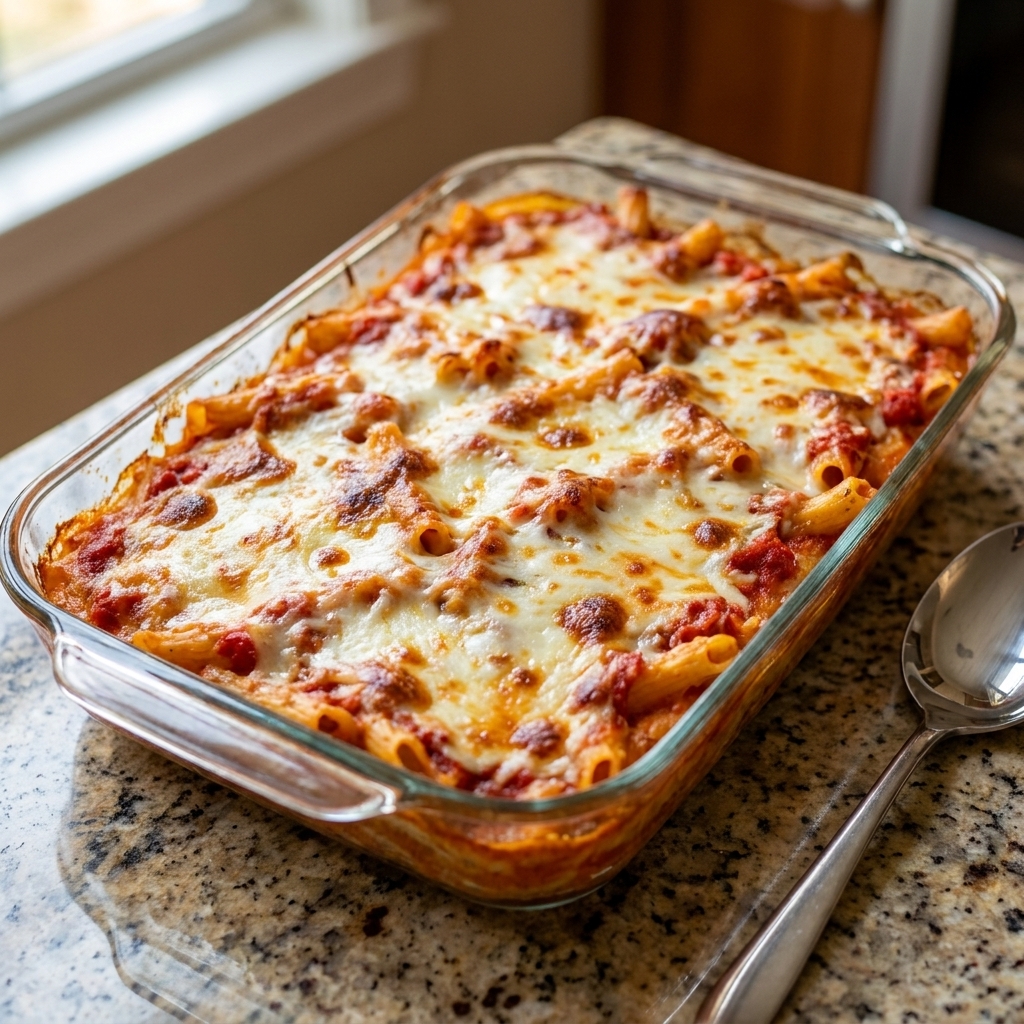
For a whole 9x13 casserole
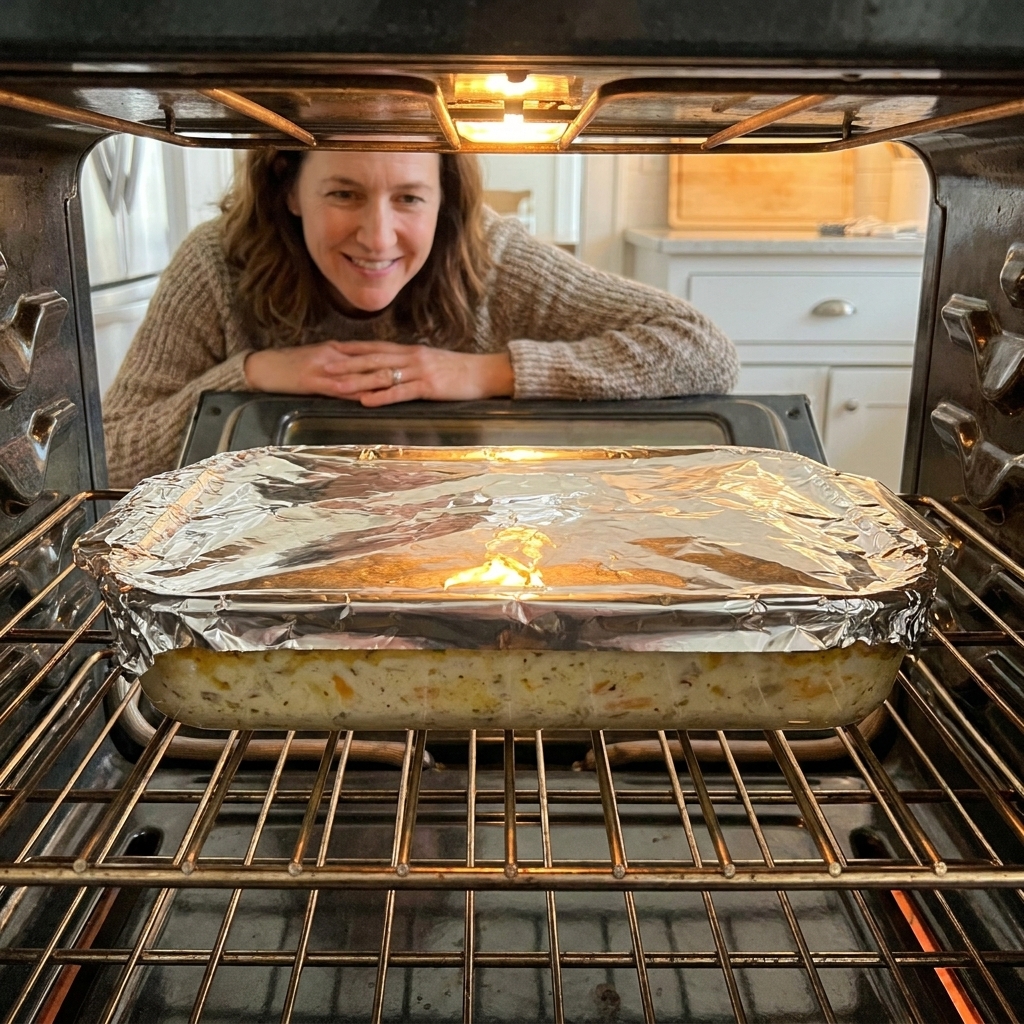
- Remove wrapping and cover with foil. If your casserole has a crunchy topping, keep the topping separate until the end when possible.
- Let the dish sit out 20 to 30 minutes while the oven preheats. This takes the edge off the chill.
- Bake at 325°F until hot in the center.
- Uncover for the last 10 to 15 minutes to brown the top.
- Rest 10 minutes before serving. This helps the sauce settle back into itself.
Temperature target: For meat or poultry casseroles, aim for an internal temp of 165°F in the center.
Pan note: Metal and disposable foil pans usually heat more quickly than glass or ceramic. Glass can also crack if it goes from very cold to very hot, even if it is labeled oven-safe. When in doubt, thaw fully in the fridge and follow your dish manufacturer guidance.
For single portions
The microwave is where separation loves to happen, so use it carefully.
- Place a portion in a microwave-safe bowl.
- Add 1 to 2 teaspoons milk or cream if it looks thick or dry.
- Cover loosely.
- Heat at 50% power in 60 to 90 second bursts, stirring between bursts when possible.
Sour cream and cream cheese tips
Keep sour cream out of high heat
If you are making a sauce on the stovetop before assembling, stir sour cream in after you have taken the pan off the heat. That one move makes the sauce far more stable later.
Balance watery ingredients
- Spinach: thaw and squeeze dry.
- Mushrooms: saute until their liquid cooks off.
- Zucchini: salt lightly, let sit 10 minutes, then blot.
- Frozen veggies: do not add them as an ice block. Thaw and drain first, or roast quickly to drive off moisture.
Choose the right pan for the freezer
Glass dishes can crack when they go from very cold to hot. My safer routine:
- Freeze in a foil pan for zero stress.
- Or freeze in your glass dish, but thaw fully in the fridge before baking, and avoid setting cold glass on a hot surface. Check the manufacturer guidelines for your specific dish.
If it still separates
Sometimes a casserole gets a little grainy anyway, especially if it was baked from frozen or reheated too hot. You can often rescue the eating experience.
Quick rescue (in the pan)
- Let it rest 10 minutes, then stir the creamy areas gently back into the casserole.
- If it looks greasy, blot the surface lightly with a paper towel, then stir.
Better rescue (make it smooth again)
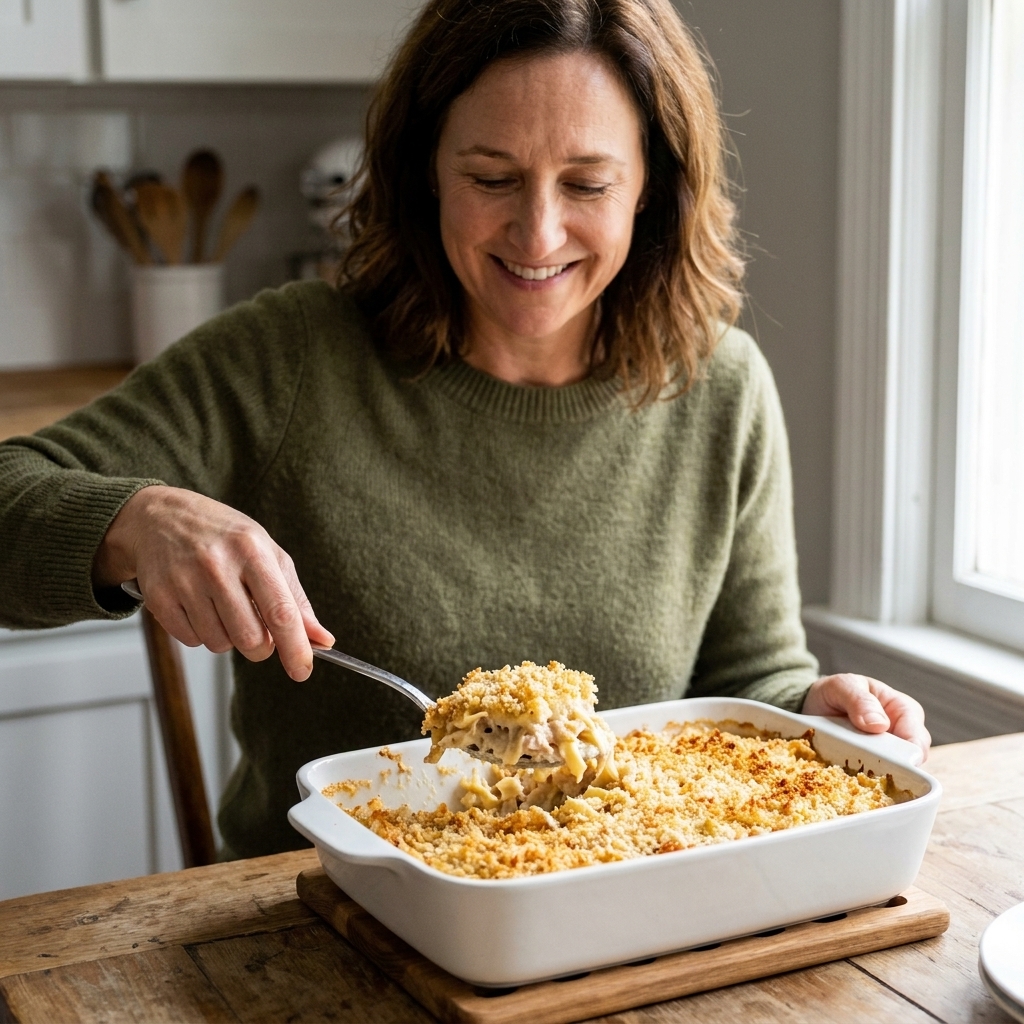
If you are serving a scoopable casserole like chicken spaghetti or creamy enchilada bake, try this:
- Scoop the creamy portion into a saucepan.
- Warm on low and whisk in a splash of cream or evaporated milk.
- Once smooth, stir back into the casserole.
It is not fussy. It is just gentle.
Freezer timeline
- Best quality window: 2 to 3 months for dairy-heavy casseroles.
- Still safe longer: If kept solidly frozen, they remain safe, but texture slowly declines.
- Avoid freezer door storage: Temperature swings in the door are hard on creamy sauces.
My weekly habit: I keep two “emergency” casseroles in the deep freezer and rotate them. One is always creamy because my kids never complain about a cheese-topped dinner showing up on a Tuesday.
Quick FAQ
Can you freeze casseroles made with sour cream?
Yes. Use full-fat sour cream if you can, cool and chill the casserole completely before freezing, and reheat at 325°F covered so the edges do not boil.
Can you freeze casseroles made with cream cheese?
Absolutely. Cream cheese is one of the most freezer-stable dairy options. For best texture, thaw in the fridge and reheat low and slow.
Why did my casserole turn watery after thawing?
Usually it is condensation from freezing while warm, watery vegetables, or a thin sauce. Next time, chill the assembled casserole thoroughly before freezing and drain high-moisture add-ins.
Should I add the cheese topping before freezing?
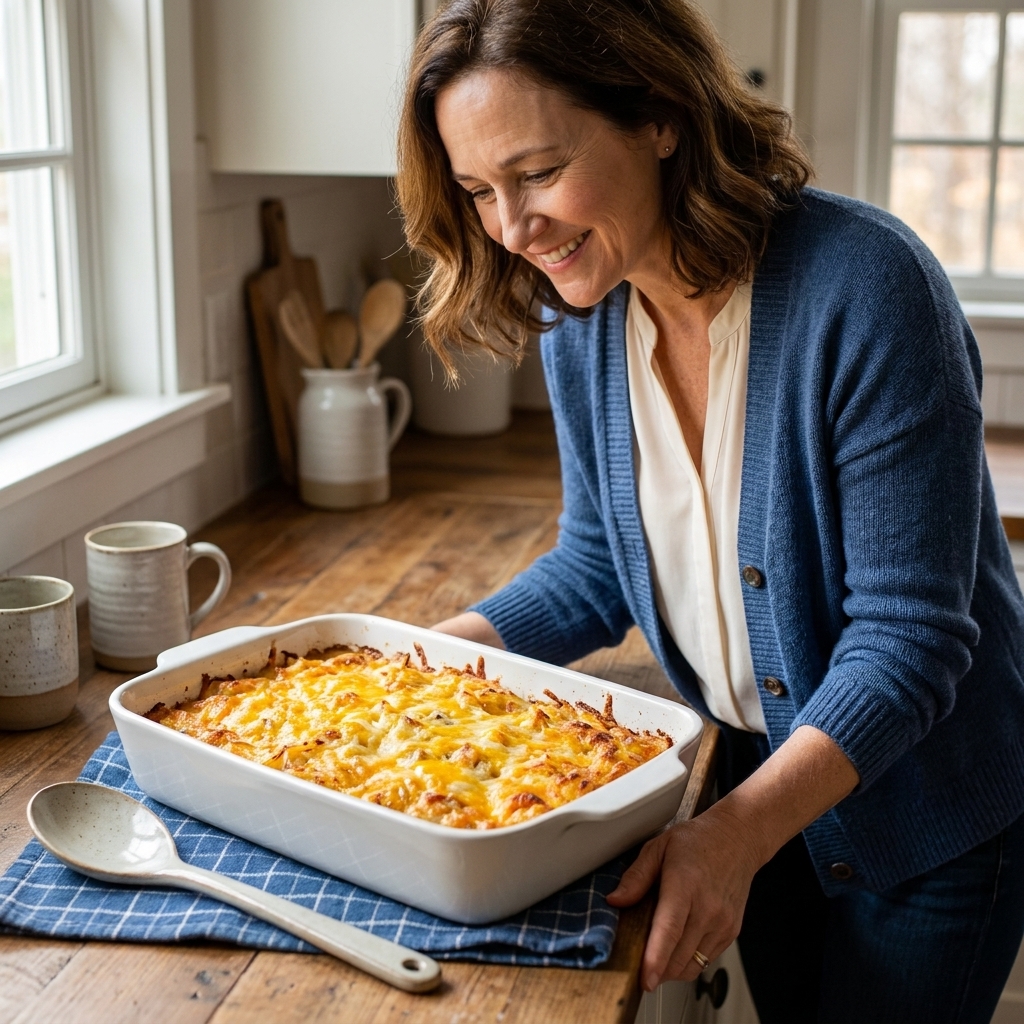
You can, but for the prettiest top, add shredded cheese near the end of baking. If you freeze it with cheese on top, keep it well wrapped so the cheese does not dry out.
No-separation checklist
- Use full-fat sour cream or cream cheese when possible
- Thicken sauces and drain watery ingredients
- Chill completely before freezing
- Wrap tightly: plastic on the surface, then plastic, then foil
- Thaw in the fridge
- Reheat covered at 325°F, uncover to brown at the end
If you follow that list, your creamy casseroles will come out just as cozy and smooth as the day you made them, with none of that broken-sauce drama.