
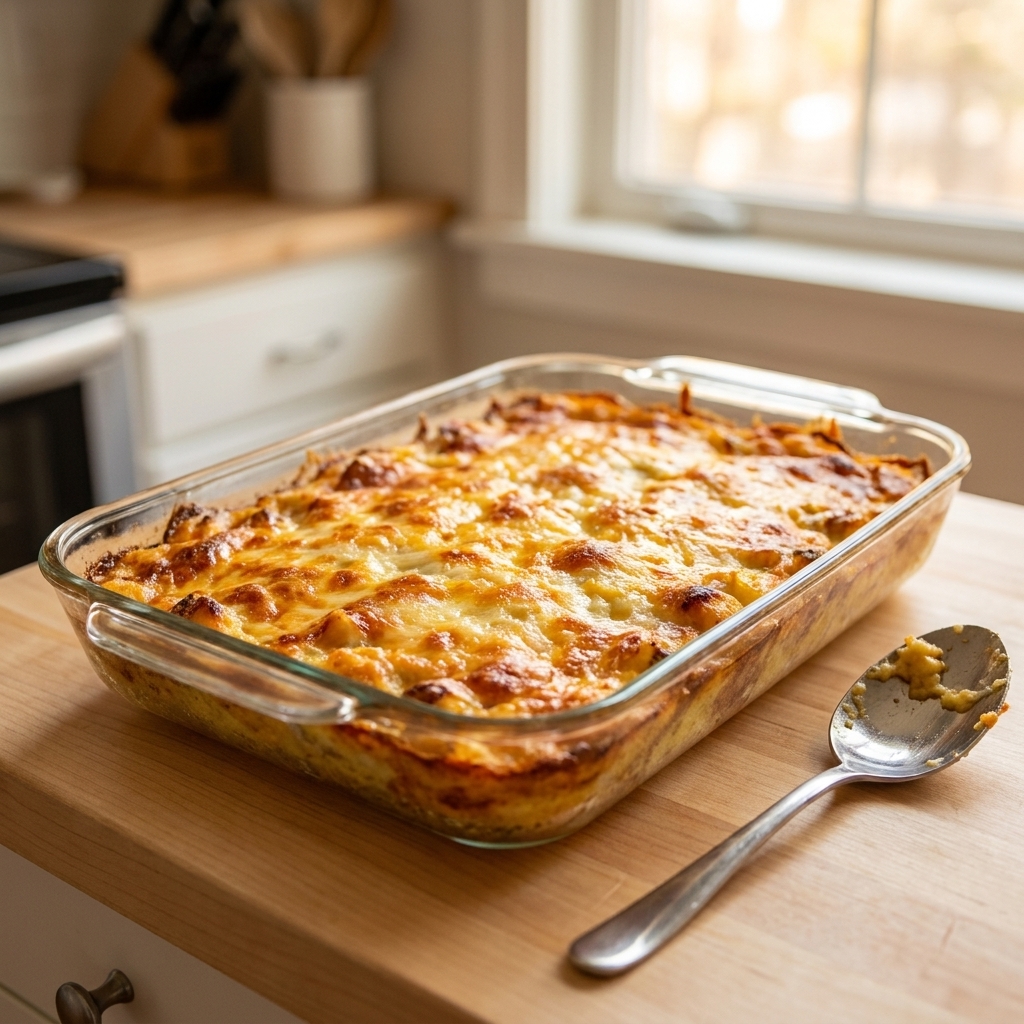
If you've ever made the exact same breakfast bake twice and wondered why one turned out perfectly puffed with crisp edges and the other felt a little pale or soft on the bottom, your casserole dish might be the culprit. Glass and ceramic are both excellent choices for breakfast bakes, but they move heat differently, and that can change baking time, browning, and crust development.
Here at Casserole Crate, I test breakfast bakes often enough to keep both in my kitchen because different mornings call for different wins. Let's walk through what actually changes when you switch materials, and how to adjust so your strata, egg casserole, or French toast bake comes out like you meant it to.
How glass and ceramic heat
Two things matter most for breakfast casseroles: how quickly the dish heats up and how well it holds heat once it's hot. Those traits affect how fast the center sets, how the edges behave, and how forgiving the bake feels if brunch runs a little late.
Glass: steady and easy to read
- Heat-up time: Glass typically heats more slowly than metal. Thickness matters, so a thicker glass dish will feel even more gradual.
- What you'll notice: In many home ovens, glass gives a gentler bake that often helps custardy casseroles set without getting too dark at the edges too early. Results still vary with dish thickness, oven airflow, and even the specific glass bakeware.
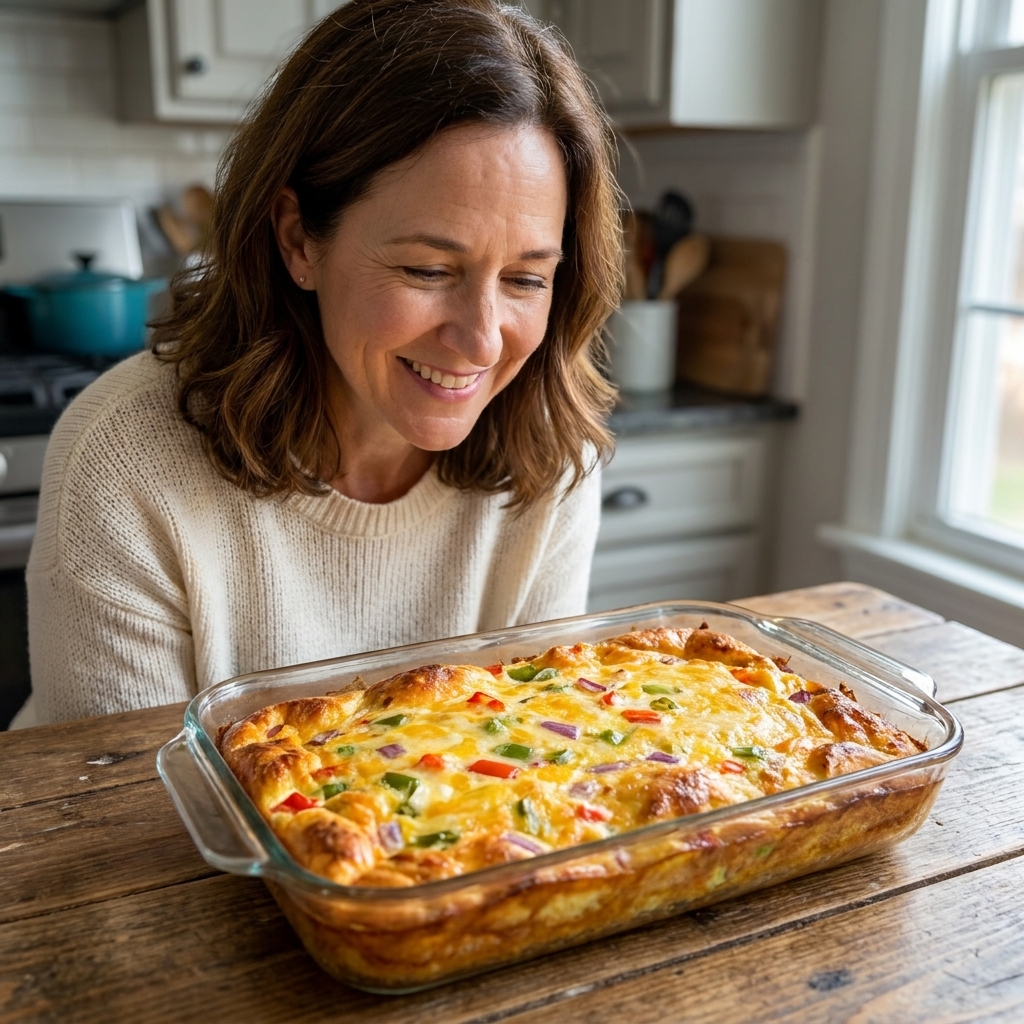
- Bonus: You can see what's happening on the sides and bottom, which is genuinely helpful when you're trying to avoid a soggy layer.
Ceramic: slow to warm, great at staying warm
- Heat-up time: Ceramic also takes time to heat through, especially thick stoneware.
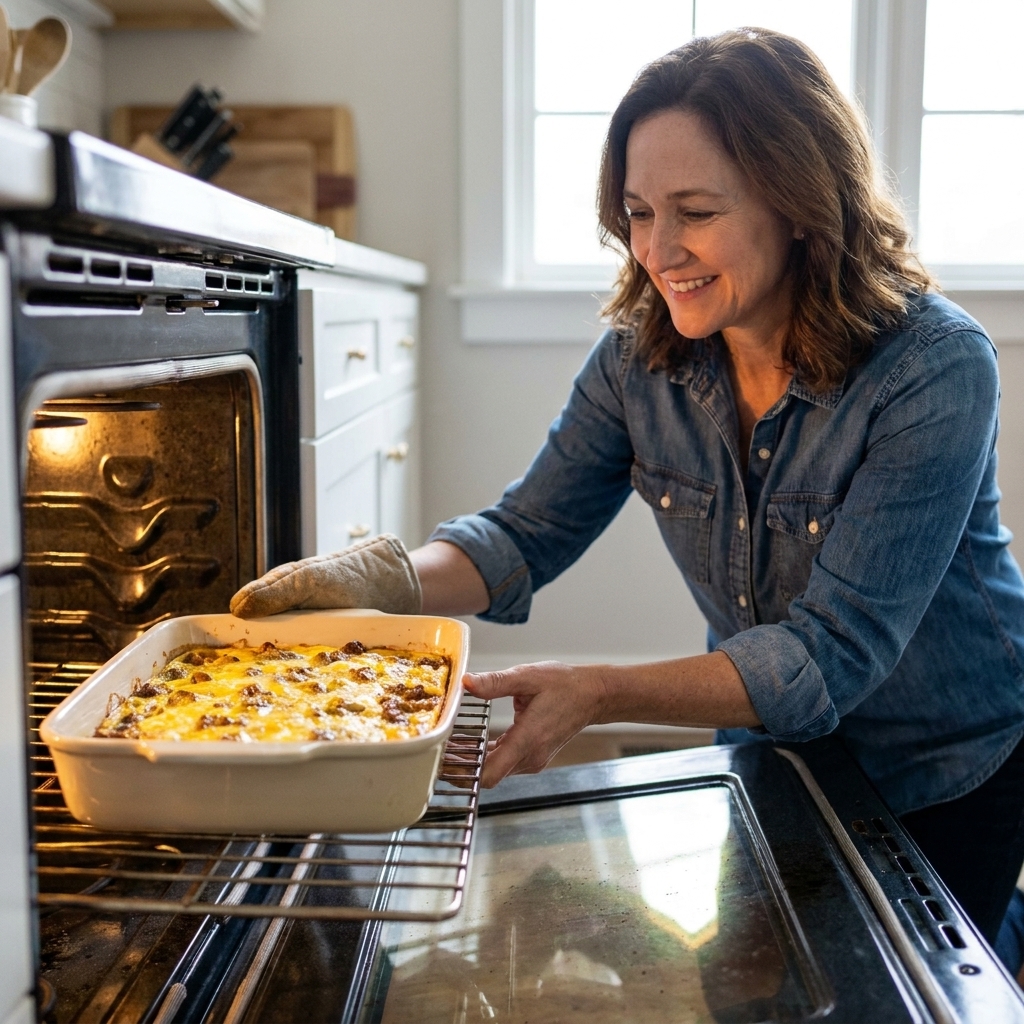
- Heat retention: This is ceramic's superpower. Once it's hot, it stays hot longer, which means more carryover cooking after you pull it from the oven.
- What you'll notice: A cozy bake with a longer serving window on the counter, plus a casserole that keeps setting during the rest.
Baking time changes
If your recipe was tested in glass and you bake it in ceramic, or vice versa, you might need a small timing adjustment. Not because one is right and the other is wrong, but because the dish is part of the heating system.
Size matters too: changing the dish's depth or surface area can affect bake time as much as the material swap. A deeper dish usually takes longer. A wider dish often bakes faster.
Convection note: If you bake with a fan on (convection), expect faster baking and more browning around the edges, no matter what dish you use. Start checking even earlier.
My practical rule
Start checking 5 to 10 minutes early any time you change pan material, pan size, pan depth, or oven mode, then use doneness cues instead of the clock. Egg casseroles are especially sensitive because eggs go from silky to rubbery fast.
Doneness cues
- Center wobble: The middle should wobble like soft custard, not slosh like liquid eggs. It will keep setting as it rests.
- Internal temp: Some recipe developers and test kitchens use 160°F in the center as a doneness target for egg-based custards, while 165°F is a common target for mixed casseroles. If your casserole includes poultry, 165°F is a widely recommended minimum. When in doubt, follow the guidance that came with your recipe and local food-safety recommendations, then use a thermometer as a sanity check.
- Edge set: The edges should look set and slightly pulled from the sides.
Crust and browning
When people say crust in breakfast bakes, they usually mean three different things: the browned cheesy top, the crisp edges where the custard meets the pan, and the bottom layer where bread or hash browns like to trap moisture.
Top browning
Top browning is driven mostly by oven heat from above, plus surface sugars and fats. Dish material plays a smaller role here than it does on the edges and bottom. Ceramic's heat retention can make carryover cooking stronger after baking, but the difference you see on the top is usually modest compared with things like rack position and how much sugar or cheese is on the surface.
If your top is pale: finish with 1 to 4 minutes under the broiler, but only after the center is set. Broilers vary wildly, so watch continuously and rotate the dish if needed.
Edge browning
This is where you'll usually see the bigger difference. Glass and ceramic both tend to brown less aggressively than metal, but real-world results depend on thickness, oven airflow, and the finish of your bakeware.
Color and glaze matter: darker ceramic (and darker glass) often browns edges more than light-colored dishes. Matte finishes can grip and brown a bit differently than glossy ones.
Bottom texture and soggy layers
This is where most breakfast bakes struggle, especially ones with shredded potatoes, soft bread, or lots of veggies. The dish matters, but moisture control matters more.
- Glass: You can spot under-baked custard or standing liquid near the base sooner because the sides are visible.
- Ceramic: The carryover heat may help a little during the rest, especially with thick stoneware that stays hot, but bottom doneness is still mostly about bake time, moisture, and rack position.
When I use glass or ceramic
I grab glass for
- Overnight breakfast strata (bread soaks evenly, and you can watch the sides for doneness)
- High-sugar bakes like French toast casserole (it's easier to monitor browning)
- Anything I might cover mid-bake if the top browns early
I grab ceramic for
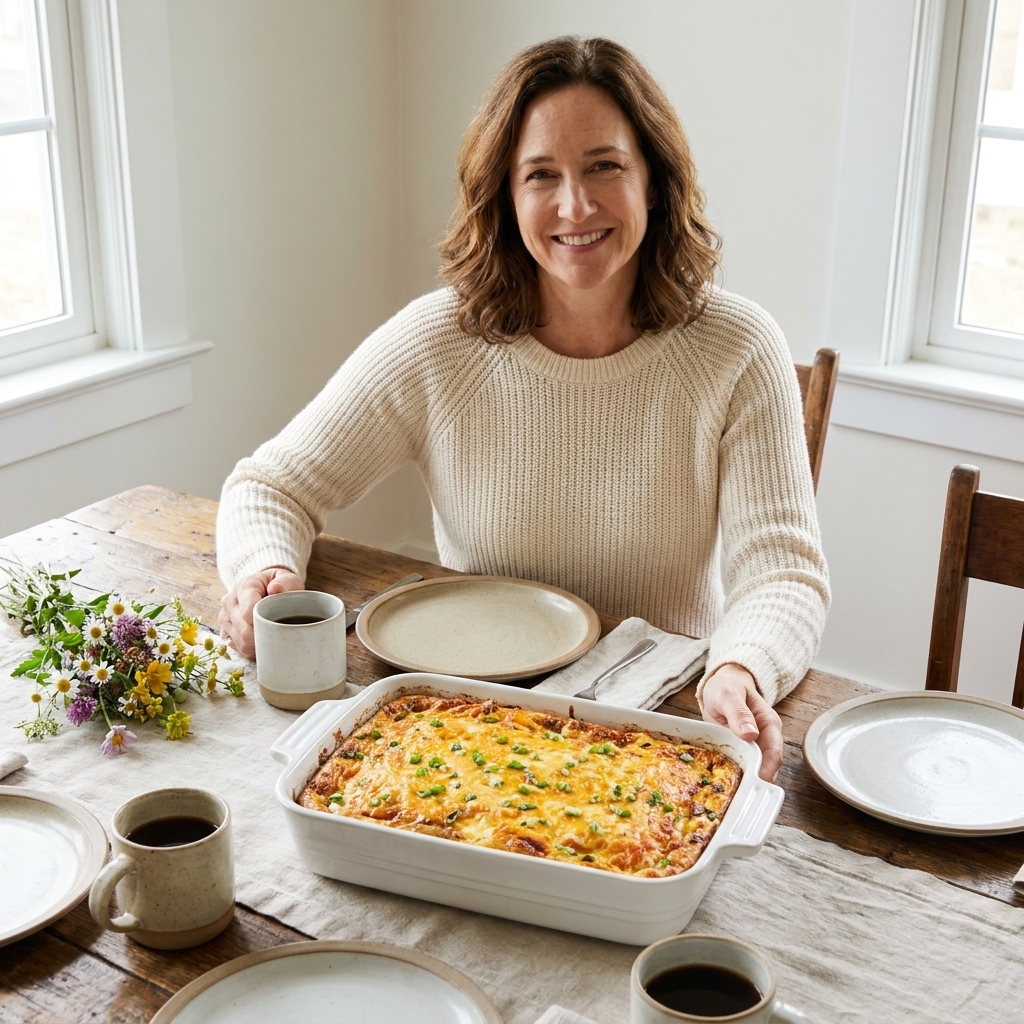
- Holiday morning casseroles when people graze and I want the dish to stay warm longer
- Hearty bakes with sausage, potatoes, and lots of cheese that benefit from a longer rest
- Potluck brunch when the casserole needs to stay cozy after travel
Smart swaps and fixes
Instead of guessing, use a few small, reliable tweaks.
1) Pick the rack spot
If your breakfast bakes often feel soft underneath, place the dish in the lower third so the bottom gets a touch more direct heat.
2) Let ceramic rest
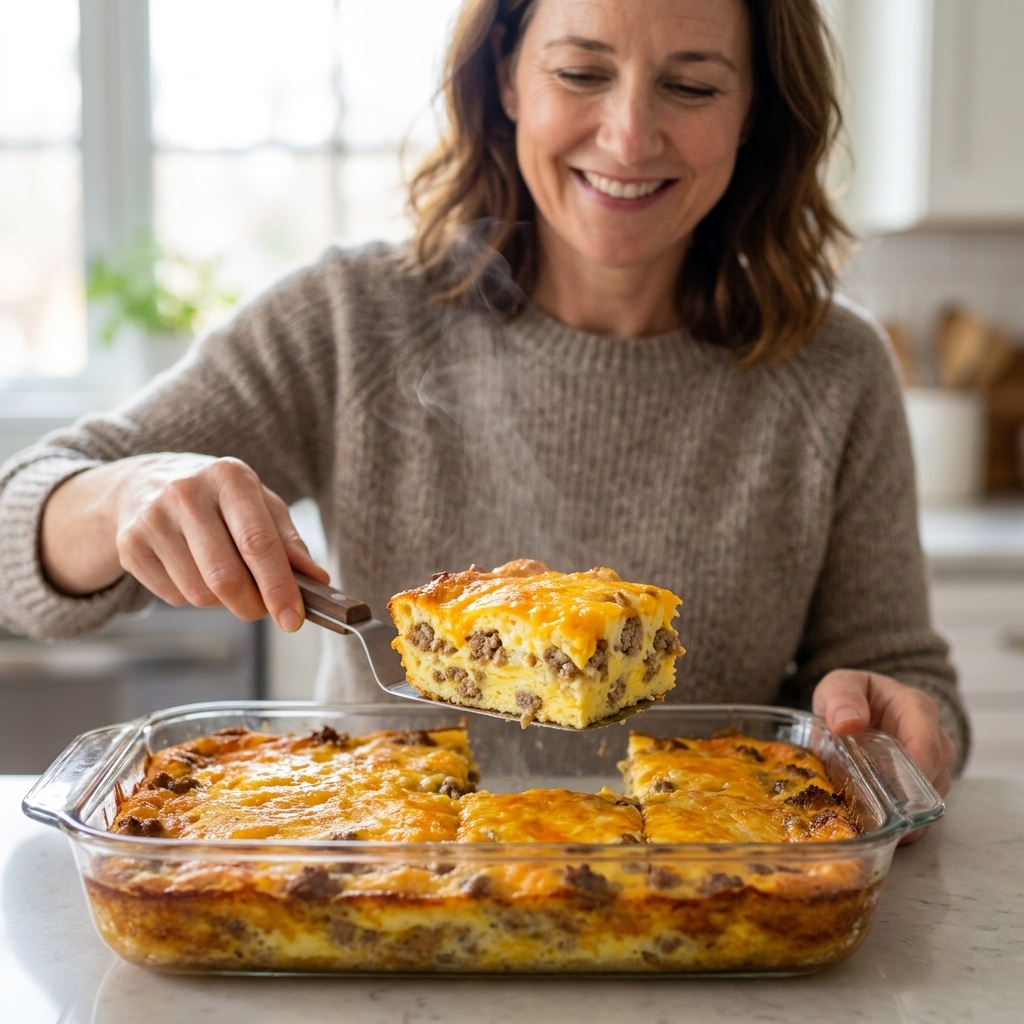
Ceramic holds heat well, so the casserole keeps cooking after it comes out. Let it rest 10 to 15 minutes before slicing for cleaner squares and a firmer center.
3) Tent if the top browns fast
Loose foil over the top prevents over-browned cheese while the center finishes. This is especially handy if your recipe includes sugar or you add cheese early.
4) Treat moisture like an ingredient
- Sauté mushrooms, peppers, onions, and spinach to cook off water.
- Thaw frozen hash browns and squeeze them dry.
- Let cooked sausage or bacon drain well.
No dish material can out-bake a cup of hidden veggie water.
5) Do not preheat empty glass
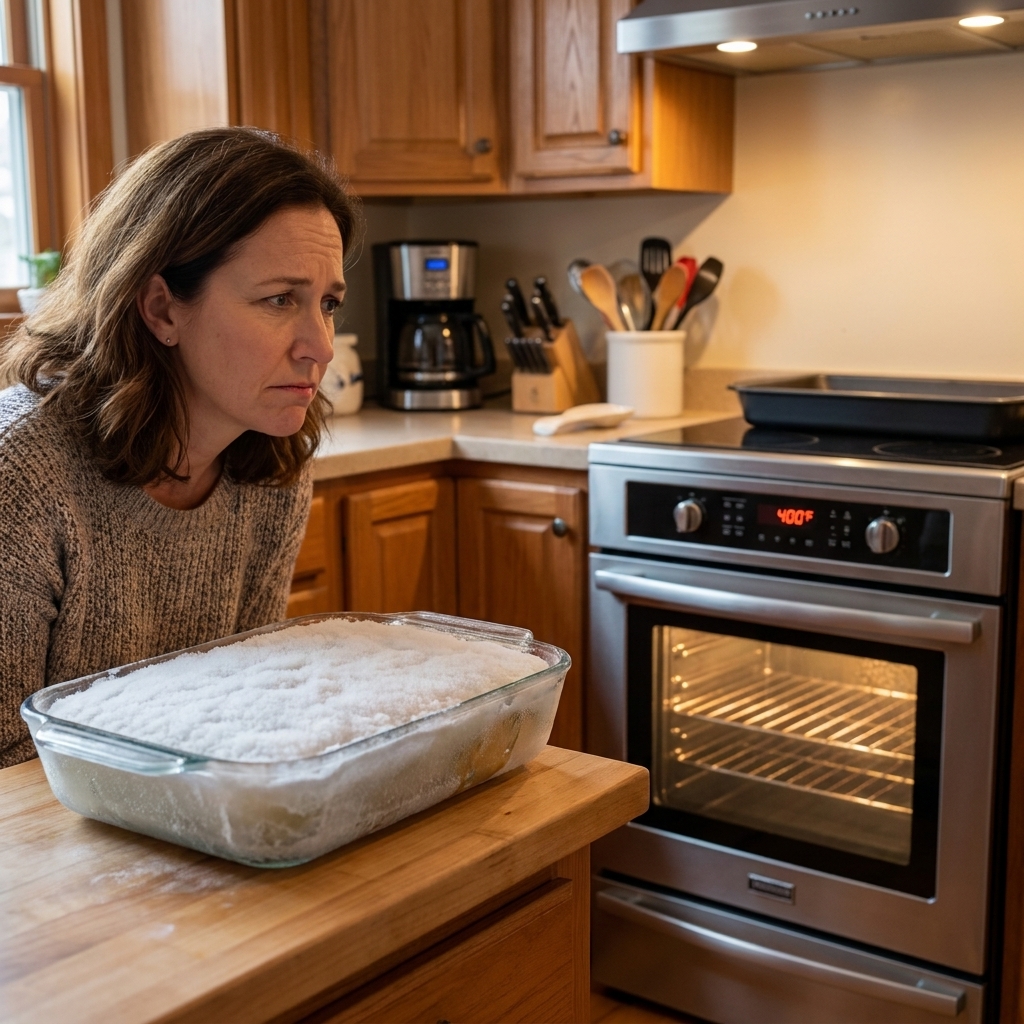
Some cooks preheat empty baking dishes to help with crisping, but it's not a great idea for glass because sudden temperature changes can cause thermal shock. That includes setting hot glass on a cold or wet surface and adding cold liquids or cold ingredients to a hot dish.
If you want more bottom browning, use the rack spot tip above and make sure your ingredients are not ice-cold going into the oven.
Make-ahead and storage
Since this is Casserole Crate and I'm always stocking a couple of emergency meals, let's talk real-life storage.
Glass: avoid thermal shock
- Let hot glass cool before refrigerating or freezing.
- Never put a hot glass dish on a cold or wet surface. Use a dry towel or trivet.
- Avoid pouring cold liquid or adding frozen ingredients into a hot glass dish.
- Do not move a frozen glass dish straight into a hot oven unless the manufacturer specifically says it's safe.
- My safer routine: thaw overnight in the fridge, then bake.
Ceramic: read the label
- Ceramic and stoneware vary a lot. Follow the manufacturer's guidance on freezer-to-oven use.
- Even if it's labeled freezer-safe, a fridge thaw is still the kinder option for thick ceramic.
- Because ceramic retains heat, reheating leftovers can be more even, but cover to prevent drying.
Quick FAQ
Do glass and ceramic use the same oven temp?
Usually, yes. You can keep the same oven temperature. The bigger differences are bake time and how quickly the center sets, especially if your dish is thicker, deeper, or a different size than what the recipe developer used.
Which one makes a crispier crust?
Neither one is automatically crispier for breakfast bakes the way metal can be. For crisp edges or a firmer base, focus on moisture control, rack position, and resting before cutting.
Why did my casserole take longer in ceramic?
Thick ceramic takes time to heat through. Once it's hot it holds heat beautifully, but the start can be slower, so it may need a few extra minutes compared with a thinner dish. Dish depth can add time too.
What's best for overnight French toast?
Glass is wonderful because you can watch the sides and bottom for doneness, and it tends to bake gently and evenly. If you use ceramic, plan on a longer rest so the custard finishes setting cleanly.
Bottom line
If you want an easy, predictable bake with great visibility, glass is a workhorse. If you want a casserole that stays warm longer for a slow, happy brunch table, ceramic is a cozy MVP. Either one can turn out a beautiful breakfast bake if you manage moisture, watch doneness cues, and let it rest before slicing.