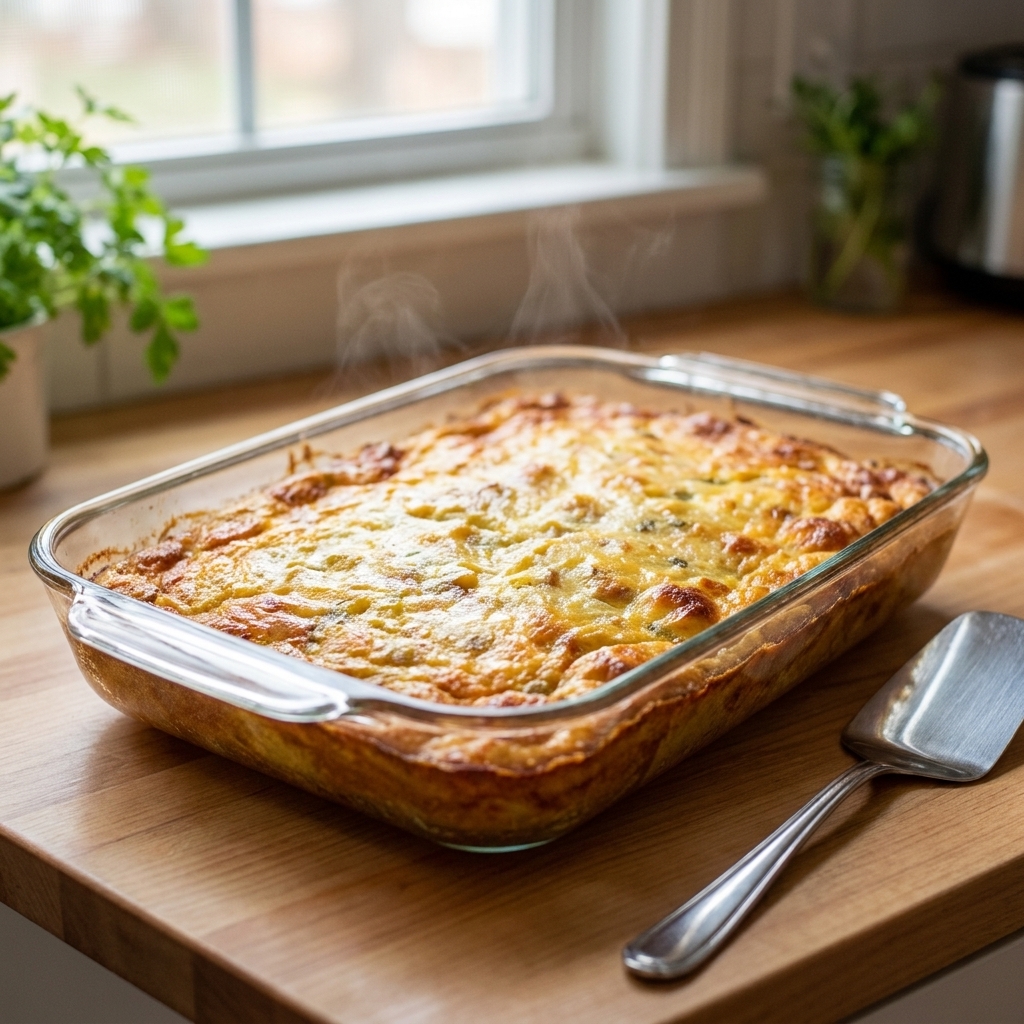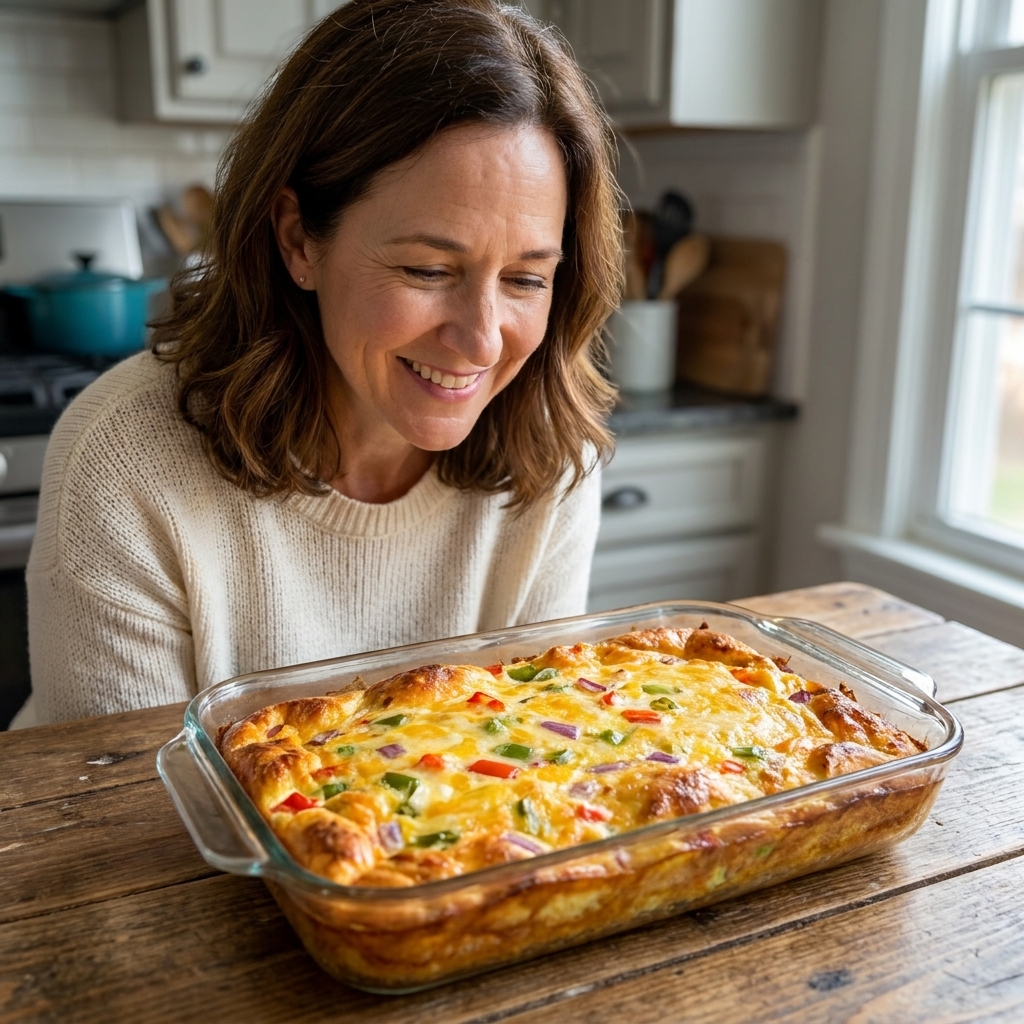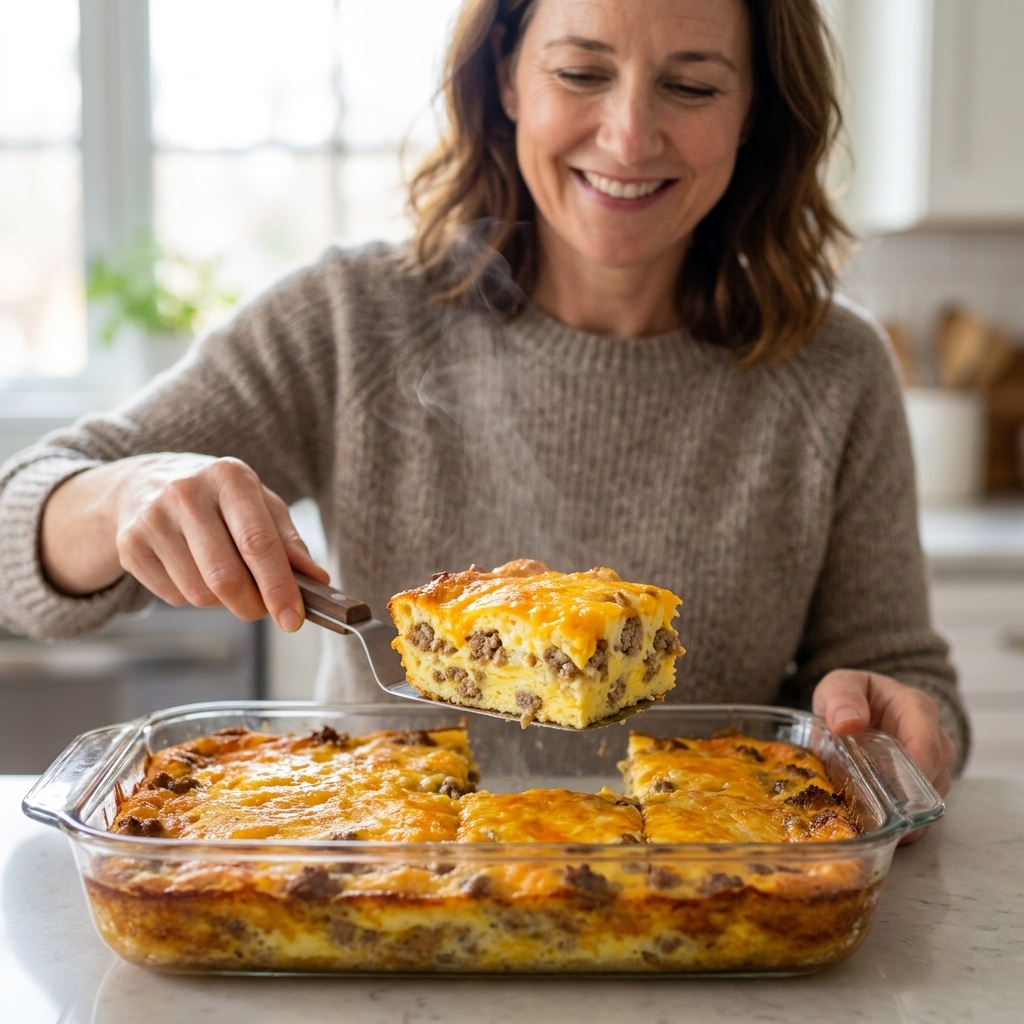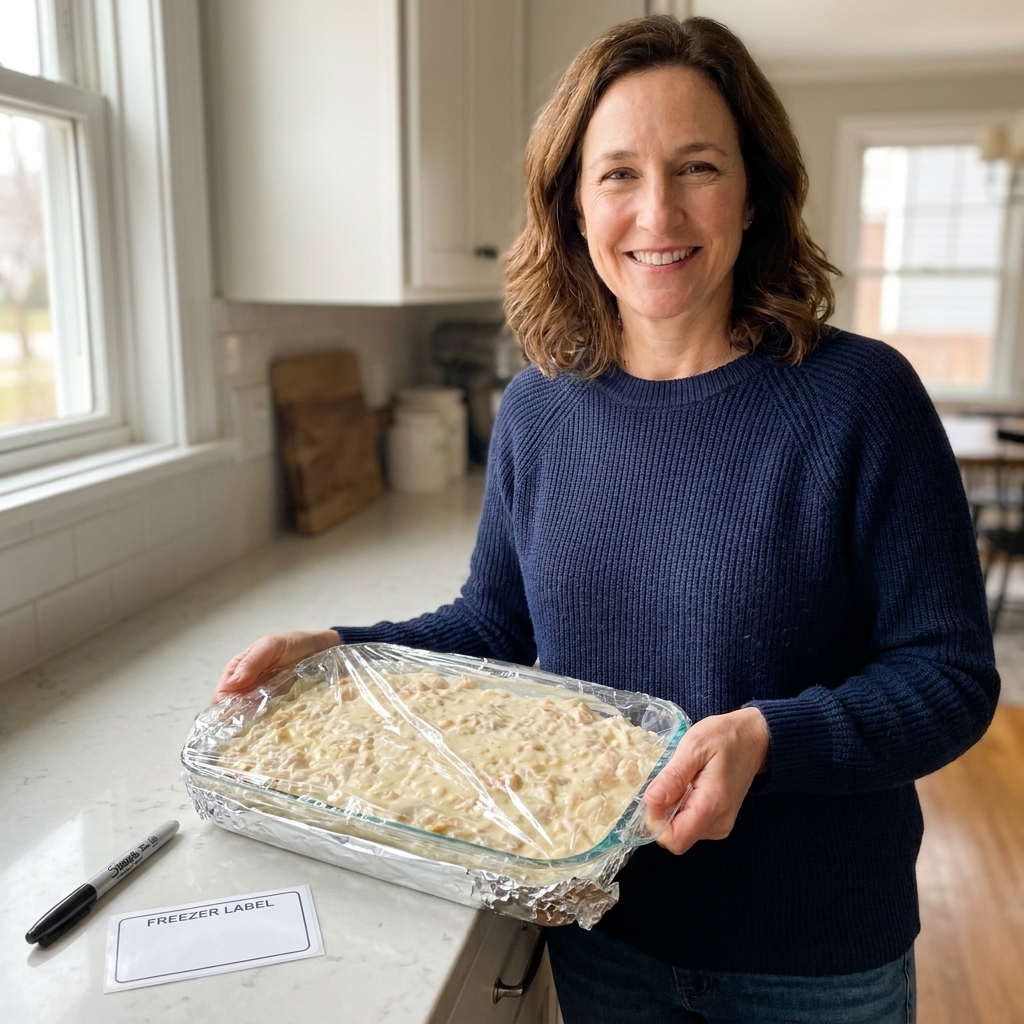

If you have ever tried to go dairy-free with a breakfast casserole, you already know the heartbreak: a dry, rubbery egg bake, or worse, a watery pan with a sad, pale top. I grew up on bubbly, cheese-topped Sunday casseroles, and I still want that same comforting texture even when dairy is off the table.
The good news is this: creamy is not exclusive to milk and cheddar. Creaminess is largely about fat, emulsification, moisture control, and gentle baking. When you build those on purpose, dairy-free breakfast casseroles can be just as rich and spoonable as the classic.
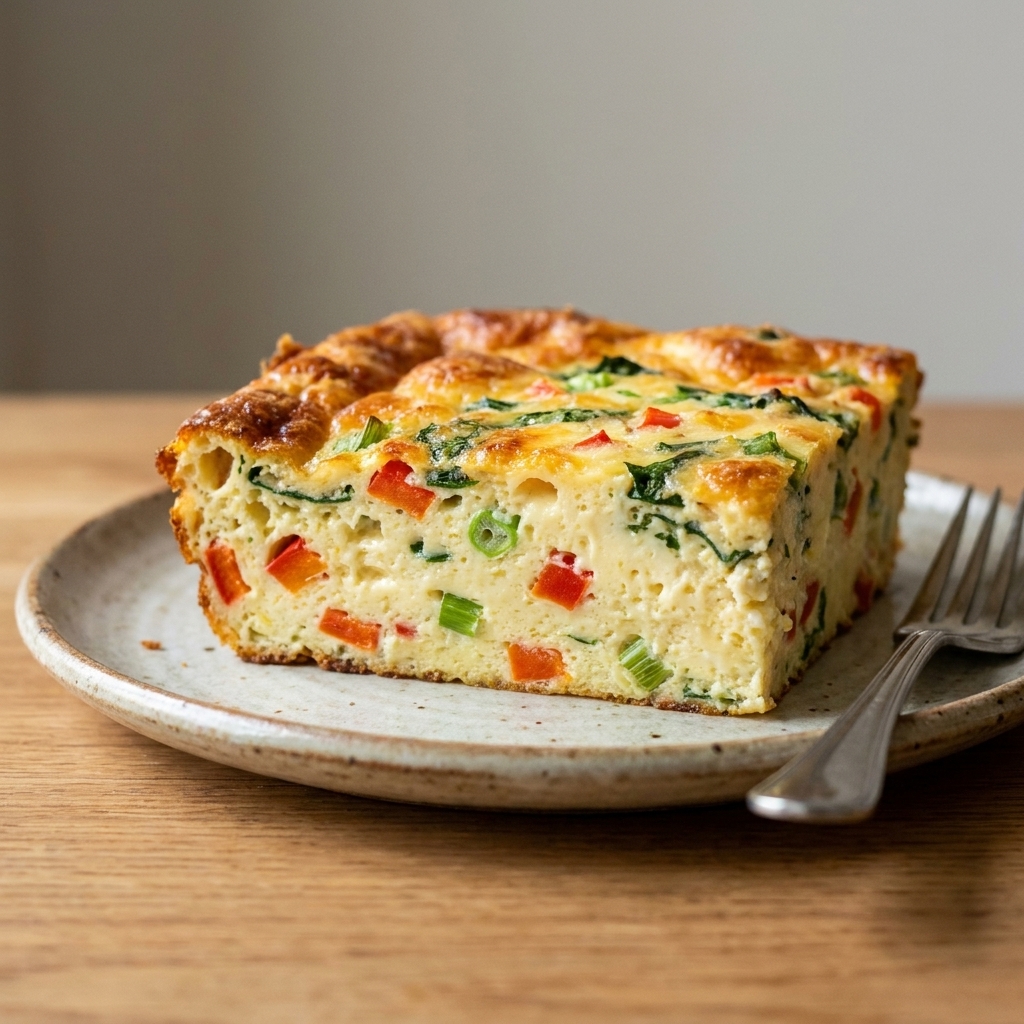
What makes it creamy
In a traditional breakfast casserole, dairy does three big jobs:
- Adds fat for richness (think cream, whole milk, sour cream).
- Softens the set so the eggs bake up custardy instead of firm.
- Helps hold moisture so leftovers do not dry out.
To recreate that, I pick an unsweetened plant milk that behaves well in heat, add a little fat on purpose, and use one smart thickener so the casserole sets creamy instead of weepy.
Best plant milks
Not all plant milks act the same once they hit a hot oven. My rule is simple: go unsweetened, and prioritize higher fat and or higher protein for the best body.
Top picks (my freezer-friendly favorites)
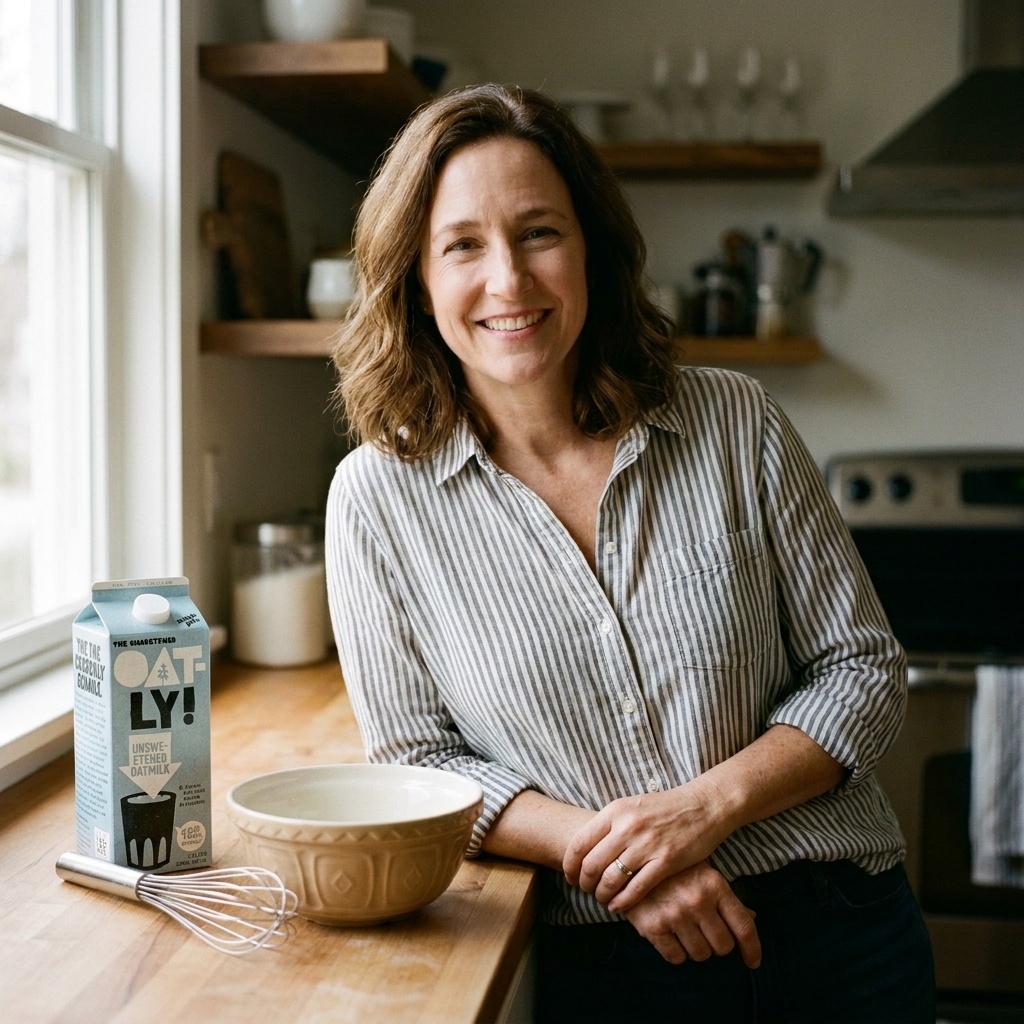
- Unsweetened oat milk: Mild flavor, naturally a little creamy. Great for kid-friendly casseroles.
- Unsweetened soy milk: Higher protein, which helps with structure and a fuller custard feel. Very reliable in savory bakes.
- Unsweetened cashew milk: Smooth when you choose a barista or higher-fat version. If your carton is thin, add a splash of cashew cream (or blend your own).
Use with caution
- Almond milk: Works, but often bakes up thinner. Pair it with a thickener (more on that below) and a little added fat.
- Coconut milk beverage: Fine, but it can bring a coconut note.
When to use canned coconut milk
If your goal is rich and decadent, canned full-fat coconut milk is one of the closest dairy-free options to cream. I like to use it as a partial swap, not 100 percent, because it can get heavy and the coconut flavor can peek through.
Easy formula: Replace half your plant milk with canned coconut milk for a special-occasion casserole.
Small but helpful note: If your casserole includes acidic add-ins like salsa or lots of tomatoes, keep those as mix-ins rather than whisking them into the custard. Acidity can make some plant milks look a little curdled (it still tastes fine, but it is not my favorite look).
My custard method
Here is the base I use again and again. When I say “custard,” I simply mean eggs whisked with a liquid, baked gently so it sets tender instead of bouncy.
Basic dairy-free custard (9x13)
- 10 to 12 large eggs (10 for a softer, more custardy bake, 12 for a firmer, sliceable set)
- 2 to 2 1/2 cups unsweetened oat milk or soy milk (use the higher end if you are using lots of bread or potatoes)
- 2 tablespoons olive oil (or melted dairy-free butter)
- 1 tablespoon cornstarch (or 2 tablespoons tapioca starch)
- 1 to 3 tablespoons nutritional yeast (optional but highly recommended)
- 1 to 1 1/2 teaspoons kosher salt, plus pepper (start lower if you are using salty sausage, bacon, or dairy-free cheese)
How to mix it: Whisk the starch into the cold plant milk first so it dissolves smoothly, then whisk in eggs, oil, seasonings, and nutritional yeast.
Why this works: The starch lightly thickens the custard as it bakes. It helps with sliceability and can reduce minor weeping, but it is not magic. Moisture control still matters most, especially with vegetables.
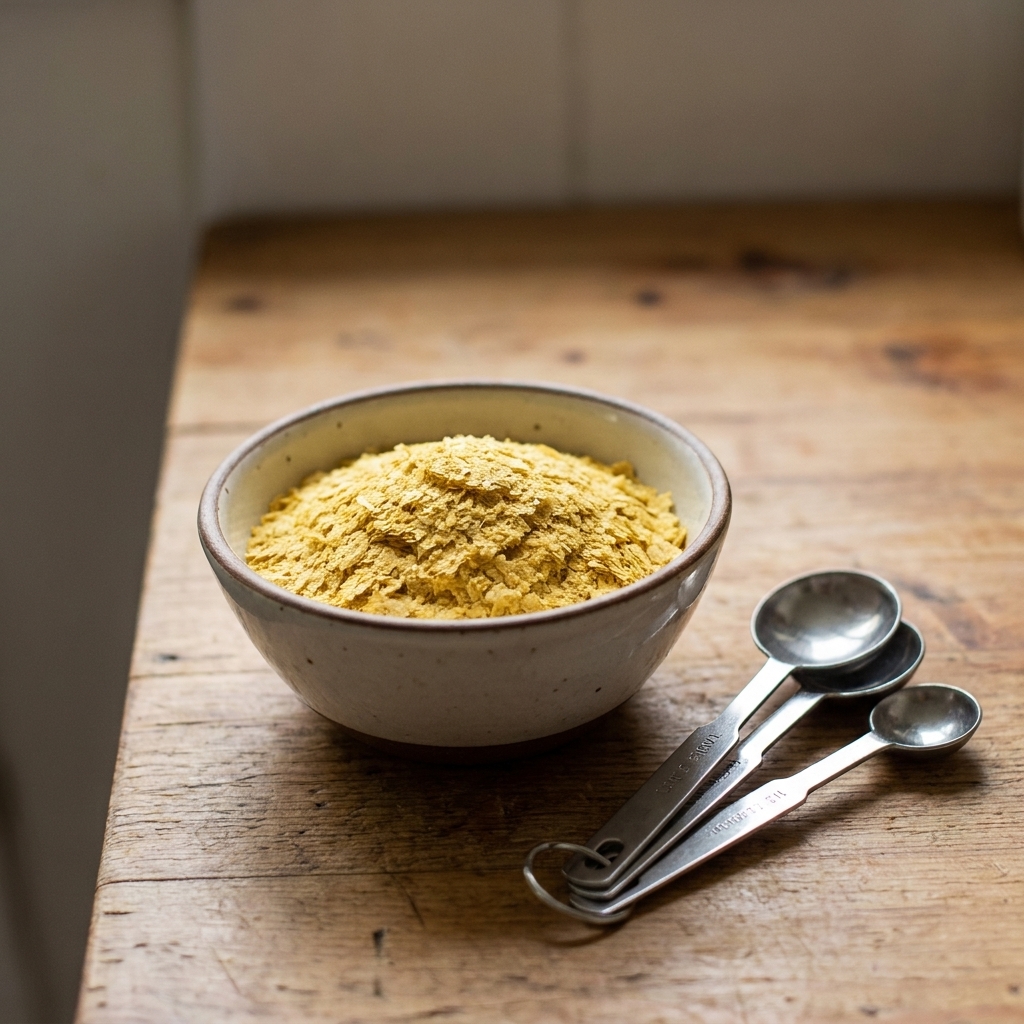
Nutritional yeast
Nutritional yeast is my secret weapon when dairy-free casseroles taste a little flat. It brings savory depth and a gentle cheesiness without needing actual cheese.
My favorite ways to use it
- In the custard: Start with 1 tablespoon for subtle flavor, up to 3 tablespoons for bolder cheddar-ish vibes.
- In a crunchy topping: Mix 1/4 cup nutritional yeast with 1/2 cup panko, a drizzle of olive oil, and a pinch of salt. Sprinkle over the top for a golden finish.
- With sauteed onions: Add a teaspoon to your cooked onions, peppers, or mushrooms. It blooms in the pan and tastes extra savory.
Little warning from my own kitchen: Nutritional yeast can taste bitter if you go wild. If you are new to it, start small and build over a couple of batches.
Dairy-free cheese
Some dairy-free cheeses melt beautifully. Some stay in little shreds and feel squeaky. For breakfast casseroles, I focus on products that either melt well or get creamy when heated.
Best options for egg bakes
- Shredded dairy-free mozzarella-style: Mild, good melt, great for a classic top layer.
- Dairy-free cheddar-style shreds: Stronger flavor. I often mix half cheddar-style with half mozzarella-style for better melt.
- Soft dairy-free cream cheese: Dot small spoonfuls over the top or whisk a few tablespoons into the custard for richness.
- Homemade cashew cheese sauce: If you have a blender, a simple cashew cream takes casseroles into truly creamy territory.
How to avoid the plastic feel
- Add it late: Mix some into the custard, but save a portion for the top during the last 10 to 15 minutes so it melts instead of drying out.
- Cover, then uncover: Bake covered for the first half to hold moisture, then uncover to brown.
- Do not overbake: Overbaking is the fastest way to make dairy-free cheese tough.
Moisture control
If you take nothing else from me, take this: most soggy dairy-free casseroles are not a milk problem. They are a water problem. Veggies, frozen hash browns, and breakfast meats all release liquid as they cook.
My no-soggy habits
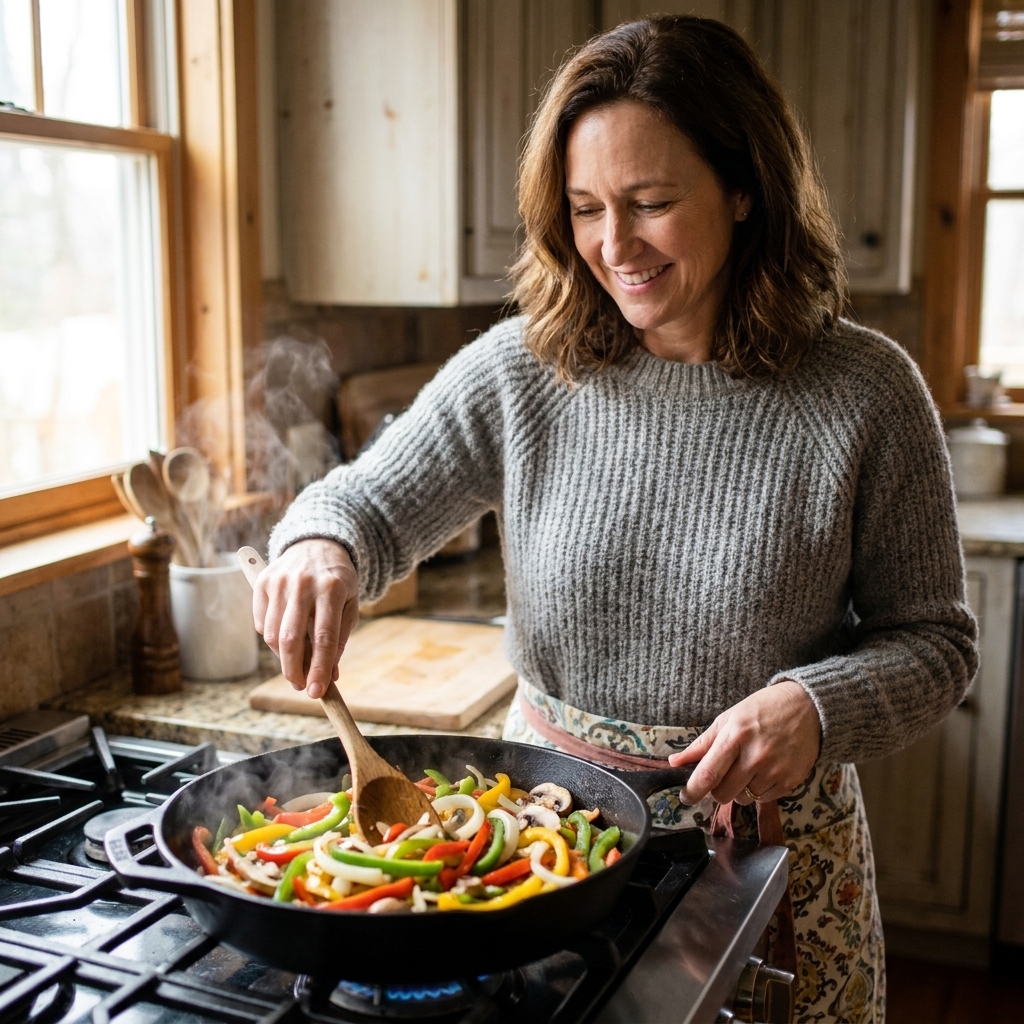
- Cook vegetables first: Saute mushrooms, spinach, zucchini, peppers, and onions until the pan is mostly dry. Cool slightly before adding.
- Thaw and squeeze frozen spinach: Wrap in a clean towel and wring it out like you mean it.
- Brown meats well: Drain sausage or bacon thoroughly so the casserole is rich, not greasy.
- Use the right potato: If using frozen hash browns, let them thaw on a towel for 15 minutes to wick off frost moisture.
Flavor combos
These are the combinations I lean on when I need a sure win for busy mornings, school breaks, or company.
1) Southwest creamy bake
- Roasted green chiles, black beans, sauteed onions
- Dairy-free cheddar-style shreds on top
- Nutritional yeast in the custard
- Serve with salsa and avocado
2) Garden veggie casserole
- Sauteed mushrooms, spinach, and tomatoes (cook the tomatoes down)
- Oat milk custard with olive oil
- Dairy-free mozzarella-style on top
- Finish with fresh herbs after baking
3) Sausage and hash brown pan
- Well-browned sausage, thawed hash browns, green onions
- Soy milk custard with cornstarch
- Dot dairy-free cream cheese across the top before baking
Make-ahead and freezer tips
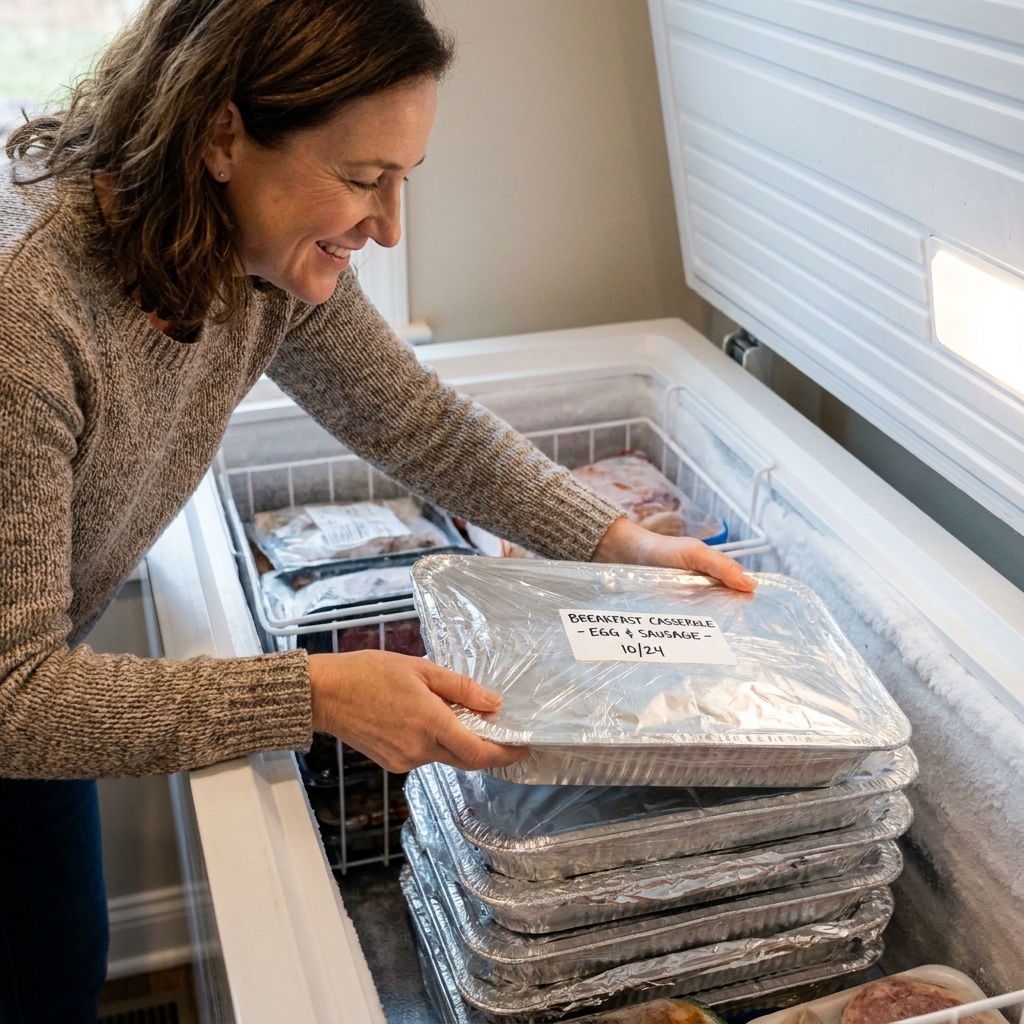
I always keep two emergency meals in the chest freezer, and breakfast casseroles are a top pick because they reheat well when you freeze them the right way. That said, texture can vary depending on your base and mix-ins. Potatoes can turn a little mealy, and very high-veg bakes can weep after thawing.
Option A: Assemble ahead (best texture)
- Cook and cool fillings completely.
- Whisk the custard and store it separately.
- Refrigerate overnight, then combine and bake in the morning.
Option B: Freeze unbaked (great for planned mornings)
- Grease the dish well. For easy lift-out portions, line with parchment so it overhangs on two sides.
- Assemble in a freezer-safe 9x13 (or line your pan and lift out once frozen).
- Wrap tightly: plastic wrap pressed to the surface, then foil.
- Freeze up to 2 months.
- Thaw 24 to 36 hours in the fridge, then bake.
Option C: Freeze baked slices (my weekday favorite)
- Bake and cool completely.
- Slice into portions and wrap each piece, then store in a freezer bag.
- Reheat covered at 325°F until hot, then uncover for a few minutes to dry the top.
My anti-rubber rule: Reheat gently and covered first. High heat makes eggs tighten and squeeze out moisture.
Troubleshooting
Mine turned out watery
- Next time, cook veggies longer and drain meats well.
- Add 1 tablespoon starch to the custard if you did not use it.
- Let the casserole rest 10 to 15 minutes before cutting so it can reabsorb juices.
Mine is dry or spongy
- Reduce bake time slightly. Eggs go from creamy to firm fast.
- Add 2 tablespoons oil or dairy-free cream cheese to the custard.
- Use oat or soy milk instead of a thinner plant milk.
My dairy-free cheese did not melt
- Try a different brand or a mozzarella-style shred.
- Add the cheese later in baking instead of mixing it all in.
- Cover the casserole for the first half to help it soften.
The top is pale
- Sprinkle a panko plus nutritional yeast topping.
- Broil briefly at the end, but watch closely and keep the rack in the middle.
Quick swap chart
| If your recipe calls for... | Try this dairy-free swap | For the creamiest results |
|---|---|---|
| Whole milk | Unsweetened oat milk or soy milk | Add 2 tbsp oil per 9x13 |
| Heavy cream | Canned coconut milk | Use half coconut, half oat or soy |
| Sour cream | Dairy-free yogurt or dairy-free cream cheese | Whisk in 1/3 cup for richness |
| Cheddar cheese | Dairy-free cheddar-style shreds | Mix with mozzarella-style for melt |
| Parmesan | Nutritional yeast | Use 1 to 3 tbsp in custard or topping |
Allergen-friendly notes
- Gluten-free: Use gluten-free bread cubes or gluten-free panko, or choose hash browns as your base.
- Soy-free: Use oat milk or coconut milk instead of soy. Skip soy-based cheeses if needed.
- Nut-free: Choose oat or soy milk and skip cashew-based cheeses. Use olive oil and nutritional yeast for richness.
My simple blueprint
If you want a dependable starting point, use this blueprint and swap in your favorite fillings.
- Pick your base: bread cubes, thawed hash browns, or cooked rice (about 4 to 5 cups).
- Pick 2 to 3 mix-ins: cooked veggies, browned meat, or beans (about 3 to 4 cups total).
- Make the custard: 10 to 12 eggs plus 2 to 2 1/2 cups unsweetened plant milk, 2 tbsp oil, 1 tbsp starch, salt, pepper, nutritional yeast.
- Top it: dairy-free shreds, dots of dairy-free cream cheese, or panko plus nutritional yeast.
- Bake: 350°F, covered 25 to 35 minutes, then uncovered 15 to 25 minutes.
- Know it is done: The center should look set with a slight jiggle, not liquid. If you use a thermometer, aim for 160 to 165°F in the center.
- Rest: 10 to 15 minutes before slicing for the creamiest texture. Resting is not just politeness, it is part of the texture.
Once you get the hang of building richness on purpose, dairy-free breakfast casseroles stop feeling like a compromise and start feeling like the cozy, hot-pan victory they are meant to be.