
If you have ever stood in a potluck line wondering, “Can I eat this?” you already understand why allergy-friendly casseroles matter. I grew up in a house where the 9x13 pan was basically a family member, and now as a mom, casseroles are my weeknight secret weapon. The good news is that you do not have to give up cozy, bubbly, crowd-pleasing comfort food just because someone cannot do gluten, dairy, nuts, or eggs.
Quick note up front: “Allergy-friendly” is not the same as “safe for everyone.” This guide focuses on the most common needs I see at potlucks (gluten, dairy, nuts, eggs), but people can be allergic to soy, sesame, fish and shellfish, legumes (including chickpeas), and more. If you are cooking for someone with a severe allergy, ask what they need and what they avoid, and follow their lead. Some people simply do not do potlucks because the risk is not worth it.
This guide will help you build casseroles that are naturally safe for more people, without making them taste like “the special diet dish.” Think: saucy, flavorful, and sturdy enough to survive the car ride and the warming table.
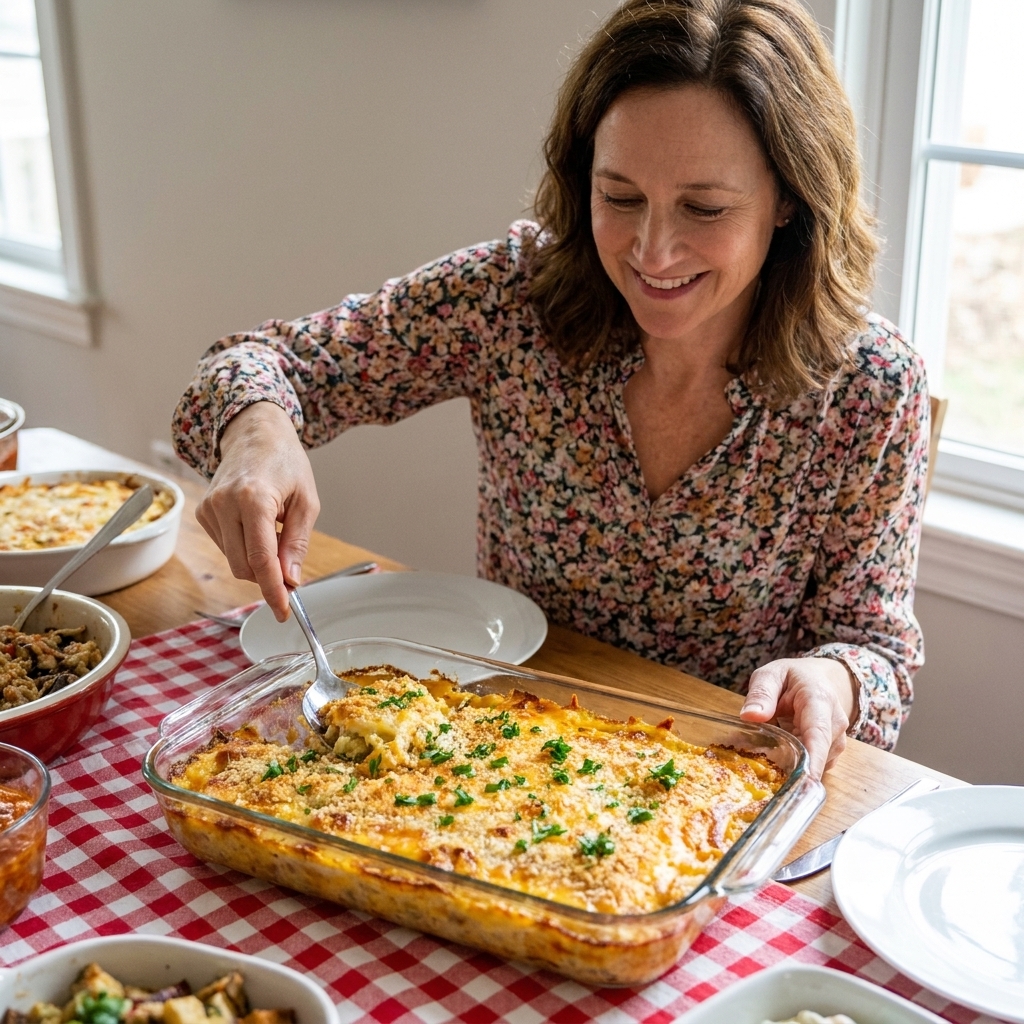
Before you cook: potluck allergy basics
Pick a safe-by-design base
The easiest allergy-friendly casserole is one that does not rely on common allergens in the first place. I reach for these foundations again and again:
- Potatoes (hash brown bakes, scalloped style with dairy-free sauce)
- Rice (wild rice and veggie bakes, jambalaya-style casseroles)
- Corn tortillas (layered enchilada-style bakes)
- Beans and lentils (protein and hearty body without dairy)
- Gluten-free pasta (works well when you sauce it generously)
Prevent cross-contact at home
Even if your ingredients are safe, cross-contact can undo your good intentions. Here is my no-drama checklist:
- Wash and dry your pan, utensils, cutting board, and counter before starting.
- Use a fresh sponge or a clean dishcloth if you have been baking with wheat that day.
- Keep toppings separate, especially cheese, breadcrumbs, and nuts.
- Bring your own serving spoon and keep it with the dish.
- Label clearly: “gluten-free, dairy-free, nut-free” (only claim what you truly did).
One sentence to the host
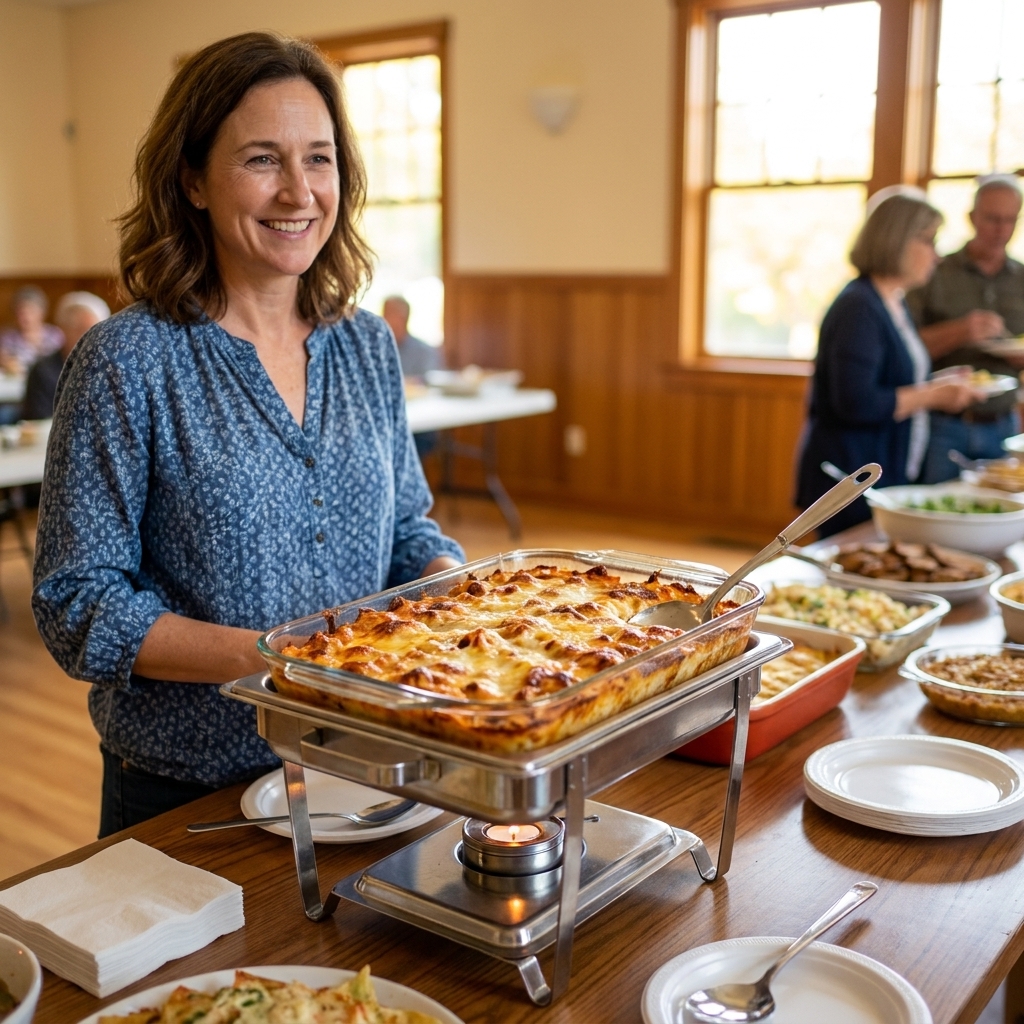
It sounds simple, but it saves so many headaches: Ask the host to place a small card in front of your dish and to keep your serving utensil with it. Shared spoons are one of the most common sources of cross-contact at potlucks.
When to ask first
If you are cooking with someone specific in mind, text them (or their caregiver) before you shop. Ask what allergens they avoid, whether “may contain” or shared-facility labels are a dealbreaker, and whether they are comfortable eating potluck food at all. That one check-in is real kindness.
The allergy-friendly casserole formula
When I am trying to feed a mixed crowd, I build from a flexible formula instead of a rigid recipe. It keeps the texture right and prevents the two biggest potluck problems: dry casseroles and soggy bottoms.
Clara’s 9x13 mix-and-bake formula
- Base (6 to 8 cups): cooked rice, diced roasted potatoes, cooked gluten-free pasta, or corn tortilla layers
- Protein (3 to 4 cups): shredded chicken, cooked ground turkey, beans, lentils, or crumbled tofu
- Veggies (3 to 5 cups): mostly cooked or softened onions and peppers, spinach (wilted and squeezed), broccoli (blanched), zucchini (sautéed), corn, mushrooms (sautéed)
- Sauce (2 1/2 to 3 1/2 cups): allergy-friendly creamy sauce or tomato-based sauce
- Topper (optional): crunchy seeds, gluten-free cracker crumble, crushed tortilla chips, or simply herbs and a drizzle of olive oil
Easy bake timing
For a fully cooked casserole that just needs heating through: bake at 350°F, covered, for 25 to 35 minutes, then uncover for 10 minutes to brown and set the top. If you are baking from cold (fridge), add 10 to 15 minutes. If baking from frozen, see the freezer section below.
Food safety cue: For casseroles with meat, poultry, or leftovers that were previously cooked, aim for 165°F in the center.
Smart swaps for common allergens
These are the substitutions I use most often when I want the dish to taste like comfort food, not compromise.
Gluten-free swaps that hold up
- Thickener for gravy or creamy sauce: cornstarch or arrowroot slurry (start with 1 tablespoon starch + 1 tablespoon cold water per cup of liquid, then adjust)
- Crunchy topping: crushed gluten-free pretzels or crackers, gluten-free panko, or crushed tortilla chips
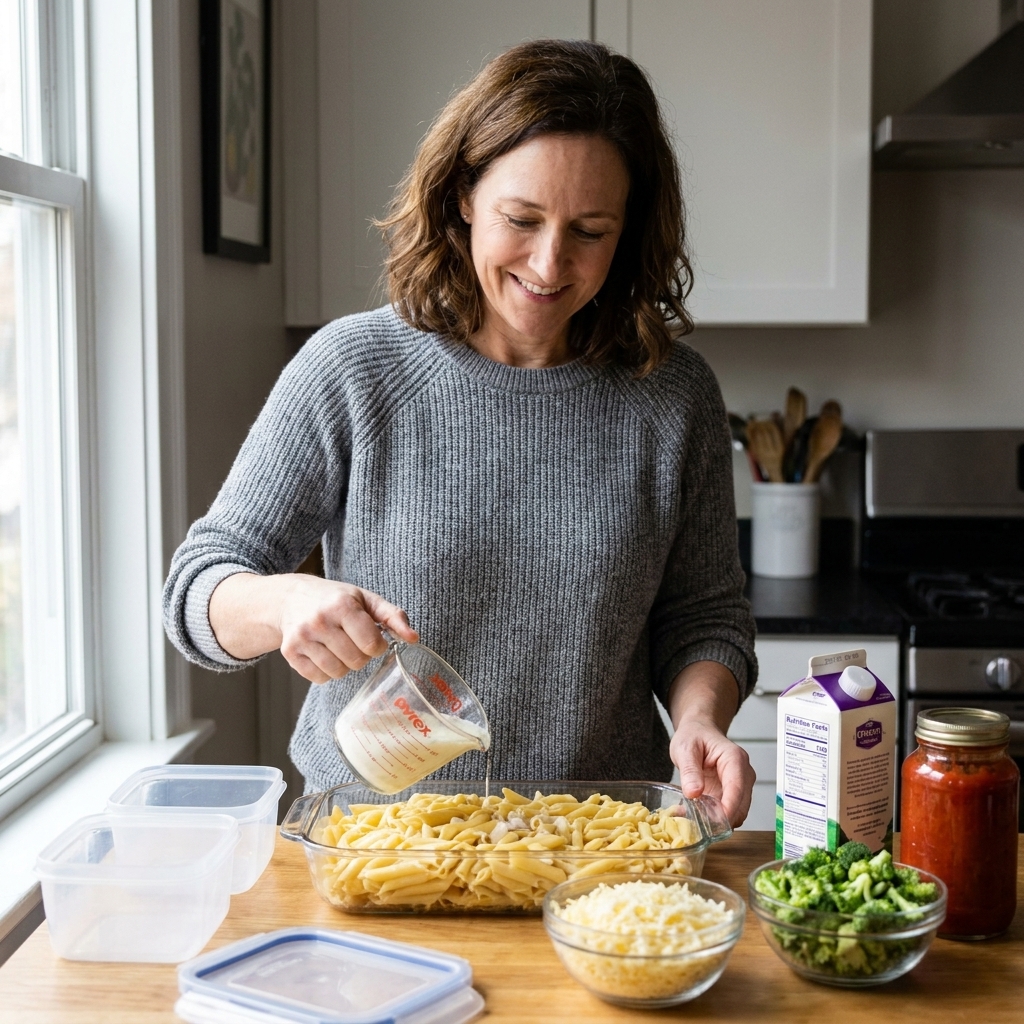
- Pasta: short shapes like rotini or penne hold best; undercook by 1 to 2 minutes so it does not turn mushy in the bake
- Soy sauce: use tamari labeled gluten-free
Label tip: Broth, bouillon, spice blends, and sauces can surprise you with wheat-based thickeners. Read labels.
Oat note: If you use oats (in a topping, for example), choose certified gluten-free. Also, some people with celiac disease still avoid oats even when certified, so if you are cooking for a specific person, ask.
Dairy-free swaps that still feel creamy
- Milk: unsweetened oat milk or plain soy milk for the most neutral flavor
- “Cream of something” shortcut: make a quick roux with olive oil or dairy-free butter + gluten-free flour blend, then whisk in broth and dairy-free milk until thick
- Cheesy depth without cheese: nutritional yeast (a few tablespoons in the sauce), lemon juice for brightness, and a touch of Dijon for depth
- Butter flavor: dairy-free butter sticks work better than tub spreads for casseroles
Moisture tip: Some dairy-free cheeses melt fine but can get rubbery if baked too long. If you use one, add it in the last 10 minutes.
Nut-free swaps for crunch and richness
- Creaminess: sunflower seed butter (if safe for your crowd), tahini (sesame), or blended white beans
- Crunch topping: pepitas or sunflower seeds, or toasted gluten-free crumbs with olive oil
Heads up: Some schools and workplaces also avoid sesame now. If you are unsure, skip tahini and stick with beans or seeds you can confidently label.
Egg-free binding options
Casseroles often use eggs for “set,” especially breakfast bakes. If eggs are an issue, use one of these:
- Chickpea flour custard: start with 1 cup chickpea flour whisked with 2 cups water or dairy-free milk plus seasoning, then adjust thinner or thicker as you like. It bakes up surprisingly set. (Also note: chickpeas are a legume allergen for some people.)
- Flax gel: 1 tablespoon ground flax + 3 tablespoons water per egg, rest 5 to 10 minutes. Best for veggie-packed bakes.
- Potato-based bind: shredded hash browns plus a thick sauce can hold together without eggs at all.
Three potluck casseroles for a mixed crowd
These are the crowd-friendly styles I lean on when I know there are multiple dietary needs in the room. Each one is designed to travel well and reheat without drying out.
1) Salsa Verde Chicken and Rice Bake
Gluten-free, dairy-free, nut-free (check broth labels)
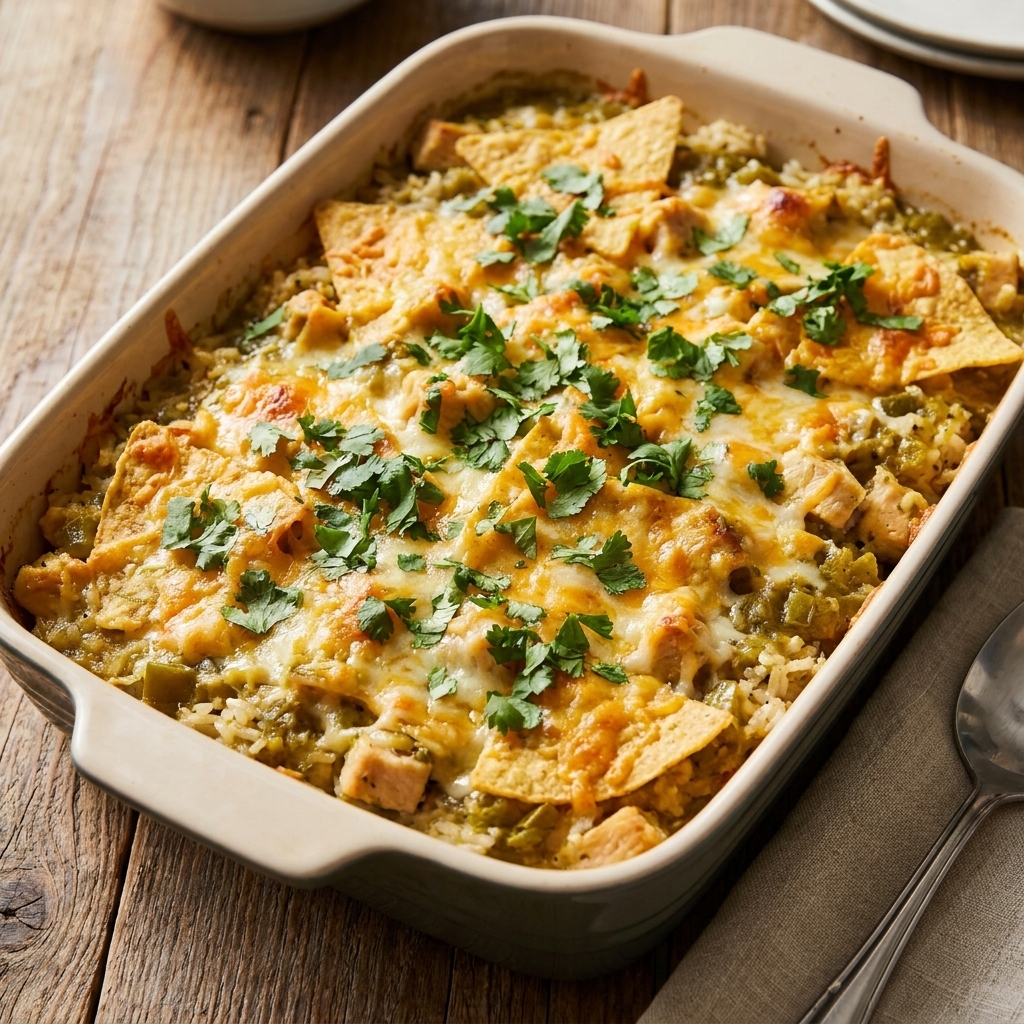
Why it works: Salsa verde brings flavor and moisture, rice stays sturdy, and there is no need for dairy.
- Base: 6 cups cooked rice (white, brown, or a mix)
- Protein: 3 cups shredded cooked chicken (or 2 cans drained white beans for vegetarian)
- Veggies: 2 cups corn + 1 diced sautéed onion (optional)
- Sauce: 2 cups salsa verde + 1 cup chicken broth
- Finish: lime juice, chopped cilantro, and sliced green onions after baking
Bake: 350°F covered 30 minutes, uncover 10 minutes. For food safety, heat to 165°F in the center. Serve with extra salsa verde on the side so folks can customize heat.
2) Cozy Lentil Shepherd’s Pie
Gluten-free, dairy-free, nut-free
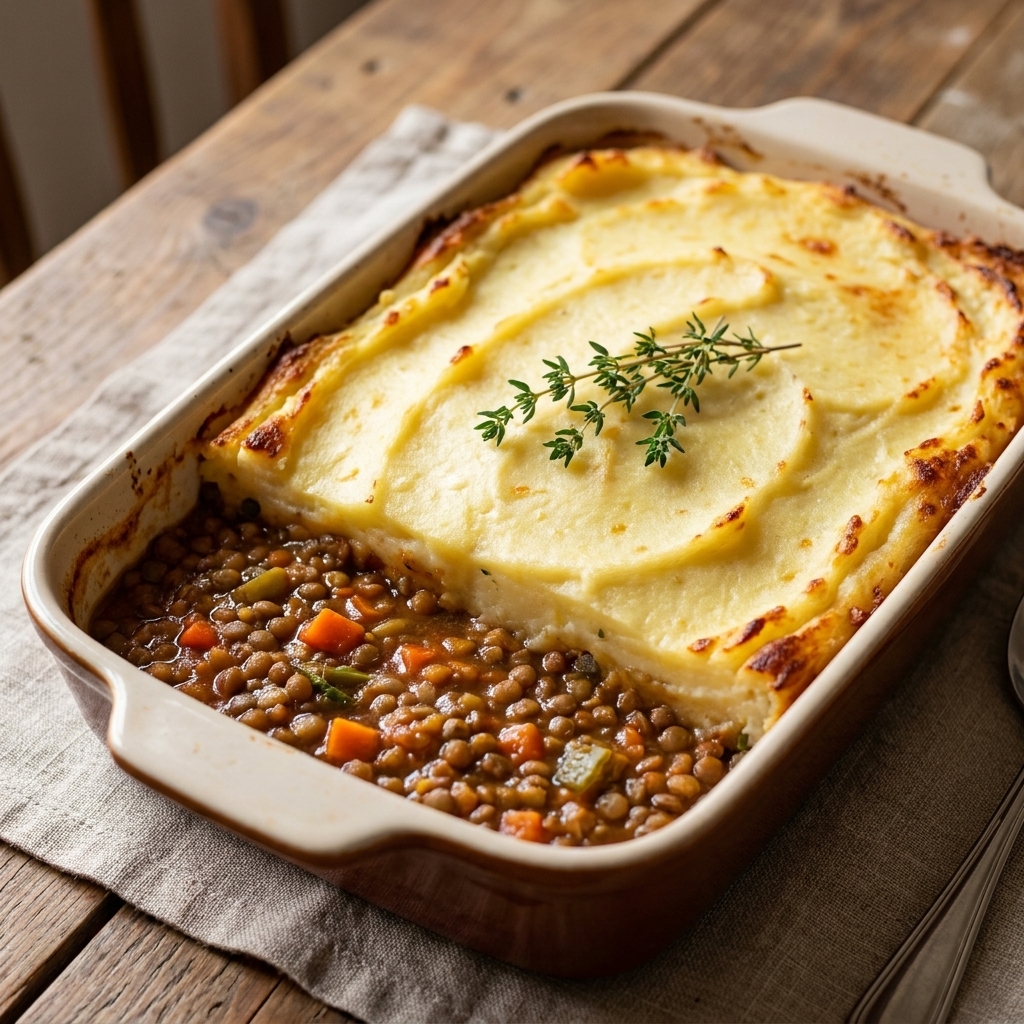
Why it works: Lentils give hearty comfort without dairy or gluten, and mashed potatoes are naturally friendly when you use dairy-free butter.
- Filling: cooked brown or green lentils, sautéed carrots and onions, peas, garlic, tomato paste, broth, thyme
- Thickener: cornstarch slurry if you want it extra scoopable
- Topping: mashed potatoes with dairy-free butter and unsweetened oat milk
Moisture control tip: Let the lentil filling simmer until it looks a little thicker than you think it should. It loosens slightly under the potato topping.
3) Enchilada Tortilla Bake with Beans
Gluten-free, dairy-free, nut-free (check sauce labels)
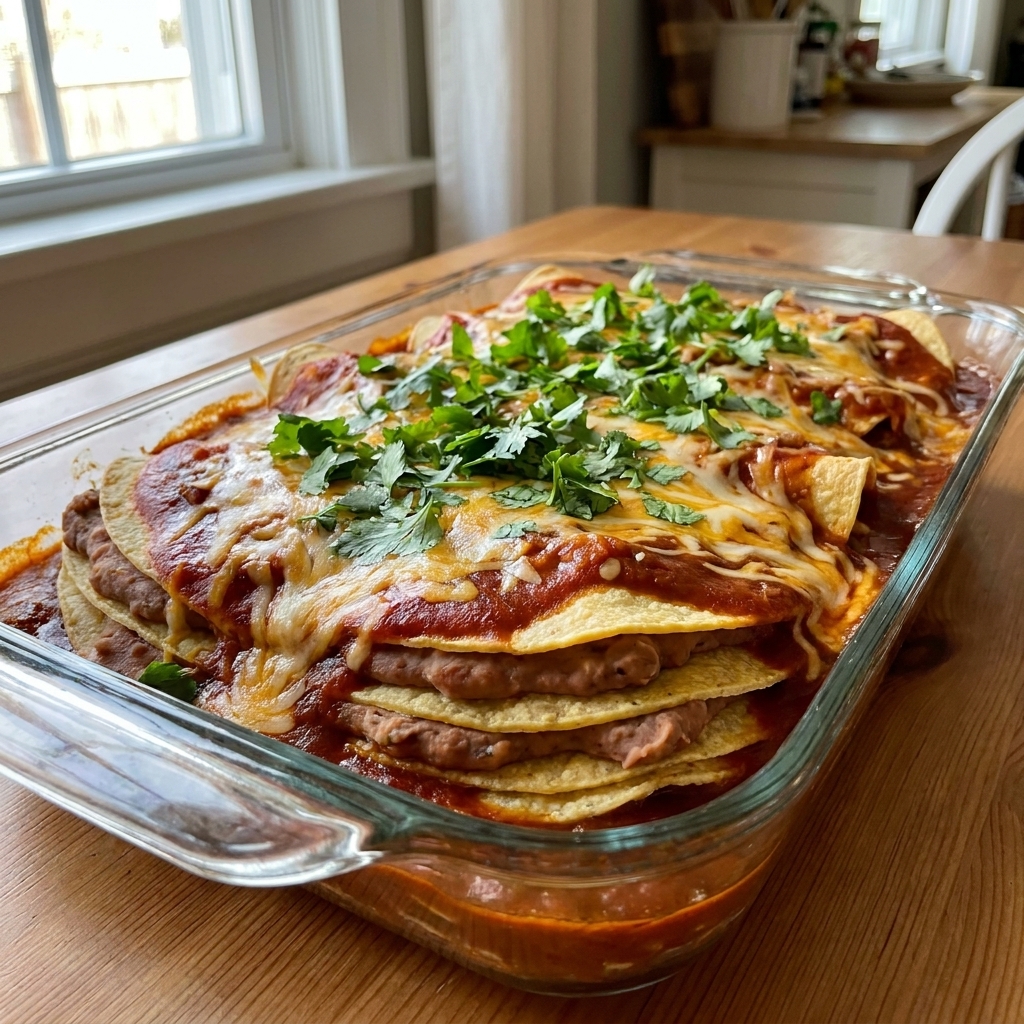
Why it works: Corn tortillas layer like lasagna sheets, and a bold enchilada sauce carries the whole pan.
- Layers: corn tortillas, black beans or pinto beans, sautéed peppers and onions
- Sauce: enchilada sauce labeled gluten-free
- Add-ins: frozen spinach squeezed dry, corn, olives (if your crowd likes them)
- Optional topper: crushed tortilla chips and green onions
Bake: 350°F covered 25 minutes, uncover 15 minutes. Rest 10 minutes before cutting so slices hold together.
Full recipe: Enchilada tortilla bake
This is the one I make most often because it is flexible, budget-friendly, and easy to label clearly.
What you need
- Pan: 9x13 baking dish
- Serves: about 10 to 12 as a side, 6 to 8 as a main
- Oven: 350°F
Ingredients
- 18 to 20 corn tortillas (check for gluten-free labeling if needed)
- 2 (15-ounce) cans black beans or pinto beans, drained and rinsed
- 1 tablespoon olive oil
- 1 yellow onion, diced
- 2 bell peppers, diced
- 3 cups enchilada sauce (gluten-free as needed)
- 1 cup frozen corn
- 1 cup frozen chopped spinach, thawed and squeezed very dry (optional but great)
- 2 teaspoons ground cumin
- 1 teaspoon chili powder
- 1/2 teaspoon garlic powder (or 2 cloves garlic, minced)
- 3/4 teaspoon kosher salt, plus more to taste (depends on your sauce)
- Juice of 1/2 lime (optional, for brightness)
- Topping (optional): 1 cup crushed tortilla chips mixed with 1 tablespoon olive oil, plus sliced green onions and chopped cilantro
Steps
- Heat olive oil in a skillet over medium heat. Sauté onion and peppers until softened, 6 to 8 minutes. Stir in cumin, chili powder, garlic powder, and salt.
- In a bowl, combine beans, corn, and spinach (if using). Stir in the sautéed veggies.
- Spoon a thin layer of enchilada sauce into the bottom of a 9x13 dish (just enough to coat).
- Layer tortillas to cover the bottom (tear to fit if needed). Spread half the bean mixture over the tortillas, then drizzle with about 1 cup enchilada sauce.
- Repeat: tortillas, remaining bean mixture, and another 1 to 1 1/2 cups enchilada sauce. Finish with one more layer of tortillas and the remaining sauce on top. The top should look generously sauced, not dry.
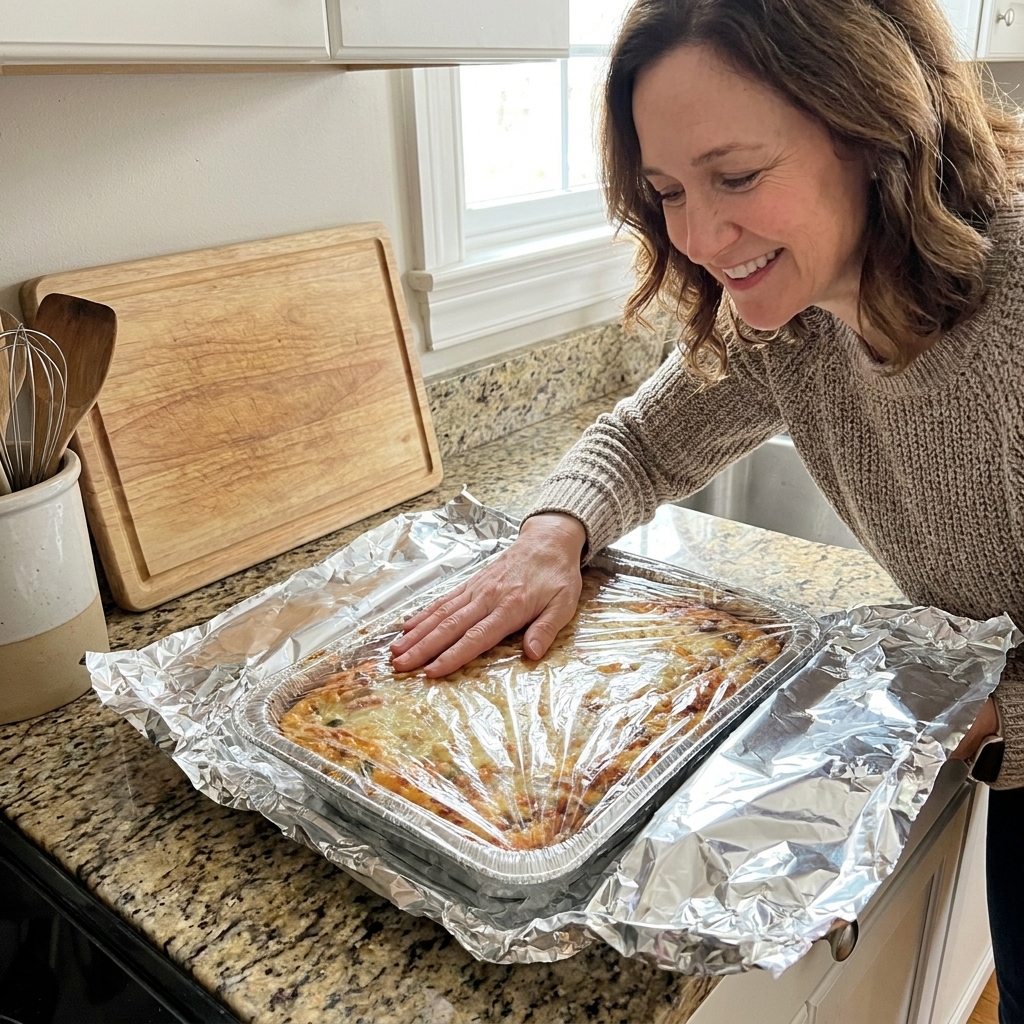
- Cover tightly with foil and bake 25 minutes. Uncover and bake 15 minutes more.
- If using the crunchy topping, add it for the last 10 minutes so it stays crisp.
- Rest 10 minutes before slicing. Finish with lime juice, green onions, and cilantro.
Make-ahead notes
You can assemble this up to 24 hours ahead. Keep any crunchy topping separate until bake time. If it looks dry before baking, drizzle a little extra sauce around the edges.
Ingredient label landmines
If you want your “free-from” claims to hold water, these are the spots I double-check:
- Broth and bouillon: wheat, dairy, and “natural flavors” vary by brand.
- Enchilada sauce and salsa: some use flour or modified food starch as thickeners.
- Spice blends: anti-caking agents and hidden allergens can pop up.
- Vegan cheeses and creamers: soy, coconut, and nuts are common bases.
- Oats: even certified gluten-free oats are not a fit for everyone.
- “May contain” statements: if you are cooking for a specific person, ask whether shared-facility labeling is a no-go.
How to label your casserole
I keep labeling simple and calm. You are not writing a novel. You are just helping someone feel safe.
- Name of dish (people like to know what they are eating)
- Top 3 claims only if true: gluten-free, dairy-free, nut-free, egg-free
- One helpful detail: “made with corn tortillas” or “thickened with cornstarch”
If you are cooking for someone with severe allergies, it is totally appropriate to keep the ingredient packages until after the event, just in case they want to check labels.
Make-ahead and freezer tips
I am the person who always has two emergency meals in the freezer, so I take make-ahead seriously. These are the tricks that keep texture right.
Make ahead in the fridge
- Assemble up to 24 hours ahead for most casseroles.
- Keep crunchy toppings separate until right before baking.
- Add a splash of broth around the edges before baking if it looks dry.
Freezer-friendly assembly
- Cool fillings completely before assembling and freezing. Trapped steam equals ice crystals and mush later.
- Line the pan with parchment if you want to lift the frozen casserole out and store it wrapped, then reuse the pan.
- Freeze sauce-heavy casseroles beautifully. Pasta casseroles are best when slightly undercooked and very saucy.
Baking from frozen
For a typical 9x13 casserole, frozen solid:
- Bake covered at 350°F for 60 to 75 minutes.
- Uncover and bake 10 to 20 minutes more until hot in the center.
Food safety cue: For meat and poultry casseroles, aim for 165°F in the center.
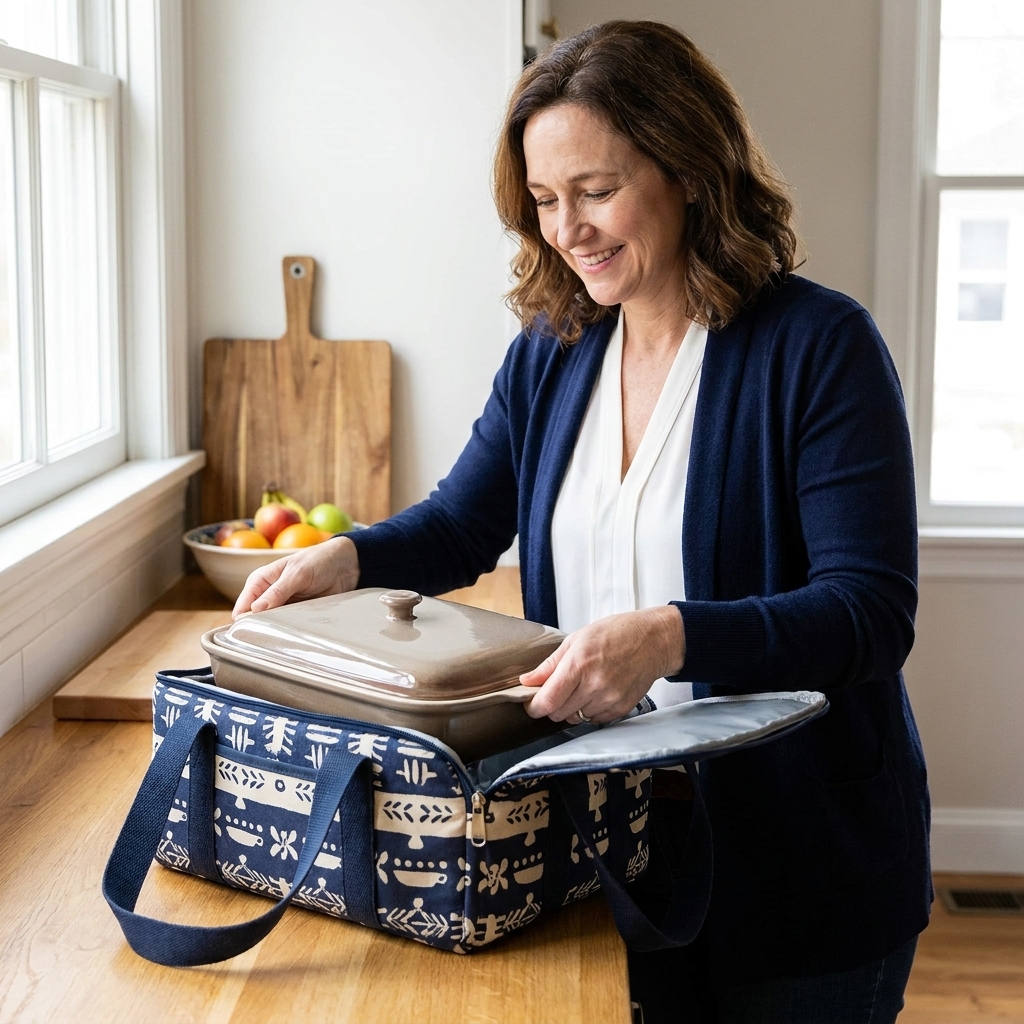
My potluck trick: Bake it fully at home, then transport it wrapped in towels inside a cooler. Rewarm at the party for 15 to 20 minutes if needed. This keeps you from guessing doneness in someone else’s oven.
Troubleshooting
It’s watery
- Vegetables released water. Next time sauté mushrooms, zucchini, and onions before mixing.
- Let it rest 10 to 15 minutes before serving. A lot of sauces set as they cool slightly.
- Stir in a cornstarch slurry and simmer the sauce before baking if you know it runs thin.
It’s dry
- Gluten-free pasta or rice absorbed too much. Next time add more sauce than you think you need.
- Cover longer, uncover shorter. Steam is your friend for reheating.
- Bring a little extra warm broth or sauce for the potluck and drizzle before serving.
The top is pale
- Finish under the broiler for 1 to 3 minutes, watching closely.
- Brush the top with olive oil for better browning, especially on potatoes.
Allergy-friendly casserole FAQ
What is the most universally safe casserole?
There is no true universal, but a rice or potato based casserole with a tomato, salsa, or broth-thickened sauce is often the easiest to make gluten-free and dairy-free at the same time. Skip nuts, keep toppings simple, avoid “mystery” packaged sauces when possible, and label clearly.
Can I make a creamy casserole without dairy and without gluten?
Yes. Use a broth + unsweetened oat milk base and thicken with cornstarch or arrowroot. Add flavor with sautéed onions, garlic, Dijon, and a little lemon. It tastes like the real deal when you season it well.
How do I keep gluten-free casseroles from getting gummy?
Two habits help most: undercook gluten-free pasta slightly, and use enough sauce. Gluten-free starches keep absorbing as they sit, so a saucy mix is your best insurance.
Do I need to avoid soy for allergy-friendly cooking?
Not always. Soy is a common allergen, but it is not as universal as dairy and wheat. If you do not know the crowd, choose swaps that avoid soy when it is easy. When in doubt, label what you used.
My potluck promise
You can bring a casserole that feels like comfort food and still respects the people at the table who have to be careful. Build from a safe base, choose a sauce that holds moisture, keep toppings separate, and label with confidence. That is how a 9x13 pan becomes the dish everyone is quietly grateful you brought.